Drywall Framing Basics: What You Need to Know
When I first tackled my home renovation project, I was overwhelmed by the sheer volume of tasks that lay ahead—especially the drywall framing. I remember standing in the middle of my living room, staring at bare wooden beams, grappling with how to make this space functional and beautiful. Fast-forward a few months, my once daunting DIY project became a cozy living area, thanks to a solid understanding of drywall framing basics. In this blog post, I’ll share everything you need to know about drywall framing, including techniques, tools, and common mistakes to avoid.
What is Drywall Framing?
Drywall framing refers to the structural framework that supports the drywall sheets, typically made from wood or metal studs. This framework is essential for creating walls, ceilings, and other structures within a building. It essentially acts as a skeleton, providing stability and facilitating insulation and electrical work.
Importance of Proper Framing
Without proper framing, drywall can sag, crack, or bow, resulting in a disappointing finish. Investing time in understanding the principles behind good framing translates to a longer-lasting and visually appealing surface. Here are some essential components to keep in mind when starting your drywall framing journey:
- Stud Placement: Generally, studs should be placed 16 or 24 inches apart, depending on local building codes.
- Nailing Patterns: Use proper nailing patterns to secure the drywall effectively and avoid potential sagging.
- Hanging Method: Install drywall horizontally for superior strength and ease of finishing.
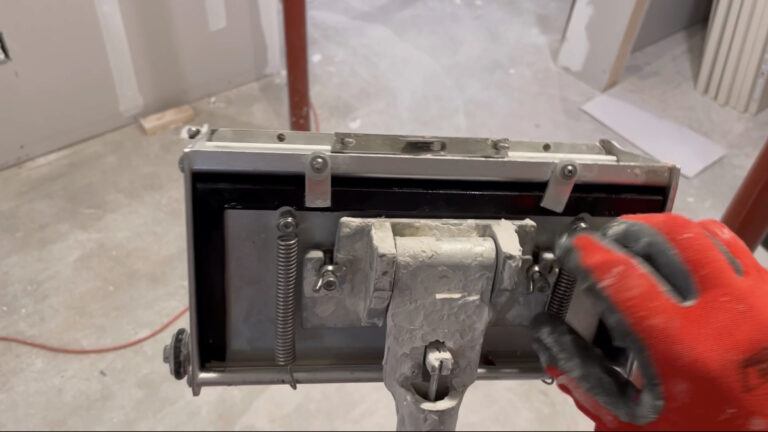
Tools You Need for the Job
Before getting started, make sure you have the right tools on hand. Having the proper tools not only makes your job easier but also ensures that your drywall framing is executed correctly. Here’s a list of essential tools to gather:
- Stud Finder: Essential for locating existing studs in your walls if you’re working on renovations.
- Measuring Tape: Accuracy is key. Use a measuring tape to ensure your cuts are precise.
- Utility Knife: Ideal for cutting drywall sheets easily and making clean edges.
- Drywall Screws: I recommend 1 1/4” screws for securing sheets to studs, while longer 1 5/8" screws are great for thicker materials "1 1/4" screws and "1 5/8" screws.
- Drywall Lift: This tool enables you to lift sheets into place safely. I personally found my "Drywall Lift 11′ invaluable when working solo.
Steps to Frame Your Drywall
1. Planning and Preparation
Before you dive in, it’s essential to craft a solid plan. Decide how large your framed area will be and draw a rough sketch. This will guide you when measuring and cutting length.
2. Measure and Cut
Next, measure your space and cut your studs accordingly. Use a level to ensure everything is straight. Mark your stud locations on the floor and ceiling to make installation easier.
3. Assemble the Frame
Using the marks you’ve made, begin attaching your studs to the bottom and top plates (horizontal members) based on chosen spacing—either 16 or 24 inches. Use a level to ensure everything is plum (vertically straight).
4. Install the Drywall
Once your framing is secure, it’s time to install the drywall. Start with the ceiling first and work your way down to the walls.
- Technique: Make sure to stagger your joints for a seamless finish, and avoid cutting multiple sheets at the same lengths to reduce visible lines.
5. Tape and Mud the Joints
After hanging the drywall, you will want to tape the seams and apply joint compound (also called mud). For best results, I recommend using "3.5 Qt All Purpose Compound" and "3.5 Qt Plus 3 Compound" for finishing touches.
6. Sand and Finish
After the joint compound has dried, sand the surface for a smooth finish. Tools like the "WEN Drywall Sander" make this phase much more manageable.
Common Mistakes to Avoid
While framing drywall may seem straightforward, several common pitfalls can derail your project:
1. Poor Measurement
Taking accurate measurements is crucial. Misreading can lead to costly mistakes and wasted materials. Measure twice, cut once!
2. Over-tightening Screws
If you over-tighten drywall screws, you risk damaging the sheet. Just ensure they are slightly recessed below the surface.
3. Ignoring Local Codes
Different regions may have specific codes that dictate stud spacing and materials. Always check local building codes to avoid fines and ensure safety.
Pro Tips
- Use Staggered Studs: This technique minimizes the chances of cracks appearing in the drywall.
- Leave Expansion Gaps: Humidity can cause drywall to expand and contract. Ensure you leave gaps at the top and bottom of your walls.
- Opt for Quality Materials: The longevity and quality of your drywall will significantly impact the finish. Choose reputable brands for better outcomes.
Conclusion
Understanding drywall framing is essential in achieving professional-looking results in your home improvement projects. By equipping yourself with the right tools, following a structured process, and avoiding common mistakes, you can make your next drywall installation a success.
If you found this guide helpful, please share it with friends or on social media! Got any tips or experiences to share? Leave a comment below to foster a conversation with fellow DIY enthusiasts!
Share & Resources
If you found this guide helpful, please share it on Pinterest, Facebook, or Reddit! Your support helps others find useful drywall repair techniques.
Contractors, home improvement bloggers, and DIY forums: Feel free to link back to this article to help your audience with expert drywall framing tips.
Together, let’s empower our communities with the knowledge to improve our homes, one drywall project at a time!