How To Patch A Drywall Hole On Your Wall (DIY)
How To Patch A Drywall Hole On Your Wall (DIY)
Drywall is a term used to describe a plaster-like wall covering used to frame walls in construction and finish interior walls. In the past, the material was made from sawdust, wood pulp, and cement. Today, it’s primarily made from gypsum with additives added to create flexibility, strength, and resistance to moisture and pests.
However, because drywall is weatherproofed with resins, moisture can sometimes get inside the wall cavity and cause mold, mildew, and rot. Unless you have access to a wet-dry vacuum system or a dehumidifier that can remove excess moisture from your house daily. This can lead to problems like peeling paint or cracking in your drywall.
Steps To Patching Large Holes Of Drywall
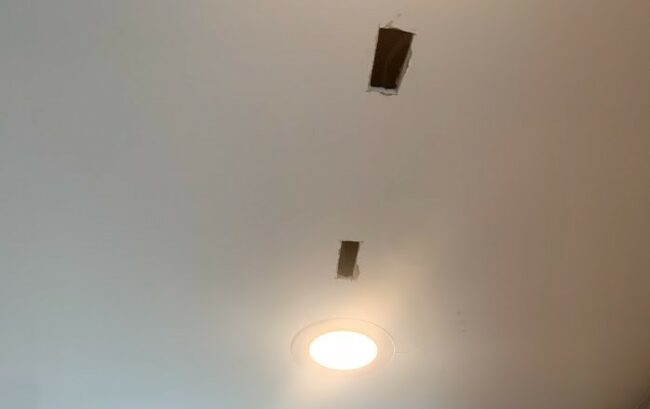
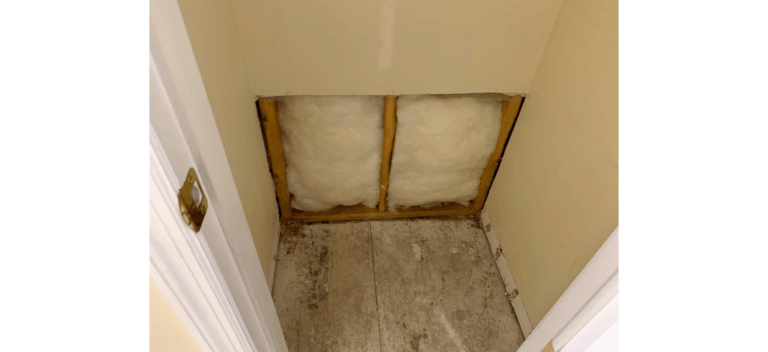
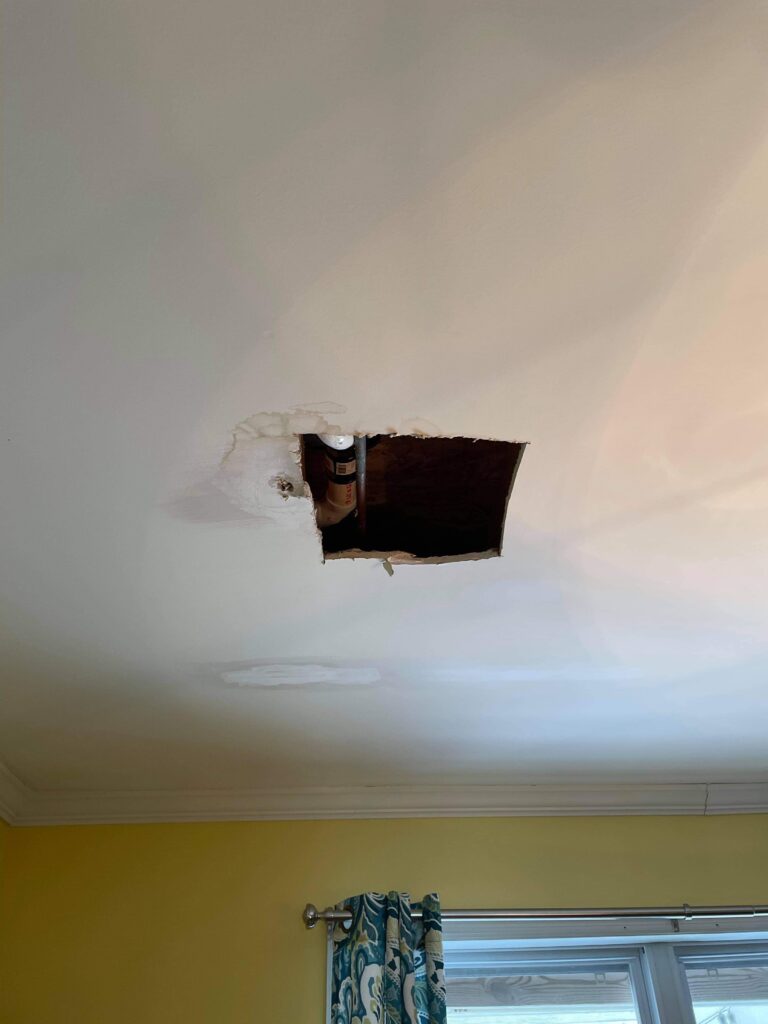
Large holes in the drywall can be patched with a variety of materials. The type of patching material you use will depend on the size and location of your hole. If you have a large hole in drywall, you’ll need to patch it before you can paint over it. Follow these steps to do so:
Step 1: Cut Out a Piece of Drywall to Use as the Patch
The first step in patching drywall is to cut out a piece of drywall that’s slightly larger than the hole you’re going to fill. This will allow for extra room and give you something to hold on to as you work. Use a utility knife or razor blade to cut out the piece of drywall, then use your hands or pliers to remove it from its mounting clips. If you’re using a utility knife, make sure that you’re holding it at an angle. You want to cut through the paper backing of the drywall rather than through the gypsum core. Otherwise, your repair job could fail when water makes its way into the core and causes it to swell.
Step 2: Trace the Patch Size Over the Hole
Once your patch piece is ready, transfer its size onto the back side of whatever piece of drywall you’re using as a patch (usually just one layer). You can do this by simply placing your hand over both pieces and tracing around them with a pencil or marker; draw around both layers if necessary so that they match up perfectly when put together later.
Step 3: Cut Out the Hole
Cut out the damaged drywall with a keyhole saw. The keyhole saw has a thin blade that cuts around obstructions, such as pipes and electrical wires.
Step 4: Attach Furring Strips Inside the Hole
Attach furring strips to both sides of the hole using wood screws driven into wall studs. Make sure the furring strips are level and square with each other. If you have a lot of damage, it may be necessary to attach additional furring strips on both sides of the hole. This way you won’t have to go up into the attic or down into another wall cavity to support them later on in this project.
Step 5: Attach the Patch to Furring Strips
Lay the patch on the wall and ensure it’s square with the room. Then, drive two screws into each patch corner. You can use drywall screws or metal-to-wood screws (if you’re using furring strips).
Step 6: Apply Joint Tape to the Patch
After you’ve attached your patch to your wall, it’s time to create a smooth finish so that there are no seams between surfaces. To do this, we must apply joint tape over any seams in our drywall patch. This will allow us to paint over our repair later without creating any noticeable bumps or ridges.
To apply joint tape, first cut a piece slightly larger than the hole or crack in your wall. Then, apply joint tape over all sides of your repair area (including inside corners). Make sure that you press down firmly when applying joint tape — doing so will ensure that your repair doesn’t come apart later on down the road when someone is painting around it!
Step 7: Apply Joint Compound
Once you’ve applied the joint tape, it’s time to apply the joint compound to finish filling in your hole. This is an easy step because you can use a putty knife or trowel to spread the compound within your hole and over the patch’s edges. You should apply enough compound to fill all gaps and completely cover your patch.
Steps To Patching Small Drywall Holes
Holes in drywall are not uncommon, and accidents can cause them or may occur when you install a new light fixture or television. Small holes can be patched quickly and easily with a drywall patching compound.
Step 1: Sand or Scrape the Edges of the Hole
You want to remove any old mud, sandpaper, or other debris around the hole that interferes with your patching job. You can use a small hand sander or a piece of sandpaper for bigger holes. For bigger holes, it’s best to use a utility knife or oscillating multi-tool to scrape loose stuff before you begin patching, and this will make the surface smoother and easier for your patching compound to adhere.
Step 2: Apply the Patch
Drywall patching compounds come in many different sizes. Choose one that you believe is sufficient enough, depending on the size of your patch. Use a taping knife to smooth out some compound onto the wall’s surface where you want to place your patch, then press it firmly with your fingers or with a trowel. Use a damp sponge to clean up any excess compound after it dries completely.
Step 3: Spread the Spackle
Spread the spackling compound/joint compound over the hole with a putty knife or drywall knife. The compound should cover the hole completely.
Step 4: Let the Spackle Dry
Let the spackling compound dry before sanding or painting. If you’re using a drywall patch kit, follow the instructions on its package to determine how long you need to wait before continuing with your project. You can usually use water-based paints and primers after two hours, but if you have time, let it cure for at least 24 hours before painting.
Step 5: Sand and Paint
Sand down any rough edges with fine-grit sandpaper. Then, prime and paint over your patched hole with a color that matches your wall.
How do you fix uneven drywall patches?
To fix an uneven drywall patch, first sand the surface of the drywall until most imperfections have been removed. Then apply a thin layer of drywall compound larger than the uneven patch with a joint knife to blend it in. Let this drywall compound dry completely before sanding it down with fine-grit sandpaper. If you find any areas that still need repair after sanding, apply another thin layer of compound and let it dry again before sanding once more.
Once your patched area is entirely smooth, prime and paint it with your desired color to match the rest of your wall or ceiling!
Conclusion
You now know how to patch a hole on a wall using drywall compound, but the real key here is all in the prep work. Take care with your patch and make sure everything is smooth and ready to go before you start to slap some paint on it. If you run into any questions, feel free to drop a comment below!

