Drywall Installation Tips for Beginners
Installing drywall can seem like an intimidating task for novices, but with the right tools, techniques, and guidance, it becomes manageable—and even enjoyable! Whether you’re renovating your home, finishing a basement, or merely looking to update a room, this blog post will outline essential tips for beginners tackling drywall installation. So, grab your tools, and let’s get started!
Understanding the Basics of Drywall
Before diving into installation, it’s crucial to understand what drywall is. Drywall, also known as gypsum board or plasterboard, is a panel made of gypsum plaster sandwiched between two sheets of thick paper. It’s widely used in construction because of its fire resistance and ease of installation.
Common Types of Drywall
- Standard Drywall: The most common type, suitable for interior ceilings and walls.
- Moisture-Resistant Drywall: Ideal for bathrooms and kitchens, preventing mold from developing.
- Fire-Resistant Drywall: Used in areas requiring additional safety, like walls separating garages from living spaces.
Essential Tools for Drywall Installation
Investing in the right tools will make your drywall installation process much smoother. Here’s a list of must-have tools:
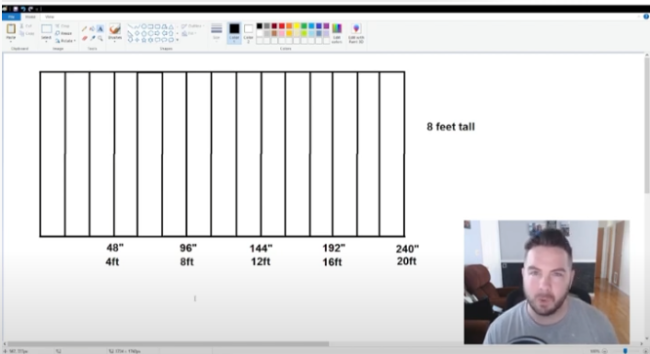
- Drywall Sheets: Standard 4×8 foot sheets in either 1/2 inch or 5/8 inch thickness.
- Drywall Screws: 1 1/4" screws for walls and 1 5/8" screws for ceilings.
- Drywall Knife: For cutting the drywall.
- T-Square: To ensure precise cuts and measurements.
- Stud Finder: Helps locate wall studs behind existing drywall.
- Drywall Lift (11′): Makes it easier to hoist panels onto ceilings.
- WEN Drywall Sander: A fantastic resource for smoothing out your drywall mud.
- Drywall Tape: Mesh tape is often easier to work with than paper tape.
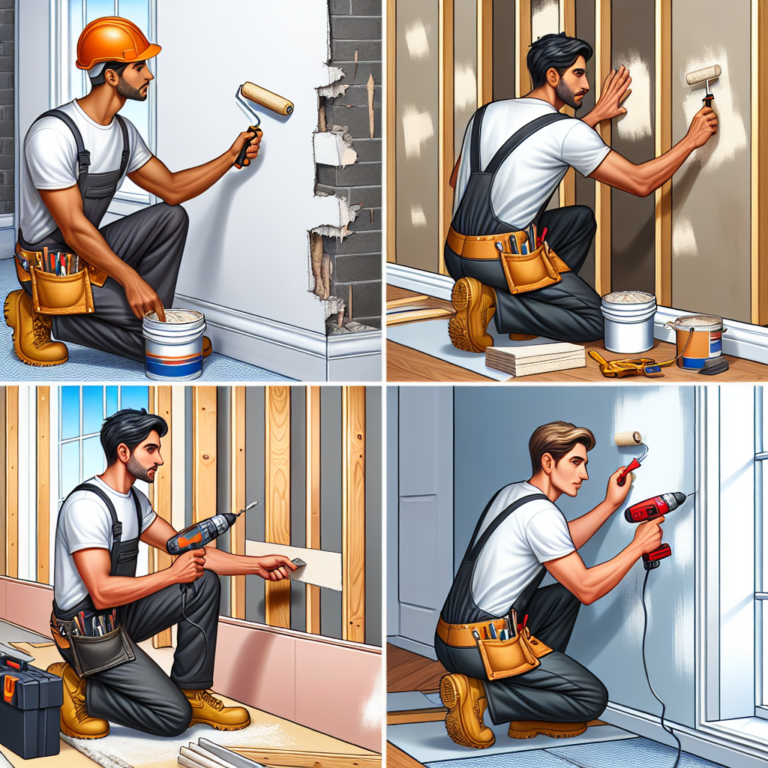
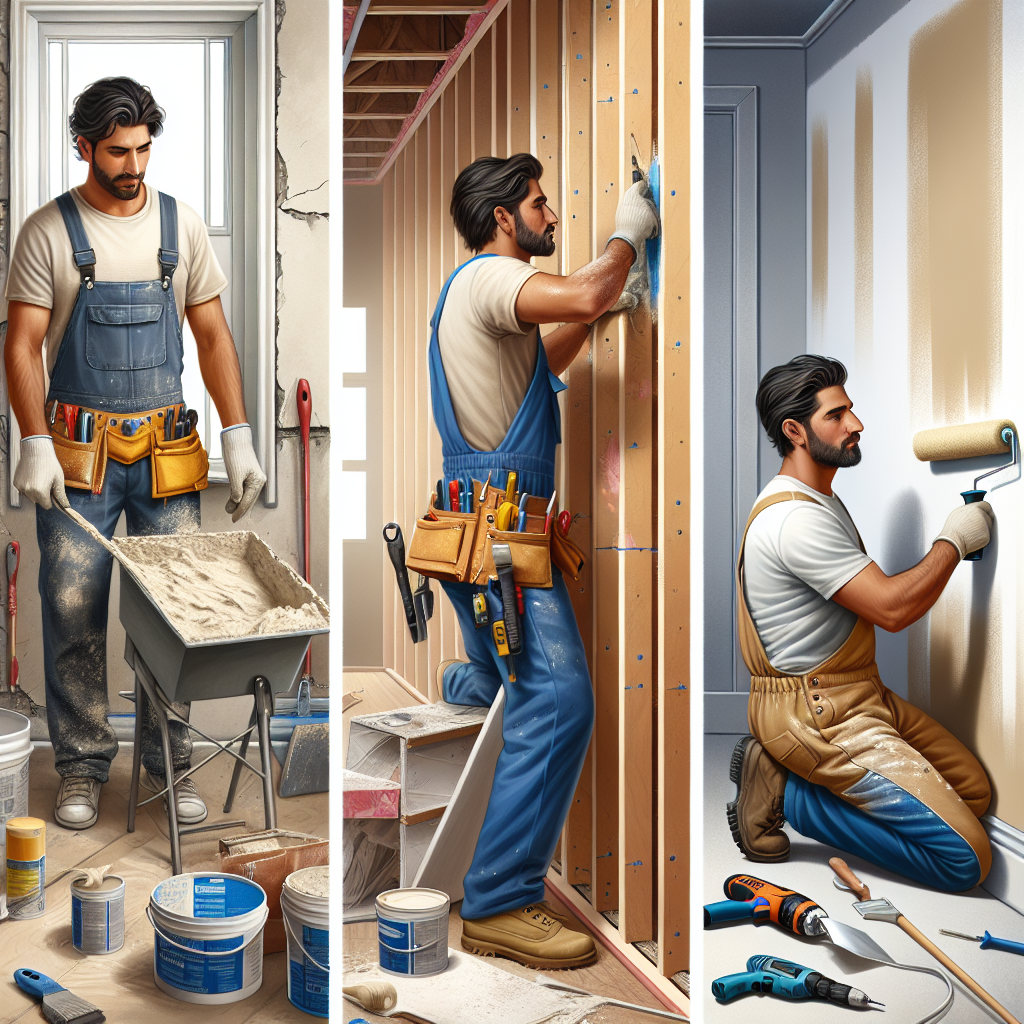
Step-by-Step Guide to Installing Drywall
Step 1: Prepare the Space
Make sure the area is clean and free of debris. Remove any old wall coverings, and ensure that electrical wires and plumbing fixtures are in place. It’s important to have a clear view of the dimensions so you can cut your drywall panels accurately.
Step 2: Measure and Cut Drywall Panels
Using a T-square, mark your desired measurements on the drywall. Then, score the drywall with a utility knife and snap it along the scored line. For complex cuts around outlets or fixtures, make precise cuts using a drywall saw.
Step 3: Hang the Panels
- Start with the Ceiling: Use a drywall lift to hold the panel in place while you secure it.
- Screw the Panels: Use drywall screws to attach the panels to the studs. For walls, keep screws spaced every 16 inches apart, and for ceilings, space them every 12 inches.
Step 4: Tape and Mudding
After hanging all your panels, you must tape and mud the seams:
- Apply Joint Tape: Use mesh tape over seams and corners. It’s easier for beginners as it doesn’t bubble or tear during application.
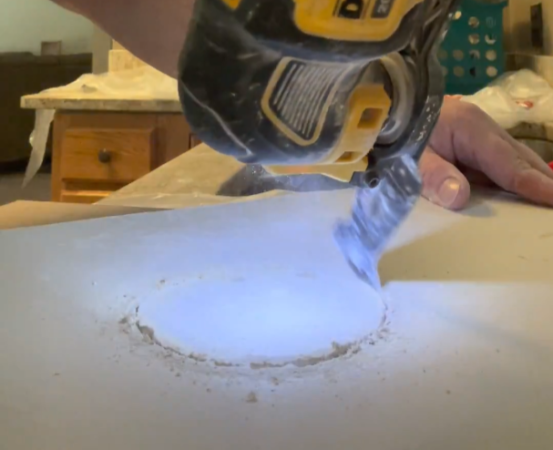
- Mud the Joints: Use an all-purpose drywall compound. Apply and smooth over the tape and screws with a drywall knife. Allow it to dry completely before sanding.
Step 5: Sand the Drywall
Once the mud dries, use a drywall sander to smooth out the surface. You want a flat and seamless finish here, so sand until you can’t feel any high spots or textures.
Step 6: Priming and Painting
After sanding, apply a coat of primer to prepare for painting. A special drywall primer will seal the surface for an even finish.
Frequently Asked Questions (FAQs)
Q: How many screws do I need for drywall?
A: Typically, you’ll need one screw every 16 inches for walls and every 12 inches for ceilings.
Q: What type of mud should I use?
A: For beginners, 3.5 Qt All Purpose Compound is versatile and easy to work with.
Q: Can I use regular tape instead of mesh tape?
A: While you can use paper tape, mesh tape is generally more beginner-friendly due to its adhesive backing.
Common Mistakes to Avoid
- Not Checking Wall Studs: Skipping this can lead to poorly secured panels.
- Using the Wrong Screws: Light-gauge screws can strip easily; use dedicated drywall screws.
- Overloading Mud: Apply thin layers of joint compound instead of thick ones to avoid cracking.
- Neglecting Sanding: Proper sanding ensures a smooth finish; don’t skip this vital step.
Pro Tips for Your Drywall Project
- Use a Drywall Lift: This tool can significantly ease hanging overhead sheets.
- Use the Right Drywall: Match your drywall type to the room requirements (moisture resistant for bathrooms, etc.)
- Consider Professional Help: If your project seems overwhelming or is large-scale, don’t hesitate to get professional contractors involved.
Related: The Best Drywall Taping Techniques
Final Thoughts
With these tips in hand, beginners can step into drywall installation with confidence. Remember, practice makes perfect, and don’t hesitate to start on a small project first.
Now that you know the basics of drywall installation, it’s time to get to work! Soon, you’ll be more comfortable with drywall than you ever thought possible.
Share & Resources
If you found this guide helpful, please share it on Pinterest, Facebook, or Reddit! Your support helps others find useful drywall installation techniques.
Contractors, home improvement bloggers, and DIY forums: Feel free to link back to this article to help your audience with expert drywall installation tips.
Together, let’s empower our communities with the knowledge to improve our homes, one drywall project at a time!