Drywall Prep For Painting Reviewed: What You Need to Know
When it comes to home renovations or remodels, one of the most important yet overlooked aspects is drywall preparation before painting. As an experienced contractor, I’ve encountered countless projects where the quality of the finish could have been significantly improved if the drywall had been better prepped. Whether you’re a DIY enthusiast or a seasoned professional, understanding the steps necessary for drywall prep can save you time, money, and frustration down the line. In this blog post, we’ll review everything you need to know about drywall prep for painting and why using the right tools, like those from Level5 Tools, can make a world of difference.
The Importance of Drywall Prep
Proper drywall preparation is crucial because it sets the foundation for the entire painting process. Neglecting this step can lead to visible imperfections, uneven surfaces, and poor paint adhesion, resulting in a subpar finish. Just like a painter wouldn’t start without preparing the canvas, you shouldn’t begin painting without prepping the drywall first.
Here’s what you gain from proper drywall prep:
- Smoother Finish: Good prep work ensures the paint adheres evenly, providing a sleek surface.
- Durability: Adequate preparation reduces peeling, chipping, and other paint failures over time.
- Aesthetic Appeal: Flawless walls can elevate the overall look of your living space.
Essential Steps for Drywall Prep
Step 1: Gather Your Tools
Before starting your drywall prep, gather the necessary tools. Here are some tools from Level5 that you may need:
- Level5 Taping Knives: Essential for applying joint compound smoothly.
- Level5 Mud Pans: Perfect for holding compound as you work.
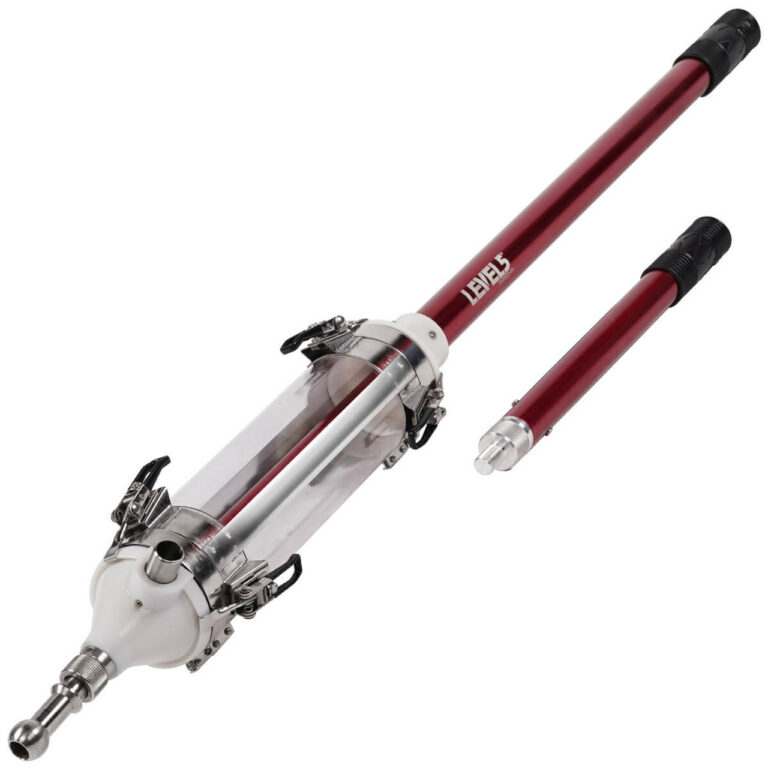
- Level5 Automatic Taper: This tool speeds up the taping process and ensures even application.
- Level5 Corner Finishers: Ideal for finishing difficult edges.
Investing in quality tools will streamline your process, create a better finish, and enhance your efficiency.
Step 2: Inspect the Drywall
Before applying any compounds or taping, inspect your drywall for any imperfections, such as:
- Holes and Dents: Use a joint knife to scrape around and identify any significant damage.
- Missed Joints: Make sure each seam is filled and ready for painting.
- Surface Flaws: Examine for bumps or unevenness that could affect the paint’s application.
Step 3: Clean the Surface
Once you’ve identified any issues, the next step is cleaning:
- Wipe Down the Walls: Use a damp cloth to remove dust and debris that may have settled on the surface.
- Tack Cloth: A tack cloth can be beneficial for picking up finer particles that may affect adhesion.
Step 4: Repairing Imperfections
Adjacent to the inspection, you’ll want to repair any flaws:
- Filling Holes: Apply joint compound using your Level5 Taping Knife to fill in holes and dents.
- Sanding: Once the compound has dried, lightly sand the area to create a smooth finish.
- Re-checking: After sanding, re-check the area to ensure it meets your expectations.
Step 5: Taping the Seams
This is where Level5’s expertise truly shines. For taping, consider these steps:
- Apply Tape: Use a Level5 Taping Tool to apply drywall tape over the seams.
- First Coat of Joint Compound: Using your Level5 Taping Knife, apply a thin layer of joint compound over the tape.
- Let it Dry: Allow for proper drying time according to the compound manufacturer’s recommendations.
Step 6: Sanding and Second Coat
Once the first coat dries:
- Sand Again: Use a fine-grit sandpaper to smooth the surface.
- Apply Second Coat: Add another layer of joint compound for a smoother finish, followed by another sanding.
Step 7: Final Preparation for Painting
- Final Inspection: Once everything is sanded and smoothed out, inspect again for any missed areas.
- Dust Removal: Use a vacuum or tack cloth to remove any dust before painting.
Step 8: Prime the Walls
Priming is crucial, especially for new drywall:
- Use a Primer Specifically for Drywall: This helps seal the compound and provides a better base for paint.
- Consider using a Roller: A Level5 Corner Roller can be great to use in getting into those tight edges.
Common Mistakes to Avoid
- Skipping Sanding: Skipping the sanding step can leave imperfections that show through your paint.
- Rushing the Process: Allow each layer to dry thoroughly for best results.
- Not Using Quality Tools: Cheap tools can lead to poor results, but investing in quality products from Level5 can keep that from happening.
Choosing the Right Paint
Once you’ve properly prepared the drywall, selecting the right type of paint is essential. Focusing on high-quality paints suited for interiors can prevent common issues like peeling and fading over time.
Conclusion
By following these steps, not only will you improve the quality of your paint job, but you’ll also bolster your credibility as a contractor or DIY homeowner. Quality drywall preparation elevates the entire project and can save you from future headaches.
Explore the right tools at Level5 Tools Store to ensure your drywall prep and painting goes seamlessly.
Call to Action
How do you prep your drywall before painting? When was the last time you had to redo a paint job due to poor prep? Share your experiences, or dive into more tips on Drywall Skimming Tips for a Flawless Finish!
Remember, the better your preparation, the better your results will be!

