Mastering Drywall Screw Spacing For A Flawless Install
Achieving a seamless and structurally sound drywall installation requires a deep understanding of the nuances of every step involved. One critical aspect that often goes unnoticed but holds immense importance is drywall screw spacing. Proper screw placement not only contributes to the overall aesthetics of the finished project but also ensures the long-term stability of your walls and ceilings. In this extensive guide, we will delve into the intricacies of drywall screw spacing, providing you with valuable insights and practical tips that align with industry standards, including those set by USG.
Why Drywall Screw Spacing Matters
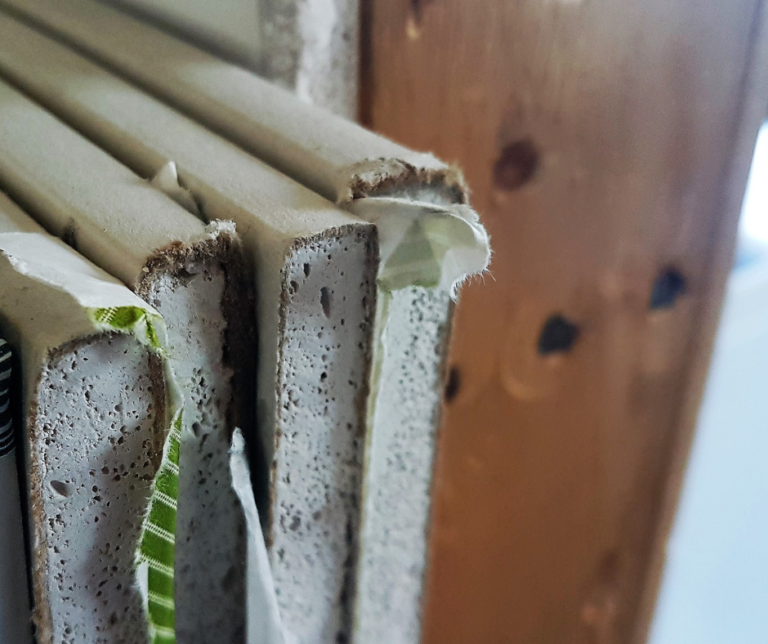
Drywall is a versatile material, but its structural integrity can be compromised if not secured properly. Drywall screw spacing directly impacts the strength and longevity of the installation. Incorrect spacing can lead to issues such as sagging, bulging, cracking, and even complete failure of the drywall. By adhering to precise screw spacing guidelines, you can avoid these problems and ensure a professional-grade outcome.
USG’s Guidelines for Drywall Screw Spacing
USG, a renowned leader in the construction industry, provides specific instructions for optimal drywall screw placement. Let’s break down the key elements of USG’s recommendations:
Ceiling Installations
- Space screws at a maximum interval of 12 inches.
- Sink screws slightly below the surface of the drywall, leaving the paper intact.
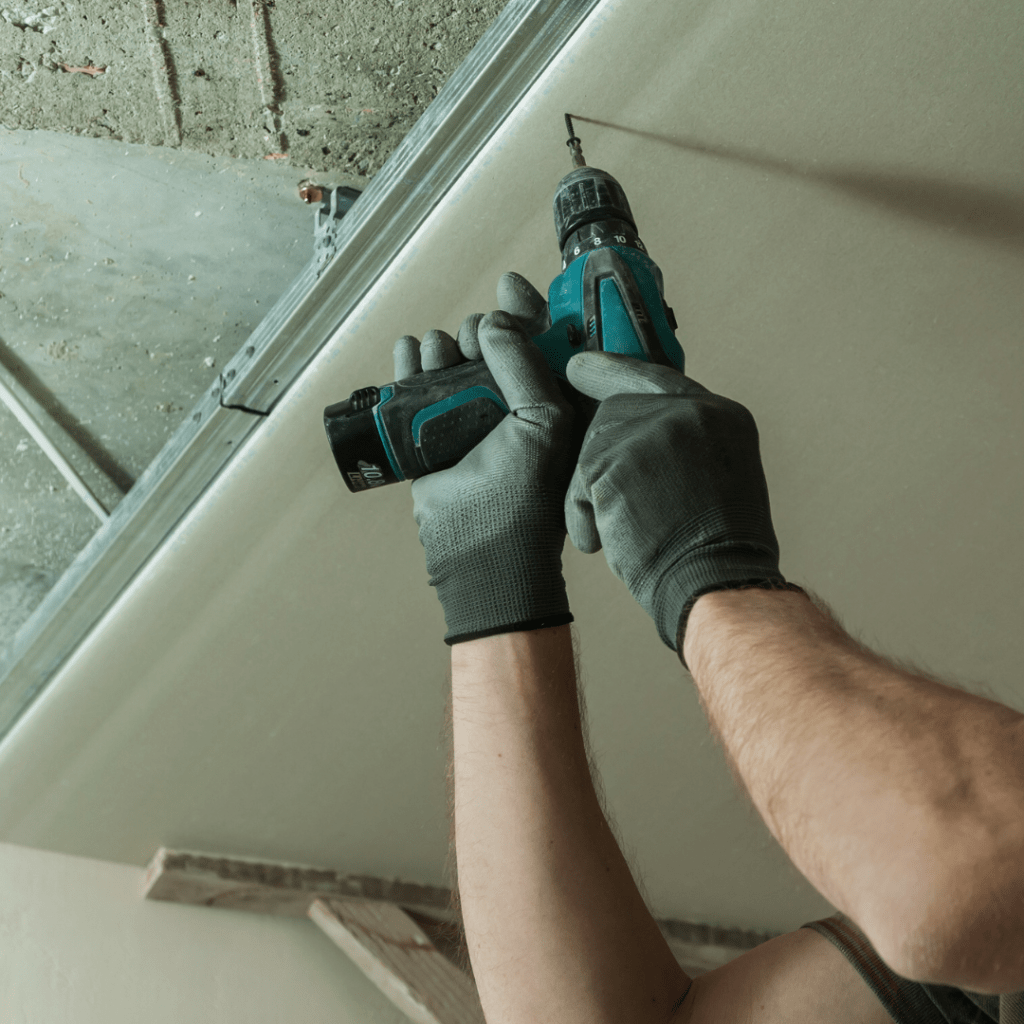
- Utilize an electric screw gun equipped with an adjustable screw depth control head and a Phillips bit.
Wall Installations
- Maintain a maximum spacing of 16 inches between screws.
- Keep screws at least 3/8 inch away from the ends and edges of the panels.
- Use an electric screw gun with adjustable depth control to sink screws just below the panel surface.
The Benefits of Following Proper Screw Spacing
Adhering to USG’s guidelines for drywall screw spacing offers several advantages:
- Enhanced Structural Integrity: Proper screw spacing evenly distributes the load across the drywall, preventing undue stress and ensuring stability.
- Minimized Cracking: Appropriate spacing reduces the risk of cracks forming along seams and edges due to expansion and contraction.
- Professional Finish: Consistent screw spacing results in a smooth and uniform surface, enhancing the visual appeal of the installation.
- Ease of Installation: Following recommended spacing simplifies the installation process by providing clear guidelines and reducing the need for guesswork.
- Longevity: Proper screw placement prolongs the life of your drywall by preventing premature wear and damage.
Tips For Different Applications
Ceiling Installation Tips
- Use 1-1/4″ Type W Bugle Head Screws for superior holding power, particularly for thicker panels.
- Make use of T-braces or a panel lifter tool to support panels during installation, ensuring firm contact with joists.
Wall Installation Tips
- Start with the top row of panels when applying horizontally.
- Stagger vertical joints for improved structural integrity.
- Cut panels accurately to avoid forcing them into place and risking damage.
Conclusion
Mastering drywall screw spacing is an essential skill for achieving professional-quality installations. By understanding and implementing USG’s guidelines, you’re not only ensuring the integrity and aesthetics of your project but also contributing to its longevity. A well-executed drywall installation not only adds value to your space but also reflects your commitment to quality craftsmanship. Remember, every screw plays a role in the overall strength and appearance of your drywall, so take the time to get it right. With the insights gained from this comprehensive guide, you’re equipped to tackle drywall screw spacing with confidence and precision, producing outstanding results that stand the test of time.