How to Choose the Right Professional Drywall Sanding Tips
Choosing the right drywall sanding tips can significantly impact the quality of your drywall finishing work. Whether you are a seasoned contractor or a budding DIY enthusiast, understanding the nuances of sanding can elevate your project to a professional level. Drawing on personal experiences and professional insights, this post will guide you through the process of selecting the right sanding tips, ensuring a flawless finish every time.
Personal Experience: A Contractor’s Journey
I remember my first big drywall project like it was yesterday. Armed with optimism and a set of basic tools, I was ready to tackle the job. The walls looked good after the initial taping, but the sanding… that was another story. I underestimated the importance of selecting the right sanding tools, and the results were far from perfect. After learning the hard way, I turned to specialized equipment—specifically from Level5 Tools. This experience taught me that the right tools can make all the difference in achieving a smooth, professional finish.
Understanding Professional Drywall Sanding
What is Drywall Sanding?
Drywall sanding is the process of smoothing out the tapered edges of drywall seams and any protrusions left from mudding. Proper sanding is essential for achieving a flawless finish before painting or wallpapering your walls.
The Basics of Sanding Tips
When it comes to drywall sanding, choosing the right sanding tips involves considering the following factors:
-
Grit Size: Sandpaper or sanding tips come in various grit sizes, which determine the coarseness of the paper. Lower numbers (60-120) are coarse and suitable for heavy stock removal, while higher numbers (220-400) are fine and best for finishing touches.
-
Material: Sanding tips are made from different materials. Aluminum oxide is durable and good for wood. Silicon carbide, however, is ideal for drywall as it creates a finer finish.
- Sanding Tools: There are various tools available for sanding drywall, including hand sanding blocks, power sanders, and pole sanders. All have their respective benefits, but it’s essential to match the sanding tip to the tool for optimal performance.
Choosing the Right Sanding Tips
Step 1: Know Your Task
Understanding the extent and nature of the task will help you pick the right sanding tips.
- Initial Pass: When sanding freshly mudded joints, start with a lower grit (60-80) to remove excess compound effectively.
- Finishing Pass: For the final smoothening, switch to a higher grit (220+).
Step 2: Match Your Tools
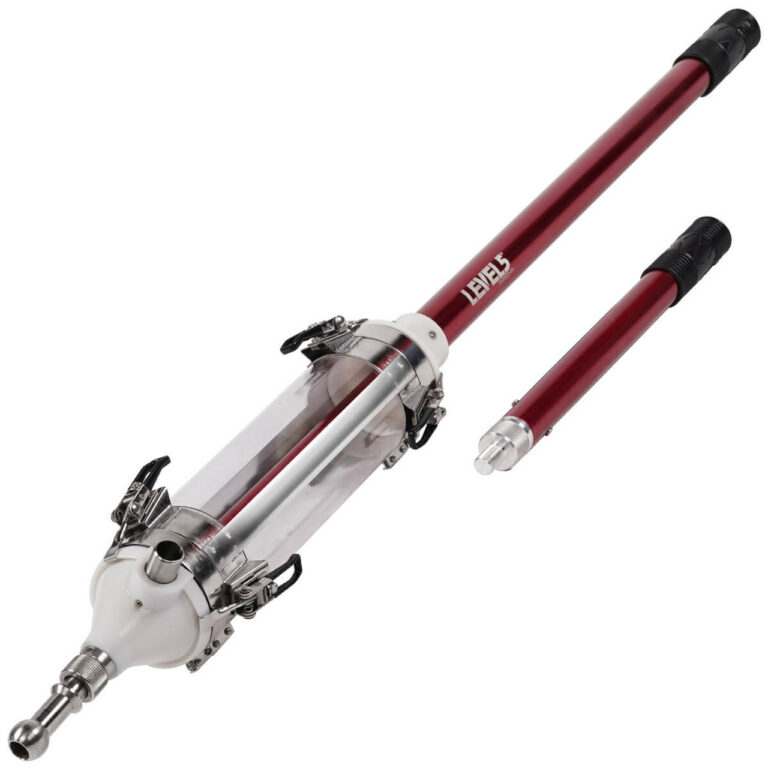
Utilizing the right tools with your sanding tips is crucial. If you’re using a power sander, ensure it’s suitable for the type of sanding tips you’ve selected. Level5 offers an array of high-quality tools, such as:
- Automatic Taper: This is great for achieving smooth finishes on seams quickly.
- Flat Boxes: These tools can also assist during the initial sanding phase.
Step 3: Assess the Material
Drywall requires a different approach compared to wood or metal. Make sure to choose sanding tips specifically designed for drywall, like:
- Level5 Skimming Blades: Perfect for achieving that seamless finish, particularly for second coat applications.
Step 4: Consider Ergonomics
A comfortable tool will lead to better performance. Look for sanders that are easy to handle, particularly those designed for prolonged use. The right ergonomic design will prevent fatigue during long sanding sessions.
Step 5: Important Features
Some additional features to consider when selecting sanding tips and tools are:
-
Dust Collection: Opt for tools that have excellent dust control features, especially if you’re working indoors. This will help you maintain a clean workspace and reduce respiratory issues.
- Versatility: If you plan on working on multiple projects that include not just drywall but also woodwork, consider acquiring sanding tips adaptable to various materials.
Most Recommended Sanding Tips and Tools
Best Grit Levels for Various Tasks
- Heavy Mud Removal: Use a 60-80 grit attached to a pole sander or an electric sander.
- General Surface Prep: An 120 grit is optimal for smoothing out uneven surfaces.
- Final Finish: A 220 grit or higher for that flawless look before painting.
Top Sanding Tools to Consider
When searching for the ideal sanding tools, consider these options from Level5:
- Taping Knives: Great for applying mud before sanding.
- Mud Pans: Perfect for keeping materials organized.
- Corner Finisher: Ideal for interior corners, making sure they appear sharp and professional.
Common Mistakes to Avoid
-
Using Incorrect Grit: Always starts with coarse sandpaper for heavy tasks, and work your way up to finer grits for finishing to avoid gouges.
-
Neglecting Dust Control: Ensure a clean workspace while sanding; this not only aids visibility but significantly lowers health risks.
- Over-Sanding: This can lead to uneven surfaces—be mindful of how much pressure you apply during the process.
Conclusion
Selecting the right drywall sanding tips requires a thoughtful approach to the task at hand. By understanding your project’s needs, matching appropriate tools, and choosing the right grit, you can ensure a smooth, professional finish every time.
For a deeper dive into drywall techniques, don’t forget to check out our articles on The Best Drywall Taping Techniques and How to Repair Drywall Like a Pro.
Call to Action
Now that you’ve learned about choosing the right sanding tips, what project are you looking forward to tackling next? Be sure to explore more resources on drywall finishing to elevate your skills!