How To Hang Drywall Like A Pro
If you’re looking for the best way to hang Sheetrock, the following guide will help you understand the process. I’ve been doing drywall for many years now. I’ve done very small jobs and large jobs by myself. Hanging sheetrock is not always a “cut and dry” thing, so I designed this guide so you can understand the best way to hang sheetrock.
I currently have a business doing drywall in Upstate NY, so drywalling, taping and finishing is my bread and butter; I’ve been doing it for years. I’ve seen homeowners make some common mistakes, and to keep things real – I’ve definitely made some mistakes along the way. My goal is to get things done right the first time, so there are no future issues. I created this blog to help DIYers and general contractors how to get better at the trade.
What Area Are You Drywalling?
Before we get into the best way to hang drywall, I want you to keep in mind things may be different based on the height and width of your walls. It’s never the same for me on jobs, so I’m going to provide ways based on what I’ve personally seen. If something is not mentioned here or if you end up having a question, please feel free to write in the comments below.
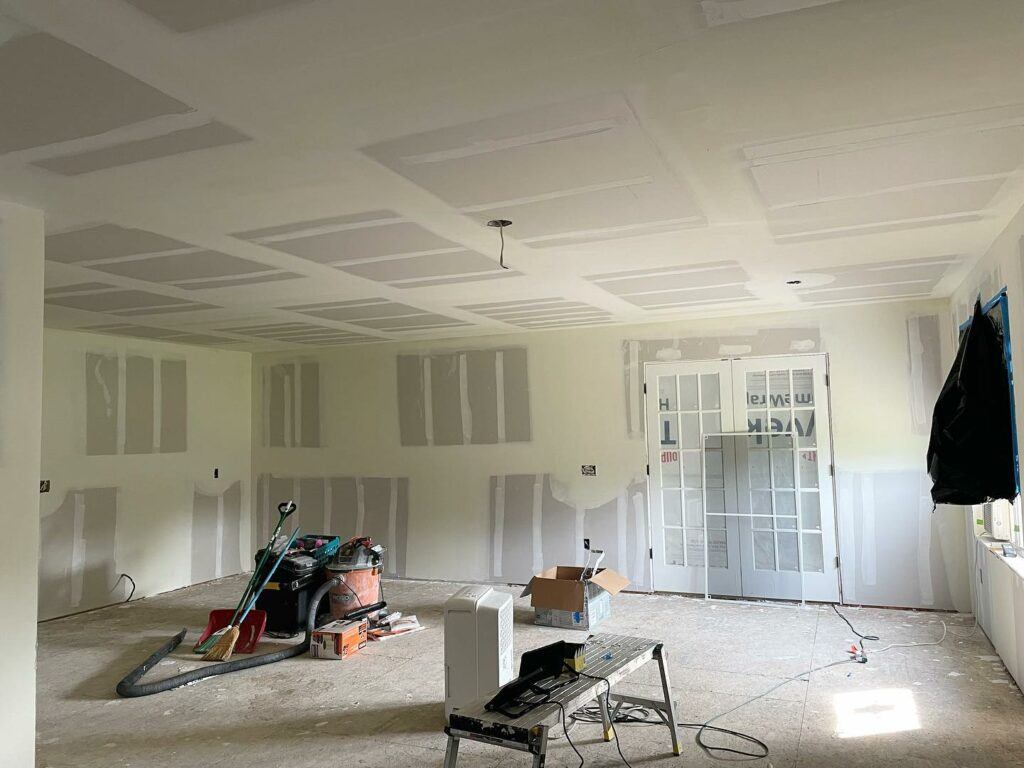
How To Hang Drywall On Ceilings
If you are doing a whole new renovation or a fresh build, in the drywall world you always start with the ceilings first. This is typically a two person job, but I can speak from experience that it can be done alone.
If you are hanging a drywall ceiling alone, I recommend asking a friend or family member for help first. If you can’t find anyone to help or if you just prefer to do it alone it might be a good idea to get a drywall lift. The largest job I’ve done was a full renovation with about 96 sheets of drywall. A drywall lift can be pricey, but it can be extremely helpful for solo workers. I bought mine used from Facebook marketplace from a guy who just needed it for one project. So, if you do decide to buy one just for one project – just sell it after! There’s always someone just like you looking to do a drywall project solo.
A drywall lift allows you to lift your drywall to about chest height, and you can simply crank it up to the ceiling. It’s a simple crank and pulley system. Once you set it in place, you can then use a work platform or ladder to screw the drywall in.
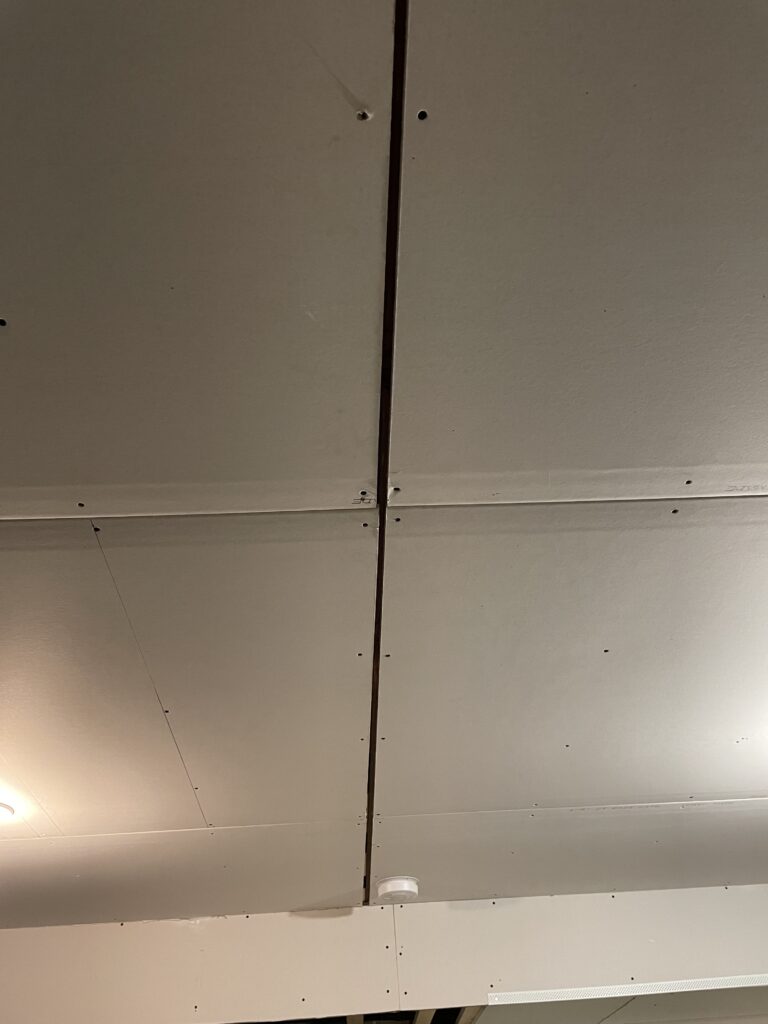
Rule #1: Stagger Your Drywall Seams
The absolute best way to hang your Sheetrock is to make sure you are staggering seams, and hanging it perpendicular to the joists. You should always hang sheetrock perpendicular to the joists because it creates a stronger joint. It will also save you from future cracks in your ceiling or walls.
How To Cut Drywall Around Recessed Lights Or Electrical Boxes
When you are hanging Sheetrock on a ceiling, you will most likely run into an electric box meant for the lighting in that room. These are the “tricky” cuts when it comes to drywall because you will have to measure it from the ceiling, figure out how you’re going to place the drywall up, make the cut on the floor, then hope you got it all right. There are tools out there to make this much easier.
There is a Mark N Guard by Buddy Tools and the Multi Mark Drywall Cutout Locator. Both products do essentially the same thing, but in different ways. If you prefer to do it the old way, it’s completely fine! It just leaves room for error, but if you are good and precise, you don’t have to worry about that!
Mark N Guard by Buddy Tools
This plastic tool is designed to fit inside the electrical box and cover any wires. It has a pointy end that sticks beyond the electric box. This way, when you set the drywall in place and push on it, you know where the box is. Below is a link to the product.
Please Note: As an Amazon Affiliate I earn from Qualifying Purchases.
Multi Mark Drywall Cutout Locator
This is both a plastic and magnetic tool with two parts to it. There is a magnetic target (which goes directly into the electric box) and there is the magnetic target. With this tool, you place the magnetic target in the electric box first, set the drywall and screw it in slightly, then use the locator tool to find the magnet. This works well for ceiling cutouts because the locator has a circular mark and a box mark. Below is a link to the product:
Please Note: As an Amazon Affiliate I earn from Qualifying Purchases.
How To Hang Drywall On Walls
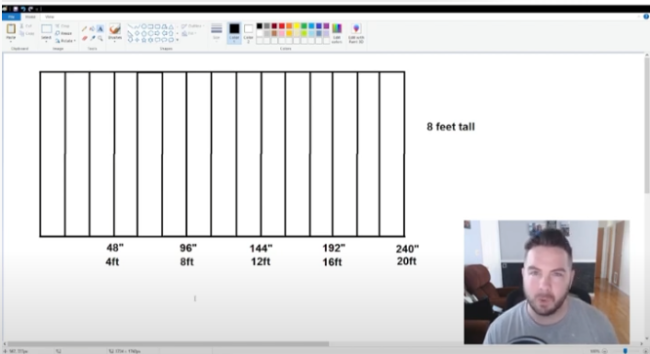
Before hanging your sheetrock on the walls it’s very important to have a game plan before you do so. The most important factor in your game plan is how high the walls are. If your walls come out to exactly 8 feet tall then it will be much simpler because each sheet of drywall you purchase is either going to be for 4×8 sheet, 4×10, or 4×12. As I said in the earlier part of the segment for the ceiling, you always want to hang your drywall perpendicular to the joists. I’ve created this video if you would like to see more of a visual representation of the best way to hang sheetrock on walls:
If you have 8-foot tall walls, the best practice is to hang your drywall horizontally and staggered. This goes for all residential homes. Too many times I see homeowners with 8ft walls that just assumed since a sheet is 8 ft tall, to it up vertically with the joists. This staggering concept follows in line with roof sheathing, and subfloors. It makes everything much stronger!
If you have less than 8ft tall walls, the best practice is to put the ripped end of the board on top. Assuming you have a 7’ tall wall, you will want to have one full 4’ sheet and one ripped 3’ wide sheet. My recommendation would be to have the ripped sheet start at the top of the wall (the cut end up) and the full 4’ sheet for the bottom. My reasoning for this is when you get to taping and mudding, you won’t have to bend over to reach the 3’ seam; it will be directly in front of you on the wall.
If you have more than 8ft tall walls but less than 12’, the best practice would be what is called a “bastard joint”. Simply put, a bastard joint is when a factory (recessed) seam and a butt seam are placed together. For this example, I’m going to use a 10’ wall. Since we know each sheet is 4’ wide, then we can decipher that we will need 2 (4’) full sheets and 1 ripped sheet at 2’. So most people assume you can put the 2’ sheet at the top of the wall or the bottom of the wall… but a bastard joint will save you from having to be up on a ladder for finishing or from being on your knees on the floor. In this example, you will place one full sheet at the top of the wall, then one full sheet at the bottom of the wall. Next, you will fill the 2’ space on the center of the wall with your ripped board. Be sure to leave the factory side up! This way you can comfortably work from chest height.
If You Have Questions
If you have any further questions about the best way to hang drywall, or if this guide helped you in any way, please reach out to me here. I really hope my guide helped you understand the process better and best of luck on your sheetrock project!