Drywall Corners: How to Get Perfect Edges
When it comes to finishing drywall, one of the most critical and often challenging aspects is achieving perfect corners. Whether you’re a seasoned contractor or a DIY enthusiast, mastering the techniques for creating smooth, clean corners can significantly improve the overall appearance of your walls. In this comprehensive guide, we will explore various methods and tips for getting perfect drywall edges, ensuring that your project turns out beautifully and professionally.
Understanding the Basics of Drywall Corners
Before diving into the methods of finishing corners, it’s important to understand the different types of drywall corners you may encounter:
H2: Types of Drywall Corners
-
Inside Corners: These are the areas where two walls meet at a right angle, typically found in most rooms.
-
Outside Corners: These corners are exposed and typically require corner beads for reinforcement, protecting the drywall against damage.
-
Bullnose Corners: A softer, rounded corner style that adds a modern aesthetic.
- Beaded Corners: A decorative style of finishing outside corners, providing a unique visual texture.
H3: Tools and Materials Needed
To achieve perfect drywall corners, you’ll need the right tools and materials:
- Drywall sheets (1/2” or 5/8" standard)
- Corner bead (metal or vinyl)
- Drywall screws
- Joint compound
- Drywall knife (taping and finishing knives)
- Taping knife (preferably 10” or wider)
- Sanding sponge or drywall sander
- Mesh or paper corner tape
H2: Step-by-Step Guide to Finishing Drywall Corners
-
Preparation:
- Ensure the drywall is properly installed, with seams tight and corners square.
-
Installing Corner Beads:
- For outside corners, install corner beads by aligning them with the corner edge. Secure them using drywall screws at regular intervals.
-
Taping the Corners:
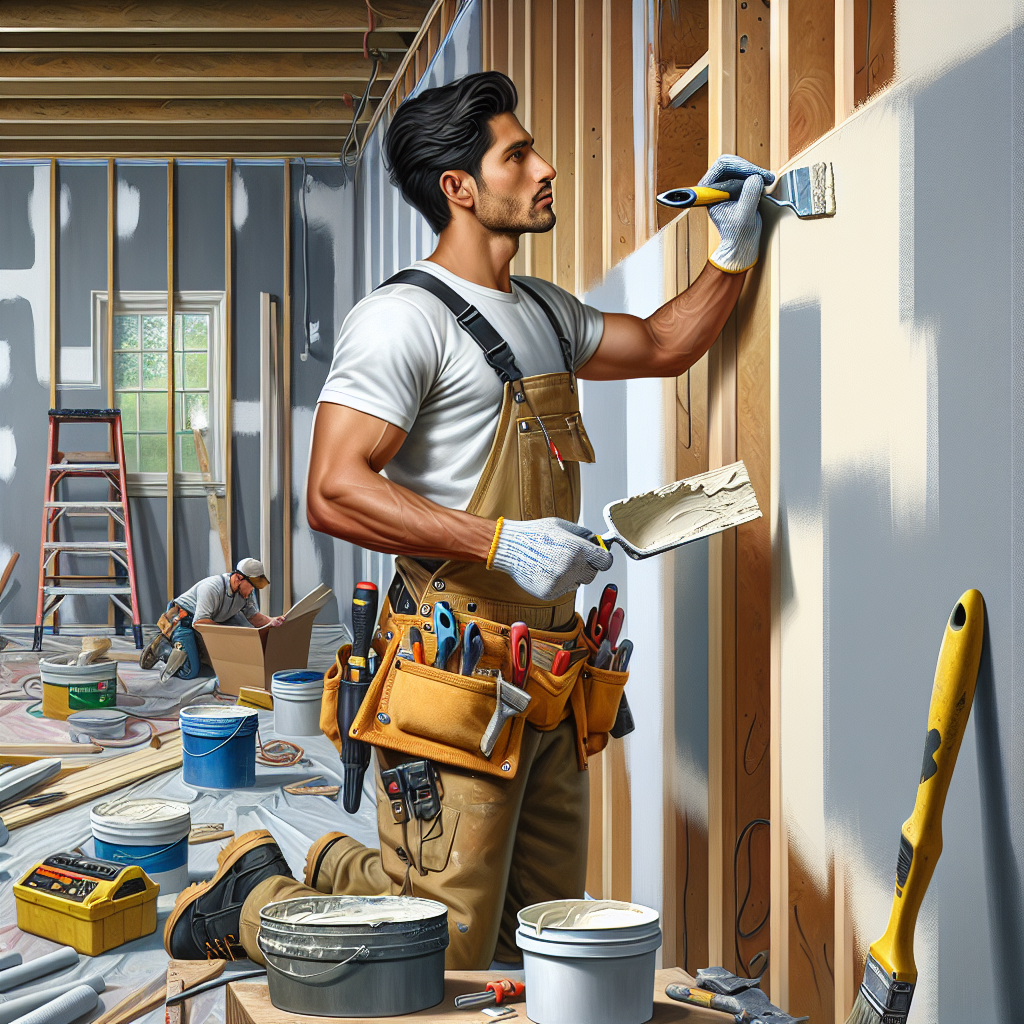
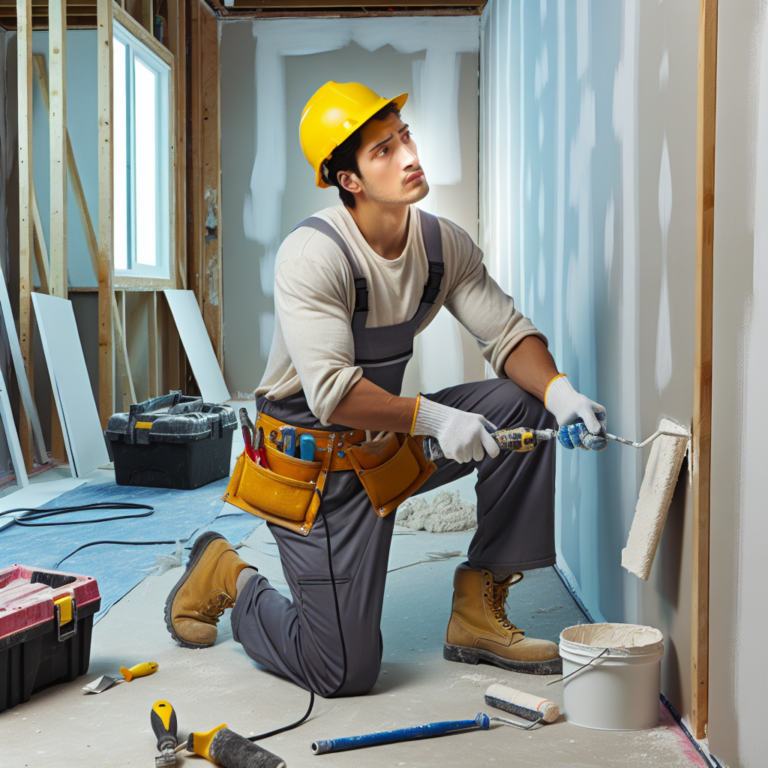
- For inside corners, apply a thin layer of joint compound to the corner using your drywall knife. Place the tape into the compound, pressing it down evenly. Use your knife to smooth out excess compound. For outside corners, apply joint compound over the corner bead.
-
First Coat Application:
- Apply your first coat of joint compound over the taped areas, smoothing it out as much as possible. This coat can be thicker than subsequent layers, as it serves to fill in gaps.
-
Drying and Sanding:
- Allow your joint compound to dry completely, typically overnight. Sand the corner lightly with a sanding sponge or drywall sander until smooth but do not over-sand, as this can damage your compound.
-
Subsequent Coats:
- Repeat the process for two additional coats, feathering out the edges farther each time to create a smooth transition.
- Final Sanding and Finishing Touches:
- After the last coat is dry, perform a final sanding. Use a finer grit to achieve a smooth finish. Avoid creating a depression in the corner while sanding.
H2: Common Mistakes to Avoid
Achieving perfect drywall corners involves finesse and attention to detail. Here are some common mistakes to steer clear of:
-
Skipping the Corner Bead: Not using a corner bead for outside corners can lead to chipping and damage.
-
Poor Tape Application: Ensure tape is applied evenly without bubbles. Otherwise, it can cause cracking.
-
Applying Too Thick of a Coat: Thick coats may not dry evenly and could result in cracking. Aim for thin, smooth layers.
- Over-Sanding: This can hollow out your corners and make them weak.
H3: Pro Tips for Perfect Corners
-
Choose the Right Joint Compound: Different joint compounds are better suited for various applications. Consider using a quick-setting compound for faster application.
-
Use a Corner Tool: Investing in a corner tool can help create sharp, precise angles effortlessly.
-
Careful with Measurements: Measure twice before cutting corners to ensure accuracy and avoid unnecessary waste.
-
Lighting Matters: When inspecting your corners for flaws, use good lighting. Natural light can be very revealing.
- Clean Tools Often: A clean drywall knife will apply smoother texture, reducing the need for excessive sanding.
Comparing Corner Bead Options
H2: Metal vs. Vinyl Corner Bead
Metal Corner Bead:
- Pros: Extremely durable and provides superior protection against dents and scratches.
- Cons: More labor-intensive to install and may require extra finishing work to hide.
Vinyl Corner Bead:
- Pros: Easier and quicker to install, lightweight, and resistant to rust.
- Cons: Less durable than metal and may dent easily.
Choosing the right corner bead depends on your project needs. If you’re looking for high durability, metal may be the best option. For quick installations, vinyl is ideal.
H3: FAQs About Drywall Corners
Q: How long does it take for joint compound to dry?
A: Typically, joint compound drying time is around 24 hours depending on humidity and temperature.
Q: Can I paint over joint compound without priming?
A: It’s advisable to use a primer to ensure even paint coverage and enhance durability.
Q: How can I fix mistakes in my corners?
A: Sand down the area, apply a bit of joint compound, and feather the edges. Once dried, sand again and repaint.
Conclusion
Getting drywall corners perfect can seem challenging, but with the right techniques and tools, it becomes manageable for anyone from professionals to DIY enthusiasts. Remember to invest in quality materials, take your time with each coat, and follow the steps outlined above. For further reading and techniques, check out our article on the Best Drywall Taping Techniques and learn how to Repair Drywall Like a Pro.
Share & Resources
If you found this guide helpful, please share it on Pinterest, Facebook, or Reddit! Your support helps others find useful drywall repair techniques.
Contractors, home improvement bloggers, and DIY forums: Feel free to link back to this article to help your audience with expert drywall repair tips.
Together, let’s empower our communities with the knowledge to improve our homes, one drywall project at a time!


