How to Install Drywall Corners with Metal Beads
Installing drywall corners is a critical skill for anyone involved in home renovation or construction. Metal corner beads not only provide strength and durability but also enhance the overall finish of your drywall project. From my personal journey as a DIY enthusiast to insights shared by seasoned contractors, this guide will cover everything you need to know about installing drywall corners with metal beads, from preparation to finishing touches.
My First Drywall Project: A Lesson in Metal Beads
I remember my first drywall installation—it was an old room in my family home that needed a fresh start. I was excited yet overwhelmed, especially as I reached the corners. After struggling with paper tape and mudding techniques, I discovered metal corner beads. This revelation transformed my entire approach! It was a game-changer, improving not only the aesthetic appeal but also the durability of the corners. With my newfound knowledge, I completed the project with edges that were not only professional-looking but also stood the test of time.
What Are Metal Corner Beads?
Metal corner beads are thin strips of metal that are used to create a protective edge at the corners of drywall installations. They come in various types, including:
- Standard Corner Beads: Offer solid protection and are perfect for most corners.
- Bullnose Corner Beads: Provide a rounded edge for a softer, more modern look.
- Vinyl Corner Beads: While not metal, these are another option that resists rust and corrosion, making them ideal for high-moisture areas.
Why Use Metal Corner Beads?
Metal corner beads provide several benefits:
- Durability: They resist dents and damage better than tape alone.
- Straightness: They ensure straight, crisp lines that enhance the appearance of your drywall.
- Ease of Use: Once installed, they simplify the mudding process significantly.
Tools and Materials You’ll Need
To install drywall corners with metal beads, gather the following tools and materials:
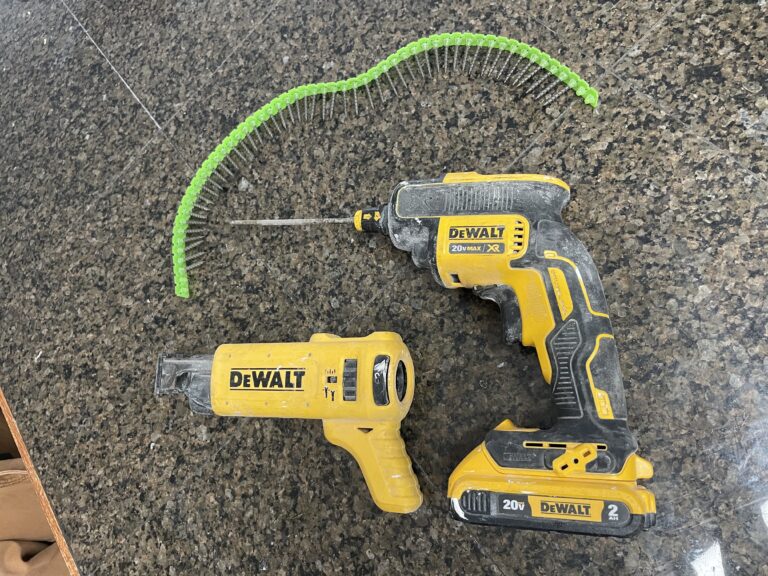
- Metal corner beads (available at your local hardware store like Home Depot)
- Drywall screws (1 1/4" or 1 5/8" depending on your drywall thickness) (Buy here)
- Drywall knife (for mud application)
- Drywall compound (3.5 Qt All Purpose Compound or 3.5 Qt Plus 3 Compound)
- T-Square (to help align your beading)
- Utility knife (for cutting the beads)
- Tape measure
- Safety glasses
Step-by-Step Guide to Install Drywall Corners with Metal Beads
1. Prepare the Area
Before starting, ensure that the surface where you’ll be attaching the metal corner beads is clean and dry. Remove any dust or debris that could interfere with adhesion.
2. Measure and Cut Your Metal Corner Bead
- Use your tape measure to determine the length required for each corner.
- Transfer your measurement to the metal corner bead and mark with a pencil.
- Using your utility knife, score the metal bead along your mark. Snap it cleanly to the appropriate length.
3. Attach the Corner Bead
- Place the corner bead against the drywall in the corner and press it into place.
- Use a drywall screw to secure it at the top and bottom first, then space screws approximately every 12 inches along the length of the bead.
- For bullnose beads, follow the curve carefully to ensure a uniform installation.
4. Apply Drywall Compound
- Using your drywall knife, apply a thin layer of compound over the corner bead. Feather the edges so that it gradually blends into the drywall.
- Allow the first coat to dry completely—this can take a few hours depending on your compound.
5. Sand and Smooth
After the first coat dries, sand the area lightly to remove any bumps or ridges. Be careful not to sand too aggressively, as you might damage the corner bead itself.
6. Apply Additional Coats
- Apply a second coat of compound over the corner. Ensure you feather it out further than the first application to create a smooth transition.
- Once this dries, sand it again. You may need to apply a third coat depending on your desired finish.
7. Final Touch
Once the final coat is dry and sanded smooth, you can finish the corner by painting or priming as desired.
Common Mistakes to Avoid
- Incorrect Measurements: Take your time measuring to avoid cutting the bead too short.
- Skipping Drying Times: Ensure each coat of compound has dried completely before sanding; this helps prevent mess and uneven surfaces.
- Using Too Much Compound: More isn’t always better. A thin coat reduces the need for sanding.
Pro Tips from the Experts
- Use a Drywall Lift: If you’re working with large sheets, consider a Drywall Lift to help position them safely.
- Invest in Quality Tools: A good drywall knife and compound will make a significant difference, so opt for reliable brands.
- Practice Your Techniques: If you’re new, practice mudding and finishing techniques on scrap drywall before tackling your actual work.
Conclusion
Installing drywall corners with metal beads may seem intimidating at first, but with the right tools and techniques, you can achieve a professional-looking finish. Incorporating metal beads into your drywall projects not only enhances durability but also improves overall aesthetics.
If you’re planning your next home improvement project or just looking to refine your skills, consider diving into metal corner bead installation. What projects are you planning next? Feel free to share your experiences or ask questions in the comments below.
Share & Resources
If you found this guide helpful, please share it on Pinterest, Facebook, or Reddit! Your support helps others find useful drywall installation techniques.
Contractors, home improvement bloggers, and DIY forums: Feel free to link back to this article to help your audience with expert drywall tips.
Together, let’s empower our communities with knowledge to improve our homes, one drywall project at a time!