How to Repair Water-Damaged Drywall
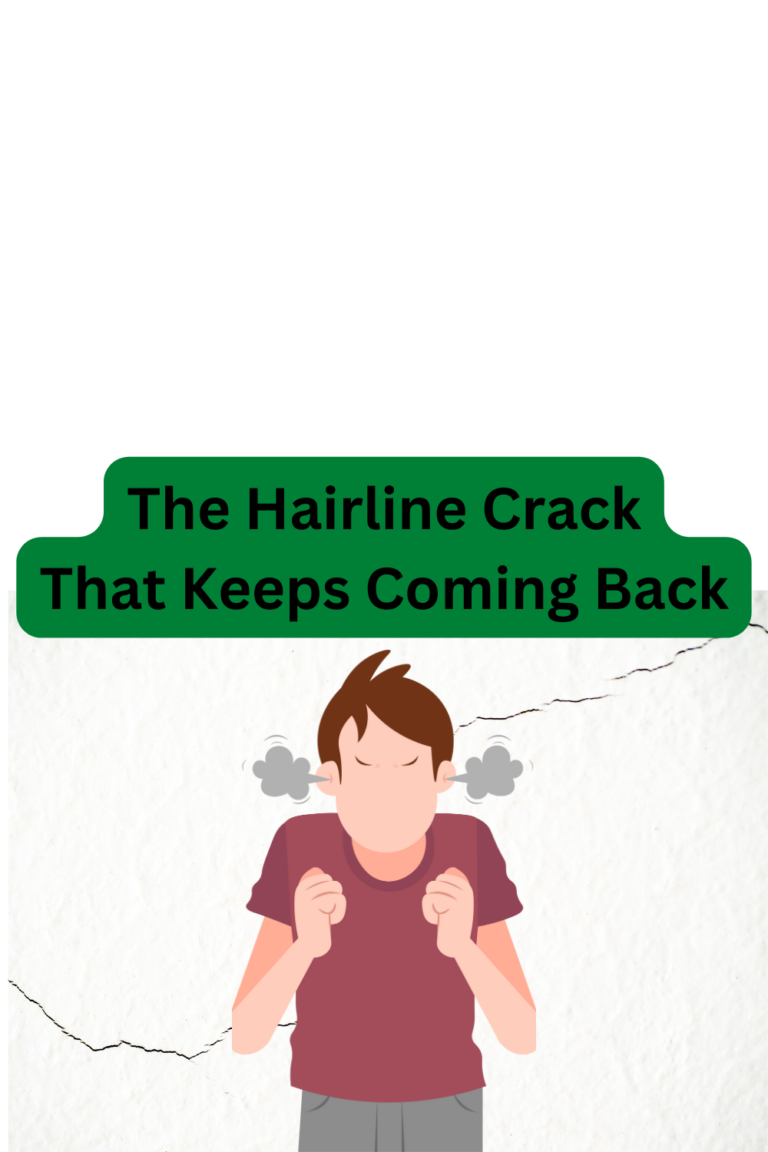
Water damage is one of the most common issues homeowners face. It can happen due to leaky roofs, broken pipes, or flooding, and it can leave your drywall looking worse for wear. A few years ago, I experienced this firsthand when a heavy rainstorm led to a plumbing issue in my home. The aftermath left me with sagging, discolored drywall in my living room. Faced with the challenge, I not only learned how to repair water-damaged drywall but also gained insights into best practices that can help anyone tackle such repairs confidently.
In this article, we’ll explore the step-by-step process of repairing water-damaged drywall, discuss essential tools and materials, and offer insights from professionals to ensure your project goes smoothly.
Understanding the Risks of Water-Damaged Drywall
Drywall is composed primarily of gypsum, paper, and a bit of water itself. When exposed to moisture, it can easily deteriorate, leading to mold growth and structural issues. This makes it crucial to address water damage promptly. Here are some risks associated with ignoring water-damaged drywall:
- Mold and mildew growth, which can cause health issues
- Structural damage if water continues to seep through
- Increased costs from delayed repairs
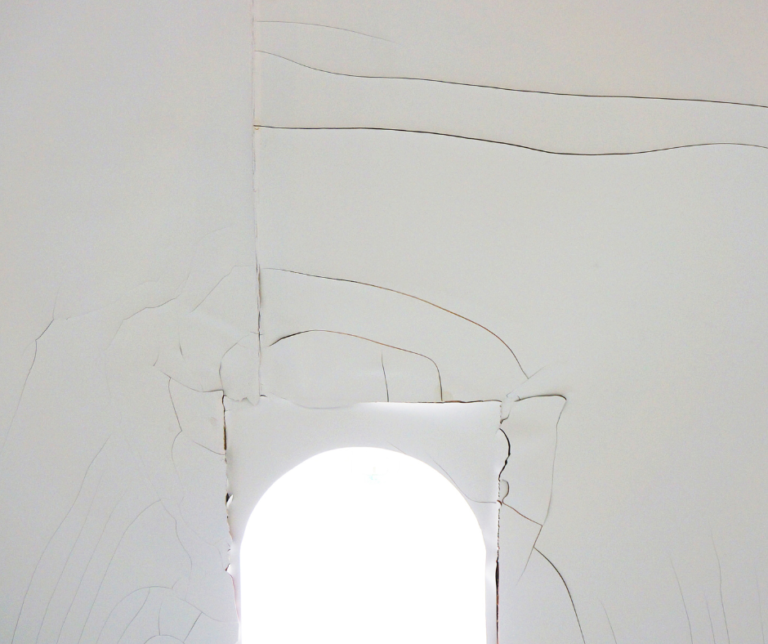
Identifying Water Damage
Before jumping into repairs, it’s important to assess the damage. Look for:
- Discoloration: Yellow or brown stains on the surface
- Soft spots: Areas that feel spongy or are bulging
- Textures: Peeling or cracking paint and bubbling wallpaper
Essential Tools and Materials for Repair
To successfully repair water-damaged drywall, you’ll need the right tools and materials. Here’s a comprehensive list:
-
Tools:
- Utility knife
- Drywall saw or oscillating tool
- Measuring tape
- T-square or level
- Screwdriver or screw gun
- Drywall lift or hoist (for larger sheets)
- Sanding block or drywall sander
- Materials:
- Drywall sheets (1/2" for walls, 5/8" for ceilings)
- Drywall screws (1 1/4" or 1 5/8")
- Mesh tape or paper tape
- Joint compound or finishing mud
- Primer and paint (to match existing decor)
- Mold-resistant drywall (if moisture is a persistent issue)
Recommended Products
For efficient repairs, consider these high-quality products:
- 3.5 Qt All-Purpose Compound: Check it out here.
- WEN Drywall Sander: For a smooth finish, grab one here.
- Drywall Repair Kit: Get a complete kit here.
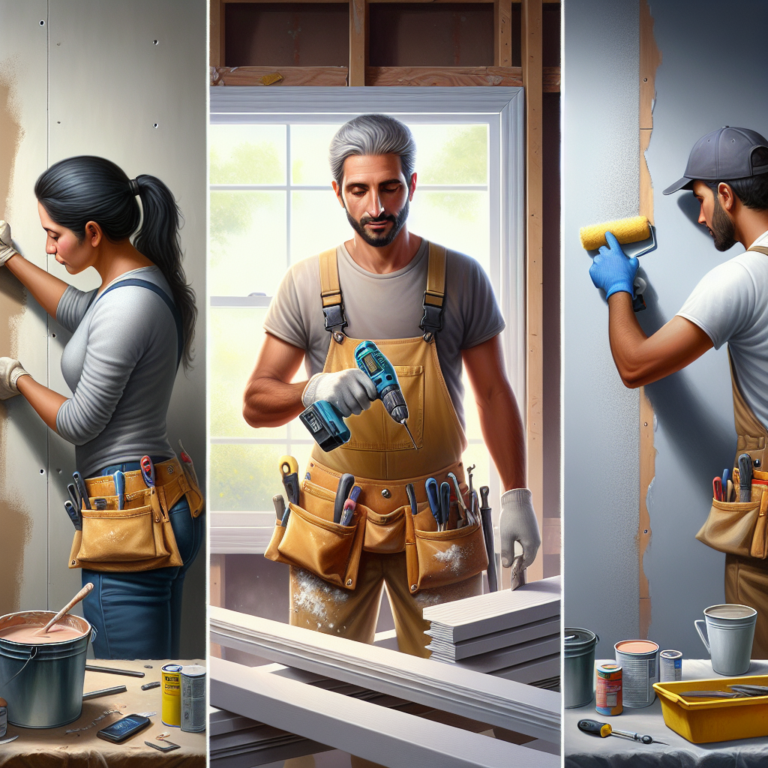
Step-by-Step Repair Process
Step 1: Safety First
Before you start, ensure that the area is safe. Turn off electricity in the affected room and check for structural stability. It’s wise to wear gloves and a mask, especially if mold is present.
Step 2: Remove Damaged Drywall
Using a utility knife, cut away the damaged drywall. Make a neat cut around the affected area. If the water damage is extensive, remove the entire sheet. Be sure to examine the studs behind the drywall for signs of water damage or mold.
Step 3: Replace Damaged Sections
Measure and cut a new piece of drywall to fit the area where the old drywall was removed. Secure it using drywall screws. For large areas, consider using a Drywall Lift for easier handling: Check it out here.
Step 4: Tape and Apply Joint Compound
Use mesh or paper tape over the seams where the new drywall meets the existing wall. Apply the first coat of joint compound with a drywall knife, feathering the edges to create a smooth transition.
Step 5: Sand and Finish
Once the joint compound dries (usually 24 hours), use a sander to smooth out the surface. Apply a second coat of joint compound and sand again. Repeat this process until the surface is level and smooth.
Step 6: Prime and Paint
After sanding, apply a primer suitable for drywall. This step is crucial, especially if using all-purpose compounds. Once the primer is dry, paint the wall to match the surrounding area.
Expert Tips for Success
To achieve the best results, consider the following expert tips:
- Check for Hidden Issues: Always inspect for leaks or other issues before repairing drywall.
- Use Mold-Resistant Products: Especially in areas prone to moisture, consider using mold-resistant drywall.
- Don’t Skip the Primer: This is key to achieving a professional finish and ensuring paint adheres correctly.
Common Mistakes to Avoid
- Not Checking for Moisture: Failing to fix the source of moisture can lead to recurring problems.
- Rushing the Process: Allow adequate drying time for joint compound and primer.
- Using Too Much Compound: Apply thin layers for a smoother finish and to avoid excessive sanding.
When to Call a Professional
While many homeowners can tackle minor water damage repairs themselves, significant damage often requires professional help. Consider consulting a contractor if you find:
- Extensive mold growth
- Structural damage to the studs or surrounding areas
- Difficult access to repair areas
Frequently Asked Questions (FAQs)
1. How can I tell if my drywall is beyond repair?
If the drywall has extensive mold or is falling apart, it is usually better to replace it entirely.
2. What can I do to prevent future water damage?
Regular inspections of your plumbing and roof, along with proper drainage, can help minimize risk.
3. Can I use regular drywall in high-moisture areas?
It’s best to use mold-resistant drywall in areas like bathrooms or basements.
Conclusion
Repairing water-damaged drywall doesn’t have to be a daunting task. With the right tools, materials, and techniques, you can restore your walls to their former glory. Remember to address the source of moisture and take preventive measures to avoid future issues.
If you have more questions or want to share your experience, drop a comment below or reach out!
Share & Resources
If you found this guide helpful, please share it on Pinterest, Facebook, or Reddit! Your support helps others find useful drywall repair techniques.
Contractors, home improvement bloggers, and DIY forums: Feel free to link back to this article to help your audience with expert drywall repair tips.
Together, let’s empower our communities with the knowledge to improve our homes, one drywall project at a time!