The Fastest Way to Patch Drywall
Patching drywall can seem daunting, but it doesn’t have to be. Whether you’re dealing with a small hole from a doorknob or larger damages caused by water leaks, having the right techniques and tools at your fingertips can make this process quick and effective. In this detailed guide, we’ll explore the fastest way to patch drywall, enriched with expert insights, personal anecdotes, and valuable tips for both DIY enthusiasts and professional contractors.
Understanding the Types of Drywall Damage
Before jumping into the patching process, it’s essential to recognize the different types of drywall damage you might encounter:
Small Holes and Dents
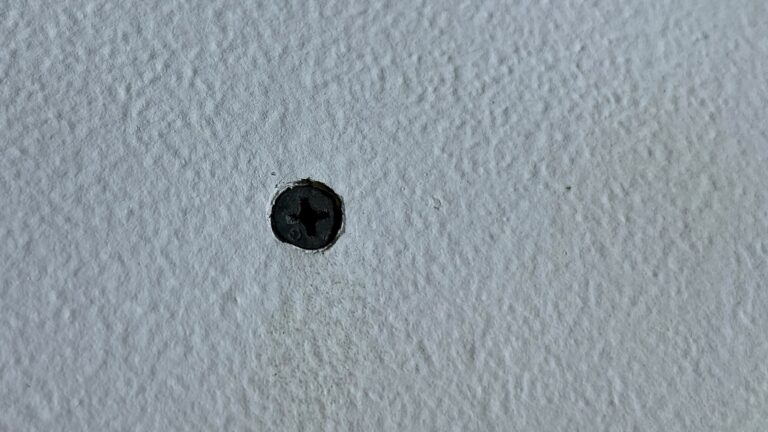
- Nail Holes: These are usually less than 1/4 inch in diameter and quite easy to fix.
- Dents: Caused by furniture or other objects pressing against the wall, these can usually be smoothed over with compound.
Medium Holes
- Holes up to 2 inches: For these holes, you’ll need some patching material and a bit more time.
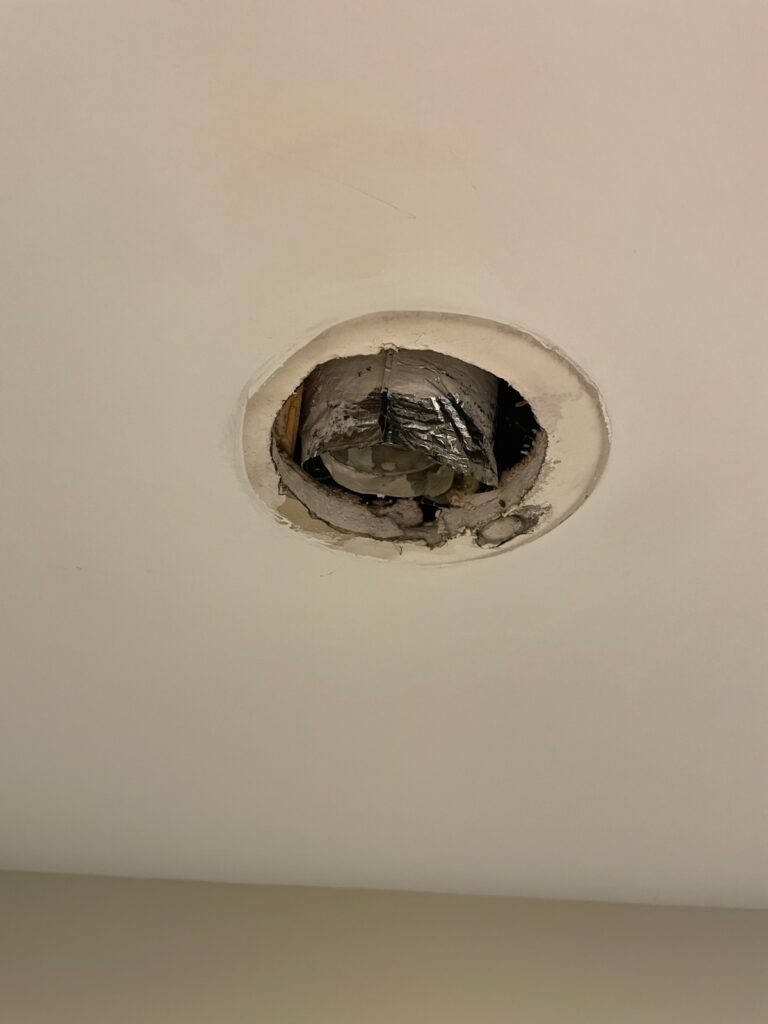
Large Holes
- Holes larger than 2 inches: This requires a more extensive repair method, including a backing piece and possibly replacement drywall.
Knowing the type of damage will guide you in selecting the appropriate repair method, tools, and materials.
Tools and Materials You’ll Need
Before you start your drywall repair project, gather the following tools and materials:
Essential Tools
- Drywall saw: For cutting out damaged sections.
- Utility knife: For scoring and snapping drywall.
- Taping knife: For spreading joint compound.
- Screw gun or drill: For securing the drywall.
- Sander: To smooth the surface after patching—consider using the WEN Drywall Sander for efficiency. Get yours here!
Materials
- Drywall patching compound: I recommend the 3.5 Qt All Purpose Compound for quick repairs.
- Drywall tape: For reinforcing the joints—mesh tape is a good choice, found here.
- Replacement drywall (if necessary): Choose the correct thickness based on your existing wall.
Step-by-Step Guide to Patching Drywall
Step 1: Assess the Damage
Evaluate the extent of the damage. For small holes, you can use just compound, while for larger holes, a patch may be necessary.
Step 2: Prepare the Area
- Clean the Surface: Remove any loose debris around the damaged area.
- Cut Back the Damaged Area: For larger holes, use a drywall saw to cut a neat square or rectangle around the damaged area.
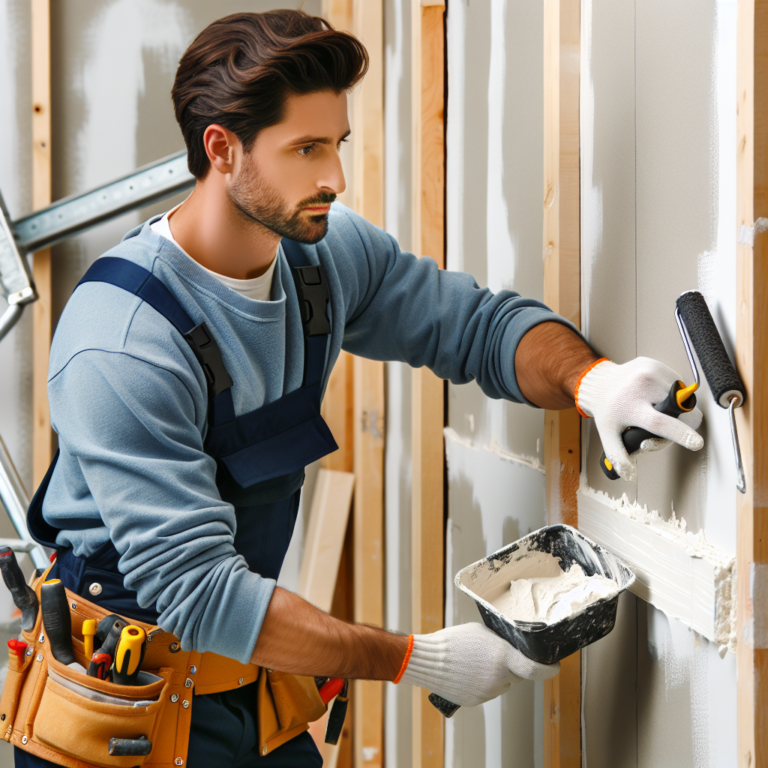
Step 3: Apply the Patch
For Small Holes:
- Fill the Hole: Use a putty knife to fill the hole with joint compound. Press firmly to ensure complete coverage.
- Smooth the Surface: Feather the edges with the putty knife, making the compound flush with the existing wall.
For Medium to Large Holes:
- Attach a Backer Board: Use a piece of wood (like a 1×2) placed behind the hole for support. Secure it using drywall screws.
- Cut the Patch: Cut a piece of drywall to fit the hole and screw it into the backer board.
- Tape the Edges: Use drywall tape around the seams of your patch.
- Apply the Joint Compound: Spread a layer of joint compound over the patch, feathering the edges. Allow to dry.
Step 4: Sand the Surface
Once the joint compound is completely dry, sand it smoothly with fine-grit sandpaper. This step is crucial to achieve a seamless look. If using a drywall sander like the WEN model, you can accomplish this efficiently.
Step 5: Prime and Paint
After sanding, apply a coat of primer to the patched area. This helps ensure even paint distribution. Finally, paint the area to match the surrounding wall.
Tips for Fast and Efficient Patching
- Work with the Right Temperature: For faster drying times, ensure your workspace is adequately heated.
- Use Pre-Mixed Compounds: For convenience, purchase pre-mixed joint compound that’s easy to apply and quick to clean.
- Consider Fast-Drying Compounds: Products like the 3.5 Qt Plus 3 Compound dry faster if time is of the essence.
Common Mistakes to Avoid
1. Skipping the Primer
Many people forget to prime the patched area, which can lead to noticeable differences in texture and color.
2. Over-Sanding
While smoothing the surface is important, over-sanding can lead to uneven surfaces or even create additional holes.
3. Rushing the Process
Patching drywall is not a race. Take your time to ensure each step is done correctly for the best results.
FAQs About Drywall Patching
Q1: How long does it take for joint compound to dry?
A: Drying time varies based on temperature and humidity but generally takes 24 hours for a full cure.
Q2: Can I paint over a freshly patched area?
A: It’s important to prime the patch first, allowing it to dry before applying paint.
Q3: What’s the best way to avoid future drywall damage?
A: Use corner guards and ensure furniture is kept away from walls to prevent dents and holes.
Conclusion
Patching drywall doesn’t have to be a complicated or time-consuming task. By following the step-by-step process and keeping a few of these expert tips in mind, you’ll be well on your way to restoring your walls to their former glory. Remember to gather your tools and materials beforehand to streamline the process, and don’t hesitate to consult additional resources for more insights.
For related techniques, check out our articles on The Best Drywall Taping Techniques and How to Repair Drywall Like a Pro.
Share & Resources
If you found this guide helpful, please share it on Pinterest, Facebook, or Reddit! Your support helps others discover useful drywall repair techniques.
Together, let’s empower our communities with the knowledge to improve our homes, one drywall project at a time!