Fixing Cracks in Drywall Corners: Common Causes and Simple Repair Techniques
Fixing Cracks in Drywall Corners: Common Causes and Simple Repair Techniques
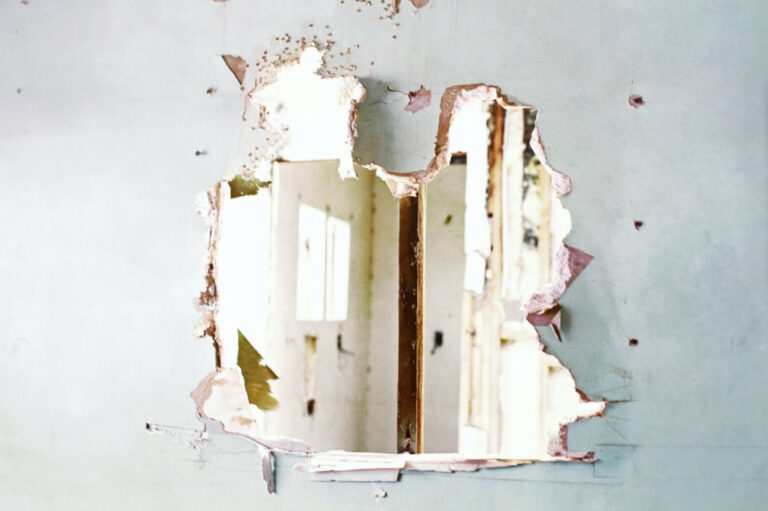
Drywall corners are a common point of weakness in any wall, and cracks can easily form due to a variety of reasons. These cracks can range from small hairline fractures to large, unsightly gaps that can compromise the structural integrity of your walls. In this article, we will discuss the common causes of drywall corner cracks and provide simple repair techniques to fix them.
What Causes Drywall Corner Cracks?
There are several factors that can contribute to the formation of drywall corner cracks. Some of the most common causes include:
- Poor installation: If drywall is not installed properly, it can result in corners that are not properly supported. This can lead to cracks forming over time, especially if the drywall is subjected to heavy loads or movement.
- Structural issues: Drywall corners can also crack due to underlying structural problems, such as a house settling or shifting due to foundation issues.
- Temperature fluctuations: Large swings in temperature can cause drywall to expand and contract, leading to cracks forming in the corners.
- Humidity: High humidity levels can cause drywall to absorb moisture, leading to swelling and cracks.
- Poor quality drywall: Using low-quality drywall can also contribute to the formation of cracks, as it may not be as durable or able to withstand the stresses placed on it.
How to Repair Drywall Corner Cracks
If you have drywall corner cracks in your home, there are several simple repair techniques you can use to fix them. The specific technique you choose will depend on the size and severity of the crack, as well as your personal preference and level of experience.
Small Cracks
For small cracks, you can use a simple patching compound and some sandpaper to smooth out the surface. Here’s how to do it:
- Clean the area around the crack with a dry cloth to remove any dust or debris.
- Apply a small amount of patching compound to the crack, using a putty knife to smooth it out.
- Allow the patching compound to dry completely, following the manufacturer’s recommended drying time.
- Once the patching compound is dry, use fine-grit sandpaper to sand and smooth out the surface and blend it with the surrounding drywall.
- Wipe away any dust with a dry cloth, and then prime and paint the repaired area to match the surrounding wall.
Larger Cracks
For larger cracks, you may need to use a more robust repair method to ensure a smooth, seamless finish. One option is to use fiberglass mesh tape to reinforce the crack and help prevent it from spreading. Here’s how to do it:
- Clean the area around the crack with a dry cloth to remove any dust or debris.
- Cut a piece of fiberglass drywall tape to the desired length, making sure it is long enough to cover the entire crack.
- Wet the tape with water, using a sponge or brush to ensure it is thoroughly saturated.
- Apply the wet tape to the crack, using a putty knife to smooth it out and remove any air bubbles.
- Once the tape is in place, apply a thin layer of patching compound over the top, using a putty knife to smooth it out.
- Allow the patching compound to dry completely, following the manufacturer’s recommended drying time.
- Once the patching compound is dry, use fine-grit sandpaper to smooth out the surface and blend it with the surrounding drywall.
- Wipe away any dust with a dry cloth, and then prime and paint the repaired area to match the surrounding wall.
Severe Cracks
For severe cracks that are too large to be repaired with patching compound and fiberglass tape, you may need to remove and replace the damaged section of drywall. Here’s how to do it:
- Cut around the damaged section of drywall using a drywall saw or utility knife, being careful to avoid damaging the surrounding wall or any electrical wires or pipes.
- Remove the damaged section of drywall, taking care to preserve any screws or nails that may be used to attach the new drywall.
- Measure and cut a new piece of drywall to fit the opening, using a straight edge and utility knife.
- Attach the new drywall to the wall using drywall screws, making sure it is level and properly aligned with the surrounding wall.
- Use joint compound and drywall tape to cover the seams and smooth out the surface, following the same steps as described above for larger cracks.
- Allow the joint compound to dry completely, following the manufacturer’s recommended drying time.
- Once the joint compound is dry, use fine-grit sandpaper to smooth out the surface and blend it with the surrounding drywall.
- Wipe away any dust with a dry cloth, and then prime and paint the repaired area to match the surrounding wall.
Conclusion
Drywall corner cracks can be unsightly and compromise the structural integrity of your walls. By understanding the common causes of these cracks and using the simple repair techniques described above, you can easily fix them and restore the appearance and strength of your walls. Whether you are a seasoned DIY enthusiast or a beginner, there is a repair method that will work for you and help you get your walls looking like new again.