What To Patch Drywall With – The Best Choices
What To Patch Drywall With – The Best Choices
Today I’m going to be sharing different options on what to patch drywall with. The drywall trade can be confusing so it’s my mission to educate others and eliminate any confusion about drywall.
I learned that a lot of drywallers do not like to give out their “trade secrets”. However, not many of them want to do small patch jobs because they don’t make enough money. This has left people like yourself in a position to learn how to do it. I’m here for you to help through the process.
I created Drywall Central to help DIYers with how-to guides, videos, and written content. I’m no longer considered just a DIY drywaller, but a professional by trade. Drywall is now my bread and butter – drywall repairs and installation is my full-time job.
If you come up with any questions throughout this page, feel free to leave a comment below – or post to the forum side of Drywall Central on the top right corner of this page.
What To Patch Drywall With – The Basics
If you’re stuck on choosing what to patch drywall with, there are quite a few options I’m going to break down for you. Many of the options will depend on the size of the patch you need to do.
For determining what to patch drywall with, there are two options:
Packaged repair patches OR drywall itself.
What To Patch Drywall With – Drywall Repair Kits
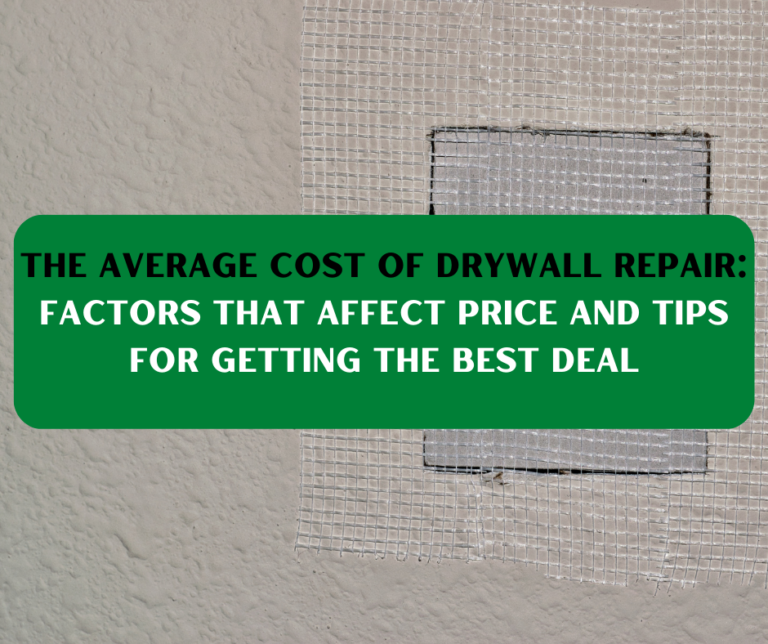
There are many drywall repair kits on the market today. If you purchase a drywall repair kit and want it to be solid, it’s best to use one with a metal or aluminum backing.
There are only a few different sizes of patches you can buy – so you are limited in terms of size. The largest patch you can purchase will be about 12”.
Keep in mind, just because it is a 12” patch doesn’t mean it is fitted for a full 12” hole. If you want to make it a solid patch, you should purchase a 2” larger patch than the hole. Here are some examples:
I have a 3-inch hole in my drywall, what should I patch the drywall with?
For a 3-inch hole in drywall, you would want a 5” x 5” drywall repair kit. This will allow 1” over the hole on both sides and it will make it a stronger patch.
I have a 5-inch hole in my wall, what size patch do I need?
For a 5-inch hole, you’ll want to add a minimum of 1 inch in all directions to make it a solid patch. So in this case, a 7” or an 8” wall repair patch.
Though a minimum of 2” larger than the hole is recommended, there are certain brands I recently worked with – and I believe in some cases it should be a minimum of 3”
My Recent Experience With These Wall Repair Patch Kits
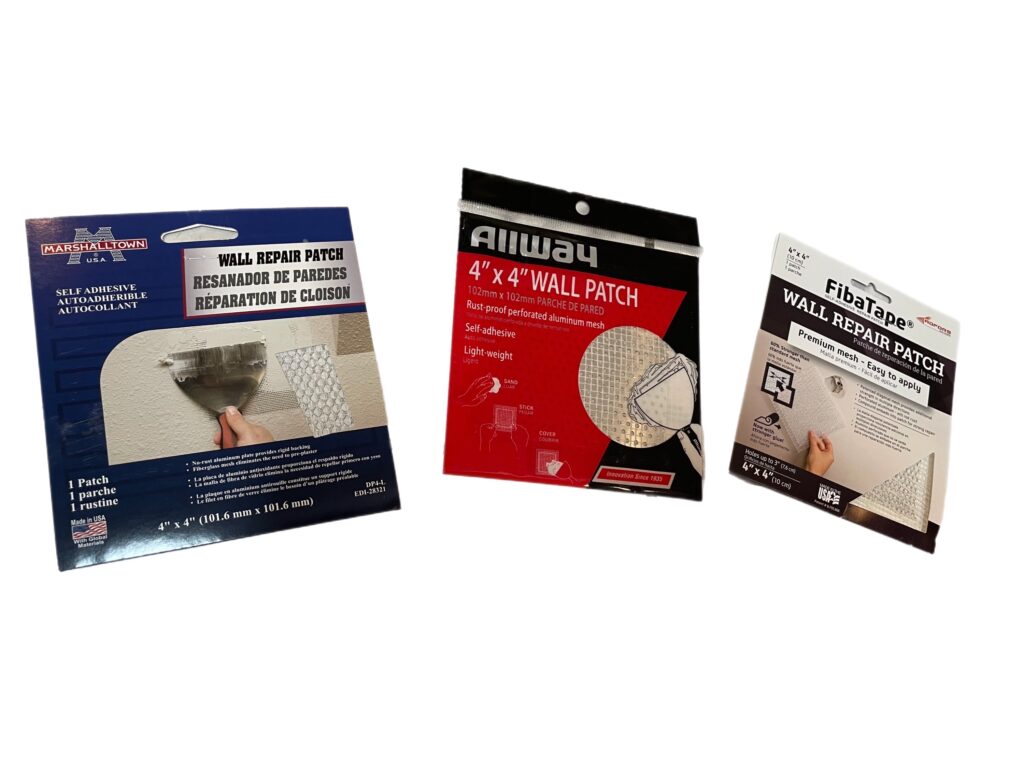
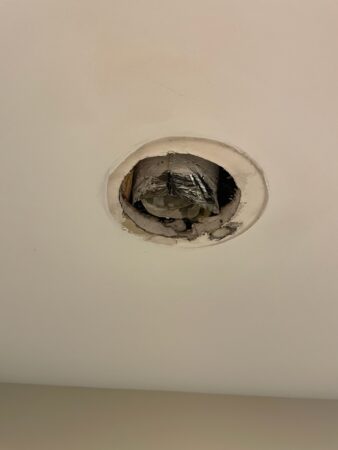
I was recently hired to patch multiple holes in a ceiling’s old HVAC vents – They were very similar to patching recessed lighting holes. For the sake of knowing these products, I decided to grab three different brands of wall repair patch kits in the store and then did the rest with drywall.
In total, I had patched 13 holes in ceilings around the house. I tried the Marshalltown wall repair patch, the Allway wall patch, and Fibatape repair patch. All 3 of them worked, though they were not all the same.
The Marshalltown wall repair patch and the Fibatape repair patch were both slightly flimsy. Because they were slightly flimsy, it created a slight sag as I applied joint compound to the ceiling patch. So if you do purchase these brands, you should buy a much larger sized kit for your hole. If you are patching a wall instead of a ceiling – the 2” rule applies.
The Allway wall patch felt the most secure out of the three, however, it has minimal holes to press joint compound into. This wall repair patch resembled drywall the best in terms of strength.
What To Patch Drywall With – Using Drywall
Since I am a full-time drywaller, small pieces of drywall for patches are always accessible to me. I will rarely use the packaged wall repair patches due to accessibility and primarily cost.
A wall repair patch for a 3” hole will cost around $5 at your local hardware store. Just using my above example from a recent job I had, I had to patch 13, 3” holes.
One sheet of drywall is usually around $12, and that could cover more than double that amount of 3” patches. But if I had purchased 13 wall repair kits – my total cost in material would be around $65. So there’s no doubt, that it will save you money if you’re doing many drywall patches.
If you choose to use drywall for patching drywall, there are a few different methods you can do.
California Patch
Drywall and Backing
Drywall and Repair Clips
What is the difference between these drywall patches?
A California patch is a method used by drywallers and patchers. It is using the drywall and paper face of the drywall to create a patch without the use of tape. This is a big money saver as there’s no additional material you would need aside from joint compound.
The Drywall and Backing method is installing a solid back piece of small wood to the drywall hole before screwing in the drywall patch. With this method, you will need a piece of wood and drywall screws to make it work.
Drywall Repair Clips are very similar to using wood for backing except it is a steel clip that is installed behind the drywall hole first. The steel clips have many catch holes for easy screwing. Of course, this may be the most expensive way to patch drywall due to its cost. It works just as well as any other method.
If you’ve chosen the best method for you, be sure to check out my article How To Patch A Drywall Hole.
What Are You Going To Patch Drywall With?
There are quite a few different ways you can go about patching drywall. From packaged repair kits, or using drywall itself. All of them have their pros and cons – and many just choose to go by what works best for them and their budget. If you went through every different option on what to patch drywall with, what method did you choose? I’d love to hear your feedback below!

