Small Drywall Sheets: An Economical Choice For DIY Drywall
Small drywall sheets, often overlooked, are a cost-effective solution for tackling minor drywall repairs efficiently and economically. In this article, we’ll delve into the advantages of using small drywall sheets, their measurements, and provide step-by-step instructions for making successful repairs.

The Benefits of Small Drywall Sheets
1. Cost-Effective: Small drywall sheets are budget-friendly, making them an excellent choice for minor repairs without breaking the bank.
2. Easy Handling: Their smaller size (commonly 2′ x 2′ or 2′ x 4′) makes small drywall sheets manageable, even for DIY enthusiasts with limited experience.
3. Minimal Waste: When dealing with small repairs, large sheets can lead to unnecessary waste. Small sheets minimize waste, making them an eco-friendly option.
4. Versatility: Small drywall sheets are versatile and can be used for various repair tasks, from patching small holes to fixing cracks and dents.
Small Drywall Sheet Measurements
Small drywall sheets typically come in two common sizes:
- 2′ x 2′: This compact size is ideal for covering small holes, popped nails, and minor blemishes.
- 2′ x 4′: Slightly larger, these sheets are versatile enough to address a wider range of repairs, including medium-sized holes and water-damaged areas.
Step-by-Step Guide for Using Small Drywall Sheets
Materials Needed:
- Small drywall sheet (either 2′ x 2′ or 2′ x 4′)
- Drywall compound (setting-type compound is recommended)
- Drywall tape
- Utility knife
- Drywall Taping Knives
- Sandpaper or sanding block
- Primer and paint (for finishing
Instructions for Effortless Drywall Repairs
1. Prepping the Surface:
- Start by ensuring the repair area is clean and dry.
- Remove any loose paint, dust, dirt, or grease from the surface before proceeding.
2. Mixing the Drywall Compound (Skip if using all-purpose joint compound):
If you’re using a setting-type compound, here’s how to mix it correctly:
- Empty half (8 oz.) of the compound bag into a container with 4 oz. (1/2 cup) of clean water.
- Thoroughly blend the powder into the water until it forms a smooth, lump-free consistency.
- Avoid using excessive water or mixing with other joint compounds.
- Keep in mind that one pound of powder yields approximately 1.3 pints of mixed material.
3. Applying the Compound:
Follow these easy steps based on your repair type:
a. Small Holes, Cracks, Dents, and Popped Nails:
- Fill the damaged area with compound using a taping knife.
- Allow it to harden and apply a second coat if needed.
- Once dry, sand the surface smooth and apply primer before painting.
b. Medium Holes (around 2″):
- Criss-cross tape over the opening for added strength.
- Apply the compound and smoothly embed it into the tape with a taping knife.
- Let it harden, then add a second coat for a flawless finish.
- Sand and prime once fully dried.
c. Large Cracks (approximately 1/8″):
- Span the crack with compound and add drywall tape for stability.
- Push compound into the tape using a taping knife.
- Allow it to harden, apply a second coat, and sand the area until smooth.
- Finish by priming before painting.
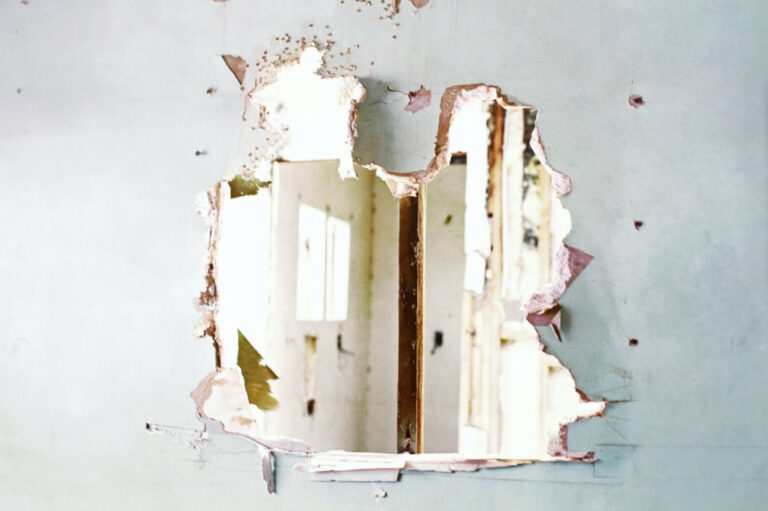
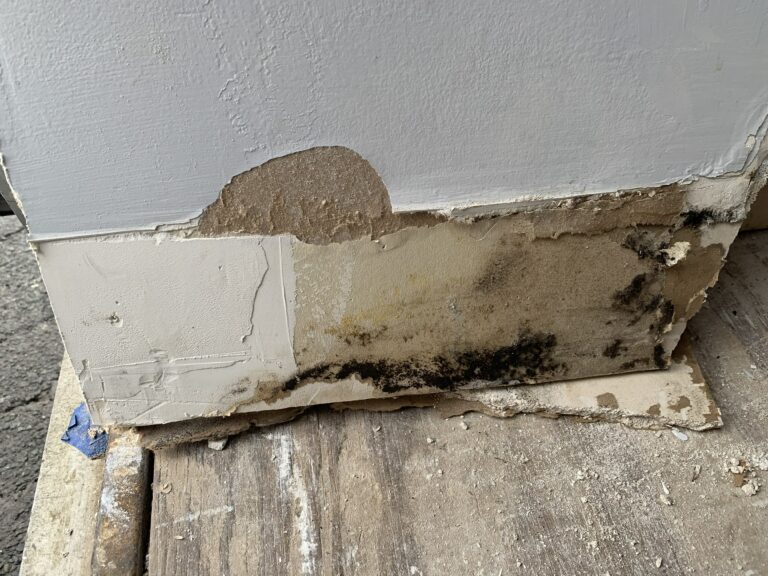
d. Large Holes (over 2″) or Water-Damaged Areas:
- Remove the damaged section and install repair clips and screws.
- Position the new drywall, remove any repair clip tabs, and apply compound and tape.
- Gradually add a second and third coat, sanding and priming between each application for a seamless repair.
e. Repairing Torn Gypsum Panel Face Paper:
- Carefully peel and remove any loose face paper.
- Apply a skim coat of setting compound to the damaged area, feathering it for a smooth finish.
- Allow it to harden and apply a second coat if required.
- Finish by sanding and applying primer before decorating.
4. Prime & Paint
Before painting the repaired area, follow these final steps:
- Apply your choice of primer or a flat latex paint & primer as a prime coat.
- Once the prime coat is dry, you’re ready to paint and restore the surface to its original beauty.
With these straightforward instructions, you’ll master minor drywall repairs, leaving your walls looking flawless and well-maintained.
Remember these additional tips for successful drywall repairs:
- Maintain a minimum surface, water, mix, and air temperature of 45°F during mixing and application of the compound.
- Do not mix setting compound with other materials.
- Keep your studs marked for accurate placement of screws or nails.
In conclusion, small drywall sheets are a practical and cost-effective solution for handling minor drywall repairs. Armed with the right measurements and our step-by-step instructions, you can achieve professional-looking results and maintain the integrity of your walls. Whether you’re a DIY enthusiast or a professional, these small sheets can be your go-to choice for quick and efficient drywall fixes.