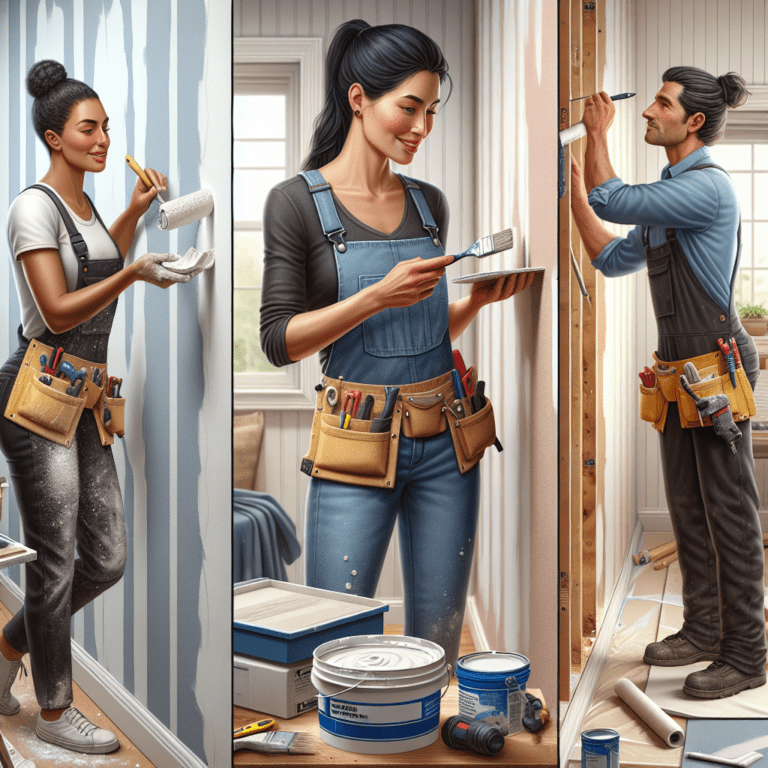
How to Skim Coat Drywall Like a Pro
Skim coating drywall is a critical skill for any DIY enthusiast or professional contractor. Not only does it enhance the aesthetics of a room by creating a smooth finish, but it also prepares your walls for painting or wallpapering. Whether you’re covering up imperfections or prepping new drywall, a well-applied skim coat can make all the difference. In this comprehensive guide, we will walk you through the process of skim coating drywall like a pro.
What is Skim Coating?
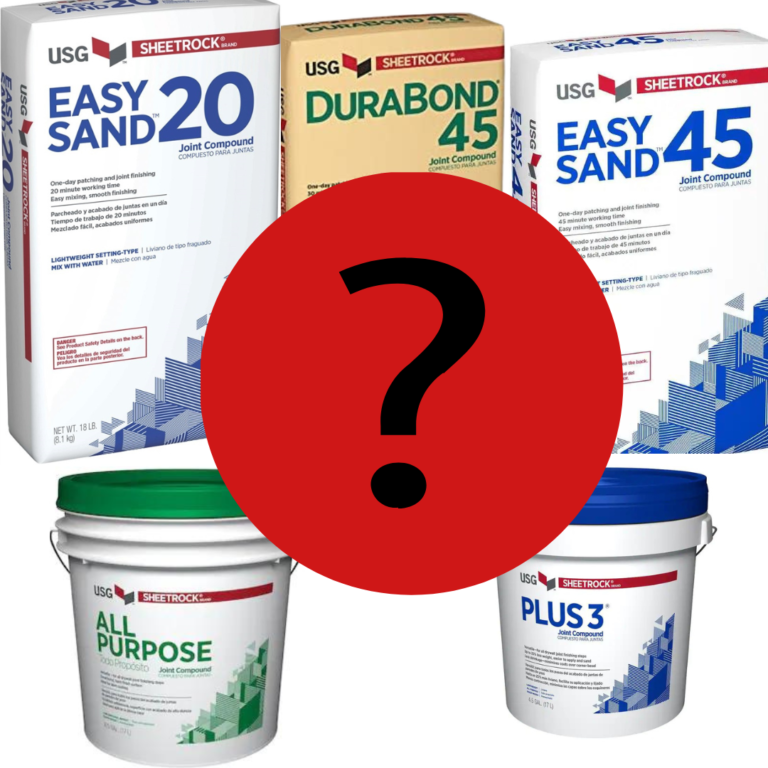
Skim coating involves applying a thin layer of joint compound (also known as drywall mud) over the surface of drywall. This technique smooths out any bumps, fills in imperfections, and offers a uniform surface suitable for painting. There are different types of joint compounds you can use, including all-purpose compound and lightweight options that are easier to sand and apply.
Why You Should Skim Coat Your Drywall
- Smoother Surface: Create a flawless wall that feels professional.
- Hide Imperfections: Cover up any flaws, dents, or scratches from previous installations or damage.
- Enhanced Paint Finish: A smooth surface allows paint to adhere better, resulting in an even finish.
- Sound Insulation: Adding a skim coat can also aid in soundproofing your walls.
Tools and Materials Needed
Before you start, gather the following tools and materials:
- Joint Compound: 3.5 Qt All Purpose Compound is a great choice for beginners.
- Drywall Taping Knife: A 12-inch knife is ideal for applying mud smoothly.
- Mud Pan: For easy access to your joint compound.
- Sander or Sanding Sponge: An electric sander like the WEN Drywall Sander can help speed up the process.
- Dust Mask: Protect yourself from debris.
- Drop Cloths: To catch any dust or debris.
- Sprayer (optional): For applying a skim coat on large areas.
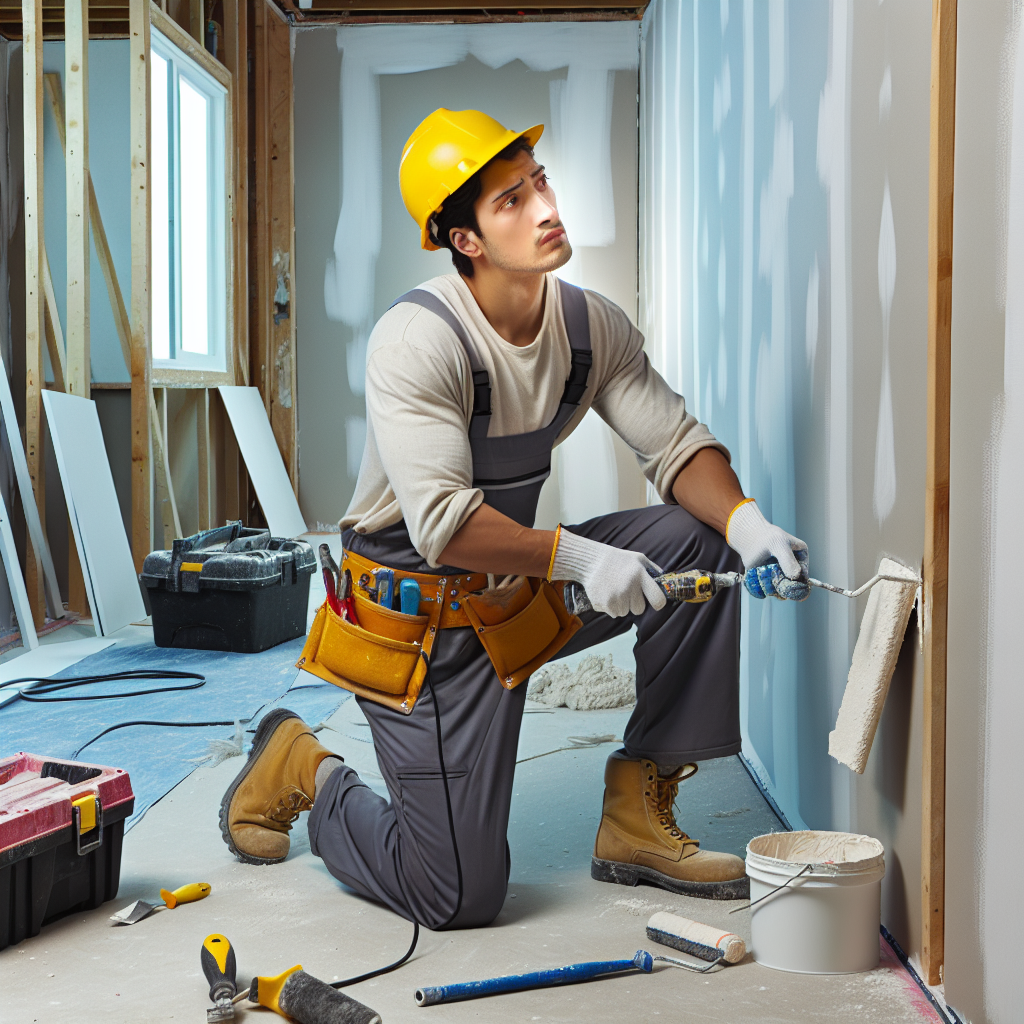
Step-by-Step Guide to Skim Coating Drywall
Step 1: Prepare the Area
- Clear the Space: Remove any furniture or items that are in the way and cover the floor with drop cloths.
- Clean the Wall: Dust off the walls to ensure the compound adheres properly.
Step 2: Mix Your Joint Compound
- Consistency is Key: Depending on the type of compound you’re using, you may need to thin it with water. Aim for a peanut butter-like consistency.
- Use a Mixer: A power mixer can speed up the process and ensure a smooth mixture.
Step 3: Apply the First Coat
- Load Your Knife: Scoop some compound with your taping knife and spread it on the wall in a thin layer.
- Work from Top to Bottom: Start at the top of the wall and make your way down. Apply pressure to create an even coat.
- Maintain a Consistent Angle: Hold your knife at a slight angle (about 30-45 degrees) to the wall for an even application.
Step 4: Create an Even Surface
- Smooth Out the Compound: After the initial application, go over the surface with your knife, applying gentle pressure to even it out.
- Check for Bumps: Don’t rush this step; take your time to ensure there are no lumps.
- Blend Edges: As you work, feather the edges of the compound to blend it seamlessly into the surrounding area.
Step 5: Let it Dry
- Drying Time: Allow the skim coat to dry completely, usually 24 hours, depending on humidity and temperature.
- Check for Imperfections: Once dry, check for imperfections that may need patching.
Step 6: Sanding
- Sand the Surface: Use a sander or sanding sponge to smooth the surface. Start with a medium grit and follow with fine grit for a polished finish.
- Clean Up Dust: Make sure to vacuum the area to eliminate dust before applying a second coat.
Step 7: Repeat if Necessary
- Assess the First Coat: If you notice any imperfections or rough spots after sanding, apply a second or even third coat following the same process.
Pro Tips for Skim Coating Success
- Work in Small Sections: If you’re new to skim coating, try to work on small sections to maintain better control.
- Keep it Thin: Remember that less is more; applying multiple thin layers is better than one heavy one.
- Use Quality Tools: Invest in good-quality knives and tools to make the job easier.
Common Mistakes to Avoid
- Not Preparing the Surface: Skipping the cleaning process can lead to poor adhesion.
- Too Much Compound: Overloading your knife can create a lumpy finish.
- Ignoring Drying Times: Don’t rush the drying process; moving too soon can disrupt the finish.
Keeping Your Space Clean While Skim Coating
Using a dust extractor can help manage fine dust that comes from sanding. Consider using one attached to your sander, which can greatly reduce the mess. Alternatively, a vacuum can also help maintain a clean work area.
FAQs about Skim Coating
Q: How long does skim coat drywall take to dry?
A: Typically, a skim coat can take anywhere from 24 hours to longer in humid conditions. Make sure it feels firm before sanding.
Q: Can I paint the skim coat immediately?
A: It’s best to wait until the skim coat is fully cured. Painting too soon can affect the adhesion of your paint.
Q: Is skim coating necessary for all drywall?
A: While it’s not always necessary, it’s highly recommended for new drywall or when covering imperfections.
Conclusion
Mastering the art of skim coating drywall is a valuable skill that enhances both your home and your project portfolio. By following these detailed instructions, you can achieve a smooth, professional finish that transforms your living space. Remember to take your time, invest in quality tools, and don’t rush the drying and sanding processes.
For more related information, check out our articles on The Best Drywall Taping Techniques and How to Repair Drywall Like a Pro.
Share & Resources
If you found this guide helpful, please share it on Pinterest, Facebook, or Reddit! Your support helps others find useful drywall repair techniques.
Together, let’s empower our communities with the knowledge to improve our homes, one drywall project at a time!