How to Install Drywall Like a Professional
Installing drywall is an essential skill in home improvement and renovation projects. Whether you’re a DIY enthusiast or a homeowner looking to make a change, mastering the art of drywall installation can save you time and money. In this comprehensive guide, we will navigate through the steps of installing drywall like a professional, share expert insights, and point out common mistakes to avoid.
Table of Contents
- Understanding Drywall Types and Sizes
- Essential Tools for Drywall Installation
- Preparing the Space
- Installing Drywall Step-by-Step
- Common Mistakes to Avoid
- Finishing Touches and Taping Techniques
- Pro Tips for a Flawless Job
- FAQs on Drywall Installation
- Conclusion
Understanding Drywall Types and Sizes
Before diving into the installation process, it’s crucial to understand the different types of drywall. Typically, drywall panels come in 1/2-inch thickness for walls and 5/8-inch thickness for ceilings. Here are some common types:
- Standard Drywall: Commonly used for interior walls and ceilings.
- Moisture-Resistant Drywall: Ideal for areas with high humidity, like bathrooms.
- Soundproof Drywall: Designed to minimize sound transmission.
Understanding which type of drywall to use in specific areas will enhance the longevity and functionality of your installations.
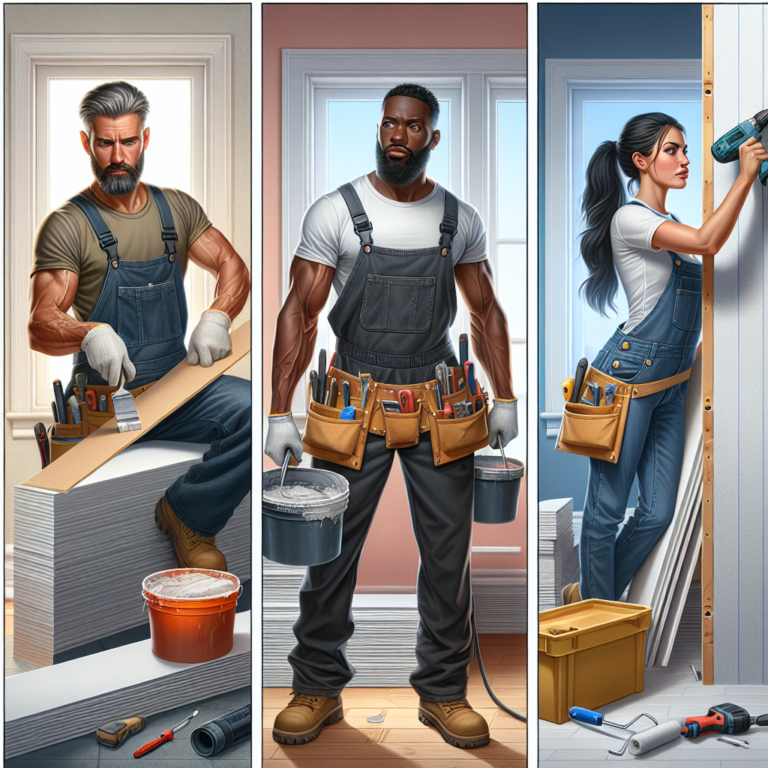
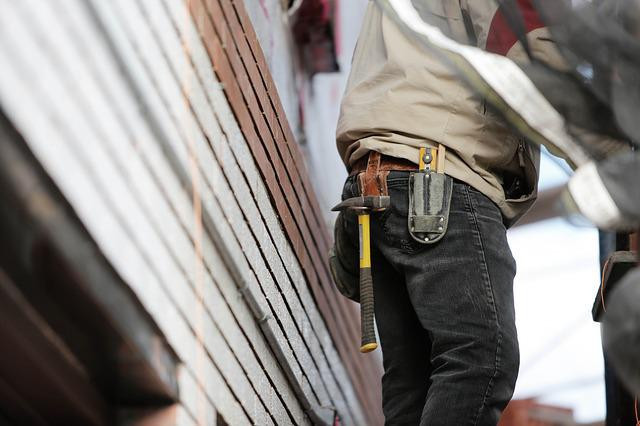
Essential Tools for Drywall Installation
To achieve a professional finish, having the right tools is essential. Here’s a list of must-have tools for your drywall project:
- Drywall Screws: Use 1 1/4" or 1 5/8" screws based on the thickness of your drywall.
- Drywall Lift: An invaluable tool that helps hold sheets in place during installation. Check out this Drywall Lift 11′ for easy handling.
- Screw Gun: A power tool for driving screws into drywall quickly.
- Utility Knife: For cutting drywall sheets.
- Taping Knives: Necessary for applying joint compound or mud.
- Drywall Sander: Consider a quality sander like the WEN Drywall Sander for smooth finishing.
Preparing the Space
Preparation is key to a successful drywall installation. Here are essential steps to prepare your workspace:
- Clear the Area: Remove any furniture, fixtures, or obstacles from the installation site.
- Measure and Cut: Accurately measure the dimensions of the area where you’re installing drywall and cut the drywall sheets accordingly.
- Check for Obstructions: Identify any electrical wiring or plumbing that may interfere with the installation.
Installing Drywall Step-by-Step
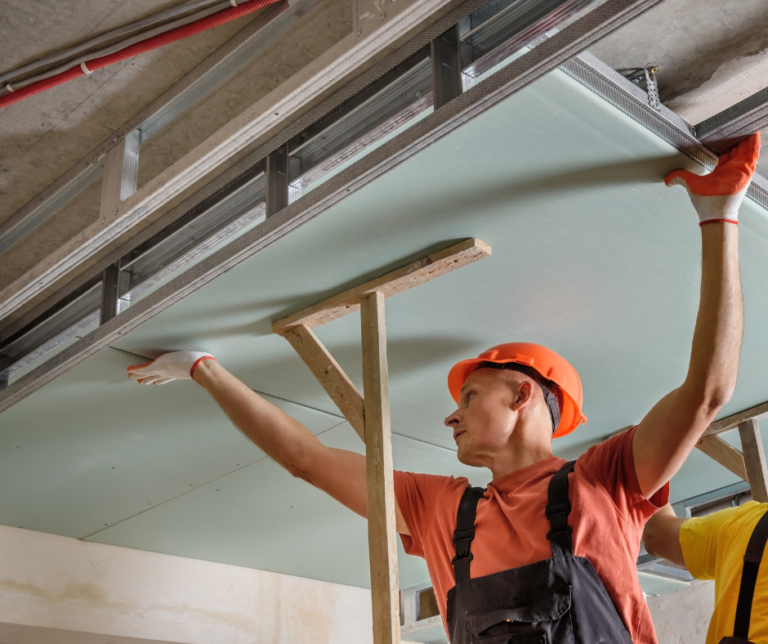
Step 1: Position the First Sheet
Start at a corner and position the first sheet of drywall against the wall. Ensure it’s level and flush with adjacent sheets.
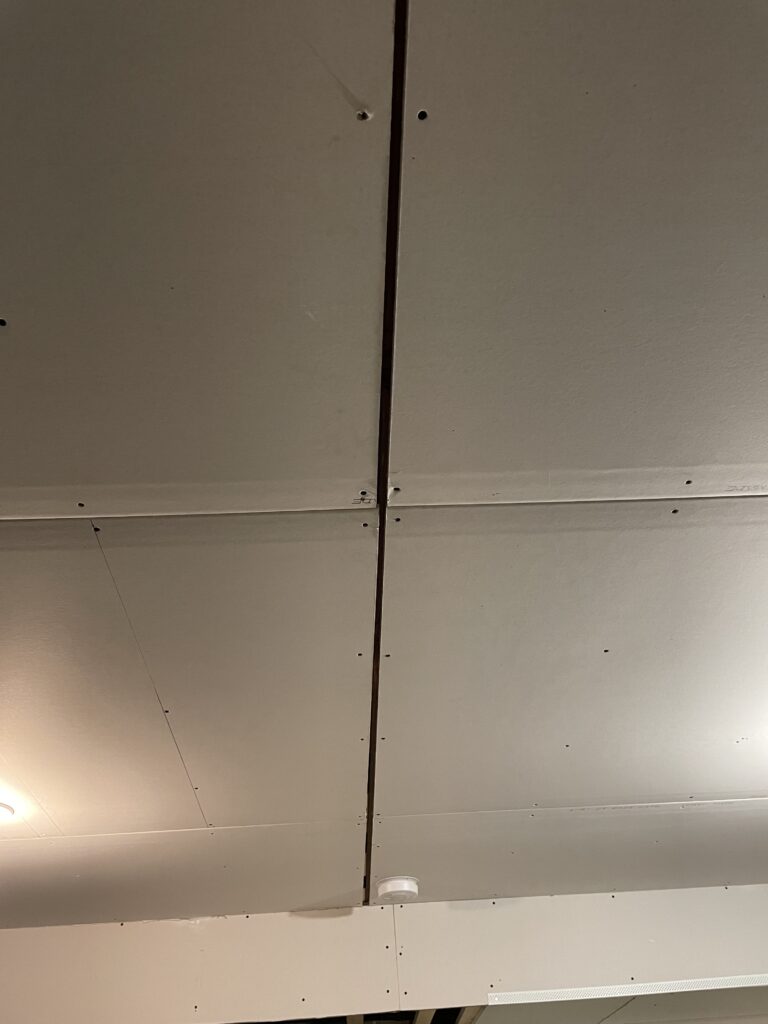
Step 2: Secure with Screws
Using your screw gun, secure the drywall to the studs behind it. Space the screws about 12 to 16 inches apart. Ensure the screws are slightly recessed into the drywall, allowing for easy finishing.
Step 3: Install Additional Sheets
Continue installing drywall sheets, staggering the joints as you go. This will provide added strength to the wall.
Step 4: Cut Around Openings
For any electrical outlets or windows, use your utility knife to score and snap the drywall to fit around the openings.
Step 5: Secure All Edges
Go along the edges of your installed drywall, securing any loose areas, ensuring everything is secure.
Common Mistakes to Avoid
- Skipping Studs: Always screw into the studs; missing them leads to weak walls.
- Using Too Few Screws: Don’t skimp; insufficient screws can result in sagging.
- Ignoring Safety: Always wear safety goggles and a dust mask to protect against debris.
Finishing Touches and Taping Techniques
Once all the drywall panels are installed, it’s time for the finishing steps:
Taping the Joints
- Apply Joint Compound: With a 3.5 Qt All Purpose Compound, apply a layer over the joints.
- Embed Tape: Place mesh tape over the wet compound and press it in.
- Smooth Out: Smooth the compound over the tape using a taping knife; let it dry.
Sanding the Surface
After the compound has dried, sand the surface using a drywall sander for a smooth finish. A 3.5 Qt Plus 3 Compound can be used for the final smoothing layer.
Pro Tips for a Flawless Job
- Plan Your Layout: Know the layout of your drywall; it saves the hassle of cutting, especially in tight spaces.
- Invest in Quality Tools: Using good quality tools not only makes the job easier but also reduces the likelihood of making mistakes.
- Use the Right Compound: For faster drying that requires less sanding, look for a quicker drying compound.
FAQs on Drywall Installation
How long does it take to install drywall?
The time to install drywall depends on your experience and the size of the project. A small room might take a day, while larger rooms can extend to several days.
Can I install drywall by myself?
Yes, but it’s advisable to have a partner, especially for hanging larger sheets. The drywall lift can make this process easier.
What’s the best way to finish drywall seams?
The most effective way involves using joint tape and multiple coats of joint compound, allowing each layer to dry before sanding.
Conclusion
Installing drywall like a professional is achievable with the right tools, techniques, and preparation. With attention to detail and practice, you can create a beautifully finished space in your home. As you embark on this DIY journey, remember to embrace the learning process—each project teaches you something new.
Share & Resources
If you found this guide helpful, please share it on Pinterest, Facebook, or Reddit! Your support helps others find useful drywall repair techniques.
Contractors, home improvement bloggers, and DIY forums: Feel free to link back to this article to help your audience with expert drywall installation tips.
Together, let’s empower our communities with the knowledge to improve our homes, one drywall project at a time!