How to Paint Drywall for a Professional Finish
Painting drywall can seem like a daunting task, but with the right preparation and skills, you can achieve a flawless finish that makes your walls look professionally done. Whether you’re refreshing an old room or preparing a new construction for paint, this guide will walk you through everything you need to know about painting drywall like a pro.
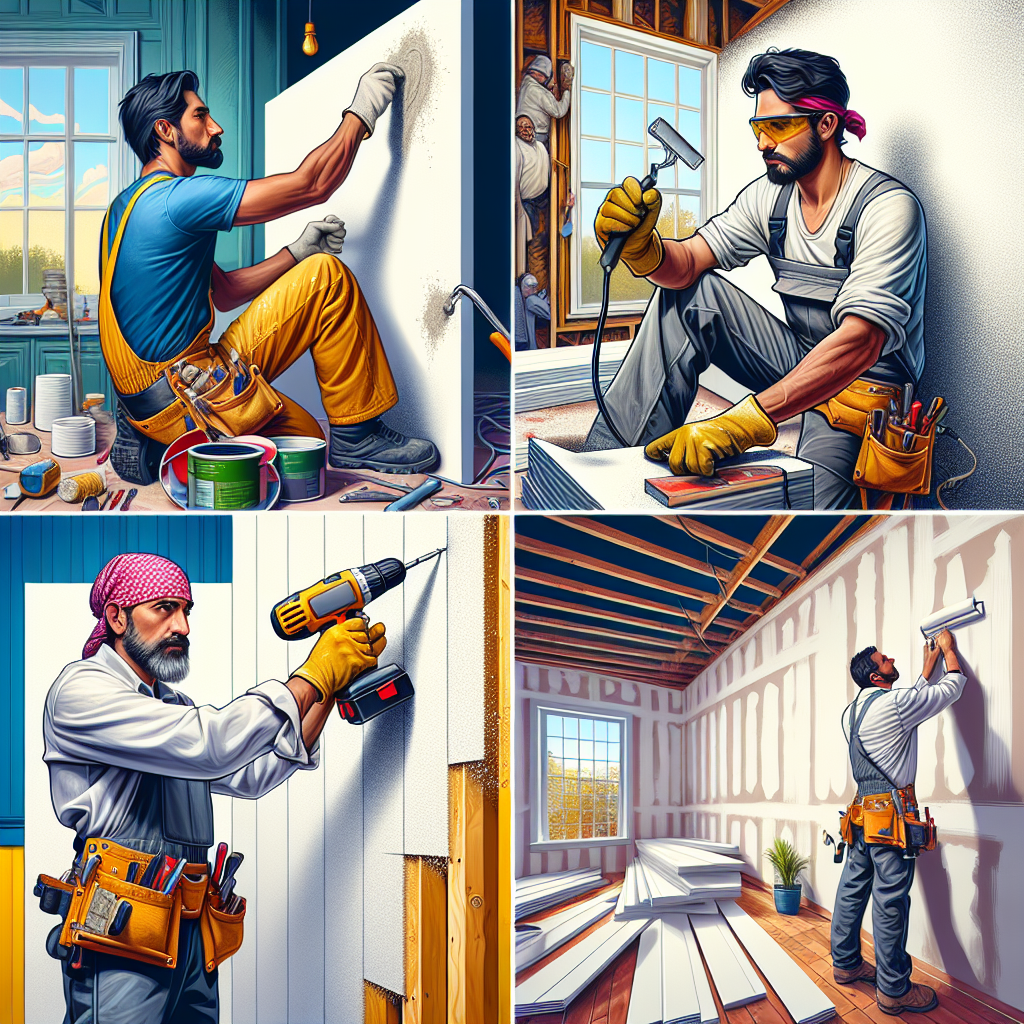
Preparing Your Drywall
1. Inspect the Surface
Before you begin painting, ensure that your drywall is in good condition. Look for any dents, scratches, or holes that need to be repaired. For minor imperfections, use a drywall repair kit or compound. For instance, consider using 3.5 Qt All Purpose Compound to fill in gaps and smooth the surface.
2. Sanding
After repairs have dried, it’s essential to sand the patched areas for a smooth finish. A sanding sponge or WEN Drywall Sander can do wonders. Sand lightly to avoid damaging the surrounding drywall, ensuring you blend the repaired areas seamlessly into the wall.
3. Clean the Surface
After sanding, dust and debris can settle on your wall. Wipe the drywall with a damp cloth to remove any dust, and give it time to dry before proceeding to the next step.
Choosing the Right Products
Primer vs. Paint
Choosing the right type of primer is crucial for achieving a professional paint finish. Drywall primer is specially formulated to seal the porous surface of drywall and helps paint adhere better, creating an even finish.
Types of Primers:
- Latex-based primer: Best for new drywall, dries quickly, and can be painted over in a few hours.
- Oil-based primer: Ideal for covering stains or previous colors but requires longer drying times.
Related: Drywall Primer vs. Regular Primer
Selecting Paint
For walls, a matte or eggshell finish is commonly recommended because it offers a smooth look and can hide imperfections. The following options are popular:
- Flat Latex Paint: Great for ceilings and low-traffic areas where touch-ups are acceptable.
- Eggshell Latex Paint: Slightly more durable and easier to clean, making it ideal for living areas.
Painting Techniques for a Professional Finish
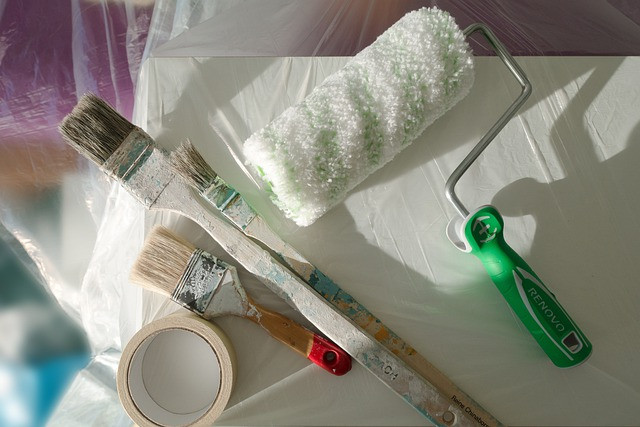
1. Tools You’ll Need
To ensure an efficient painting process, gather the following tools:
- Paintbrushes: For cutting in corners and edges where roller brushes can’t reach.
- Roller and Tray: Use a roller for large wall areas; a roller with a 3/8” nap is generally suitable for smooth walls.
- Paint Roller Extension Pole: For reaching high areas without a ladder.
2. How to Paint Your Walls
Step 1: Cutting-In
Begin with the cutting-in technique where you paint the edges first. Using a brush, carefully apply primer or paint along the edges of the wall, at the ceiling, baseboards, and corners.
Step 2: Rolling Paint
After cutting in, use your roller to cover the larger sections. Pour paint into a tray, dip the roller, and remove excess paint before applying it to the wall. Start in the middle of the wall and roll upwards, then down in a W pattern to ensure even coverage without roller marks.
3. Apply Multiple Coats
Most drywall requires two coats of paint for complete coverage, particularly if you’re using lighter colors over darker bases. Allow each coat to dry completely before applying the next. Waiting times can vary based on paint type, humidity, and temperature.
Pro Tip: Use a Paint Conditioner
For an even smoother finish, consider adding a paint conditioner, which helps your paint level out and reduces brush strokes.
Common Mistakes to Avoid
Avoiding Over-application
Piling too much paint on your roller can lead to drips and a thick texture. Always start with a lightly loaded roller and gradually build up the coverage.
Not Using Primer
Failing to prime your drywall can lead to uneven paint absorption, resulting in blotchiness and excessive touch-ups. Always prioritize primer for a beautiful finish.
Finishing Touches
1. Inspect Your Work
After your final coat has dried, inspect your walls for any missed spots. Touch up as needed with either the brush or roller to maintain a uniform appearance.
2. Clean Up
Clear your tools and tidy up the space. Proper care and cleaning will extend the life of your brushes and rollers, making them ready for your next project.
FAQs About Painting Drywall
Q: How soon can I paint new drywall?
A: It’s advisable to wait at least a few days for joint compound to dry completely before applying primer. Check the manufacturer’s guidelines for specific times.
Q: Is there a specific order for painting?
A: Always start with ceilings, then move to walls, and lastly any trim work. This order helps avoid stray paint on finished surfaces.
Conclusion
With this comprehensive guide, you’re now equipped with the skills and knowledge to paint drywall like a pro. Remember, the key to achieving a professional finish lies in thorough preparation, the right materials, and consistent technique. Whether you’re looking to enhance your home’s appearance or embarking on an ambitious DIY project, these steps will lead you to success.
Share & Resources
If you found this guide helpful, please share it on Pinterest, Facebook, or Reddit! Your support helps others find useful drywall painting techniques.
Contractors, home improvement bloggers, and DIY enthusiasts: Feel free to link back to this article to assist your audience with expert drywall painting tips.
Together, let’s empower our communities with the knowledge to improve our homes, one drywall project at a time!