Understanding Paint Peeling: Causes and Solutions
When it comes to home painting, encountering bubbles on your walls is often a sign of a more significant issue: paint peeling. This article delves into the root causes of paint peeling and provides valuable solutions to help you address this common problem effectively.
What Causes Paint Peeling?
Leaks Leading to Moisture Buildup
Even minor leaks can kickstart the paint peeling process. Drywall, though not as absorbent as a paper towel, has the capacity to retain moisture for extended periods. This moisture buildup ultimately causes the paint to blister and peel over time. When excessive moisture is trapped within a painted surface, it forces the latex paint to separate from the wall, creating unsightly bubbles.
How to Identify and Address Leaks:
To effectively remedy paint peeling due to moisture, it’s crucial to first identify the source of the leak. Attempting repairs without locating the root cause can lead to recurring issues. If you’re unsure about the source of moisture, consider hiring a professional inspector. In many cases, high-humidity areas like bathrooms, kitchens, and basements are the main culprits. Implementing a dehumidifier in your basement can help maintain lower humidity levels and prevent mold growth. For areas around bathtubs or showers, use shower curtains with suction cups or install splash guards to prevent water from reaching your walls.
Proper Repair for Peeling Paint
Once you’ve resolved the moisture issue, the next step is repairing the damaged paint. Repairing paint peeling is a relatively standardized process, except when mold is involved. In the case of mold, it’s advisable to engage a licensed mold assessor to address the problem first.
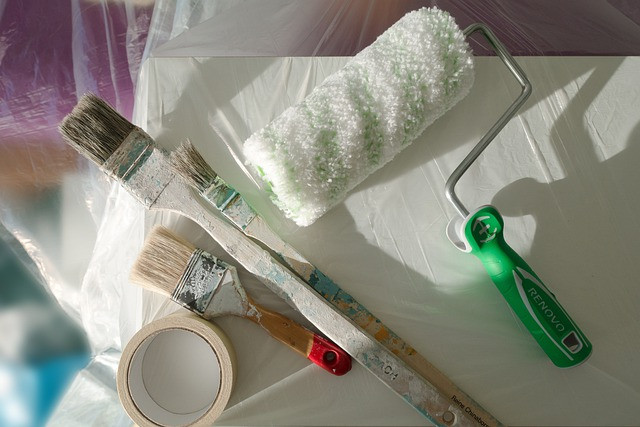
Materials Needed for Paint Peeling Repair:
- Sheetrock knife
- Taping knife
- Oil-based primer (opt for spray primer for small areas)
- Joint compound or spackle
- Sanding block
- Optional: caulk (for shower/bath)
Steps to Repair Peeling Paint:
- Cut Out Peeling Paint: Begin by removing the peeling paint, ensuring you only take off the loose layers.
- Scrape and Inspect: Gently scrape any remaining loose paint using a joint or putty knife. This step might reveal more loose paint than expected, but don’t worry; it’s essential to remove it now to prevent future issues.
- Inspect the Drywall: Check the condition of the drywall. If it crumbles, you’ll need to perform minor patchwork.
- Apply Joint Compound: Fill in the area where the bubble was removed with joint compound or spackle, allowing it to dry.
- Prime and Paint: Once the compound is dry, prime and paint the area to match the rest of the wall.
Preventing Paint Peeling in Basements:
Basements are particularly prone to humidity and water issues. Here’s how to prevent paint peeling in your basement:
- Dehumidifier: Invest in a dehumidifier to control humidity levels effectively.
- Sump Pump: If your basement frequently experiences water seepage from the ground, consider installing a sump pump. This device removes water automatically, preventing moisture-related problems.
Repairing Peeling Paint in a Basement:
Repairing paint peeling in basements generally involves removing and replacing portions of drywall. The extent of removal depends on the severity of mold growth.
Materials Needed for Basement Drywall Repair:
- Chalk line for measuring a straight cut
- Measuring tape
- Oscillating tool for cutting drywall
- 3M mask or respirator
- Hammer or drill for replacing old nails/screws
- Drywall screws or nails
- Joint tape
- Joint compound
- Dehumidifier
Steps to Repair Basement Drywall After Flooding:
- Determine the Height: Measure and mark the height from where you want to start your cut. To avoid future issues, consider marking 48 inches from the floor and adding an additional 2 inches (50 inches).
- Use a Chalk Line: Snap a straight line using a chalk line, which is more manageable with a second helper.
- Begin Cutting: Start cutting through the drywall using a hammer. As you progress, you may find that you can pull the drywall off by hand.
- Remove Nails or Screws: Ensure that you remove any nails or screws from the studs.
- Dehumidify: Place a dehumidifier next to the wall to facilitate drying of the area behind the drywall.
- Install New Drywall: Finally, install a new piece of drywall in the repaired area.
The Role of Primer in Preventing Paint Peeling
Insufficient priming before painting can cause paint peeling. Primer acts as a bridge between drywall and paint, ensuring proper adhesion. It’s particularly crucial when painting over an existing surface. Always use an oil-based primer before applying paint to achieve the best results.
Importance of Proper Surface Preparation
Failure to clean the surface before painting can result in paint peeling. If you’re working in a newly constructed room or addition with fresh drywall, ensure that you remove dust and debris. Use either a broom or a slightly damp rag, depending on the severity of the dust.
Key Paint Peeling Prevention Measures
To prevent paint peeling effectively, follow these key measures:
- Address leaks promptly.
- Redirect water away from potential sources.
- Invest in a dehumidifier.
- Apply an oil-based primer before painting.
- Opt for a latex paint with a satin or semi-gloss sheen for enhanced moisture resistance.
By understanding the causes of paint peeling and implementing these preventive measures, you can maintain a long-lasting and aesthetically pleasing paint finish in your home.