How to Patch A Hole In Drywall (With Examples)
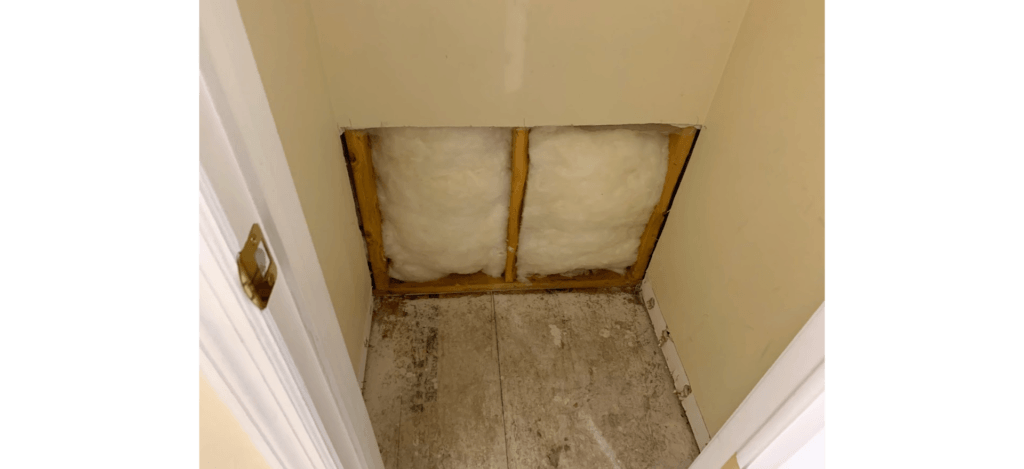
Ever wondered how to patch a drywall hole? Drywall damage happens — whether it’s from moving furniture, a doorknob, or just wear and tear over time. In this guide, I’ll walk you through exactly how to patch a drywall hole, no matter the size. Each repair follows the same basic steps, but the method and tools you use can make a huge difference in how seamless the patch looks.
I’ll break down the best products, techniques, and pro tips I’ve learned from doing this every day.
If this is your first time at Drywall Central — I’m Joe. I run a full-time drywall repair and installation business in New York called Patch Pros, and I started this blog to give homeowners and DIYers the confidence to tackle drywall like a pro.
Let’s dive in.
How To Patch A Small Drywall Hole
Examples: Nail Pops, Screws, Nicks or Dents, Removed Plastic Drywall Anchors
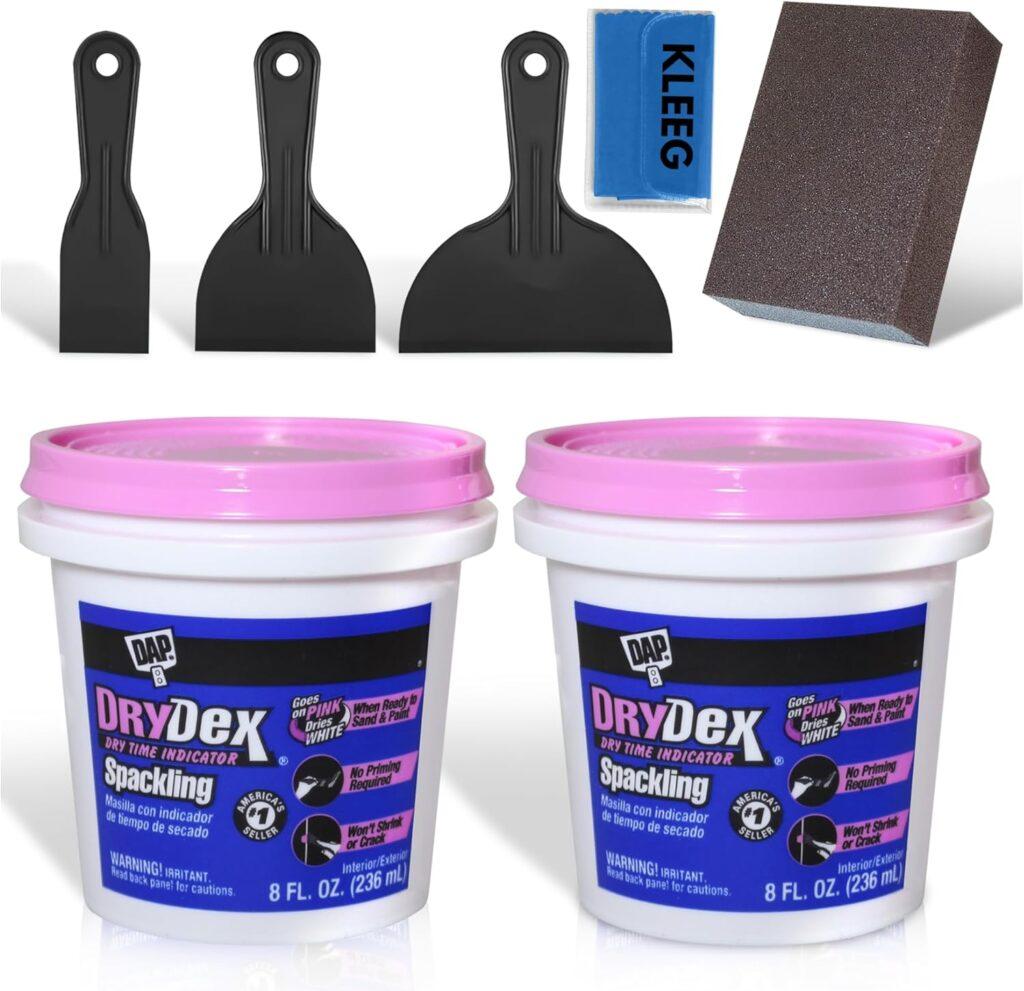
If you’re working with a very small hole such as the examples listed above, these are very inexpensive DIY repairs. The approach is as simple as using a type of filler. In the drywall industry, this repair is typically done with a spackle. Spackle is a putty that dries much faster than joint compound. The one that I would recommend to have, not just for this specific repair, but for any future small holes you may get would be DAP Spackle.
Spackle should be applied with a small putty knife. If you do not own a small putty knife, DAP also sells a kit that includes the spackle, plastic spatulas, and a sanding block.
When you have the product, place a small amount of spackle (enough to fill the small hole) onto the putty knife and press the spackle into the hole. Once it is filled, use the top end of the putty knife in a scraping motion to smooth the surface out. Allow it to dry. DAP has a patented spackle that goes on pink and dries to white, so you know when it is ready to sand.
How To Patch A Drywall Hole that is a 7” hole or less
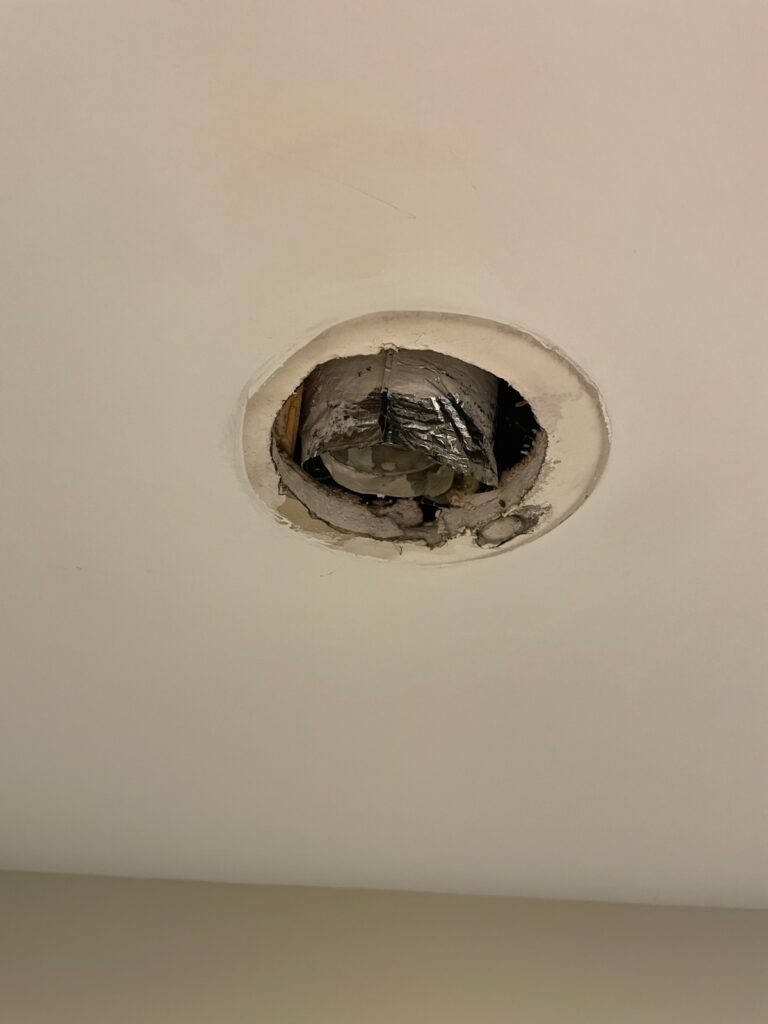
Examples: Door knob holes, recessed light move, electrician fishing holes, plumber left holes
When working on these “mid-size” holes, you will have a different approach rather than just using spackle. In order to make this an effective patch, it should have something in the hole. I have seen others use mesh tape, but it’s not what I recommend because it will not give the patch any strength. If this is a small, 1″ area, then I’d say it’s OK to use mesh. The best options out there for patching a drywall hole are either a) drywall itself or b) a fibatape repair patch. I have personally done patches both ways.
Patching A Small Hole With Drywall
When using a small piece of drywall to patch a drywall hole, there are actually two different methods:
Wood Backing or Drywall Clips
On this approach to patching a drywall hole, it will be the strongest method. You would utilize wood/drywall clips behind the wall and drywall screws to create your own “backer board”. Essentially what this does is allows you to place screws into the surrounding wall, and into the patch as well. This way the patched drywall is supported by the strength of the wall, and the backing.
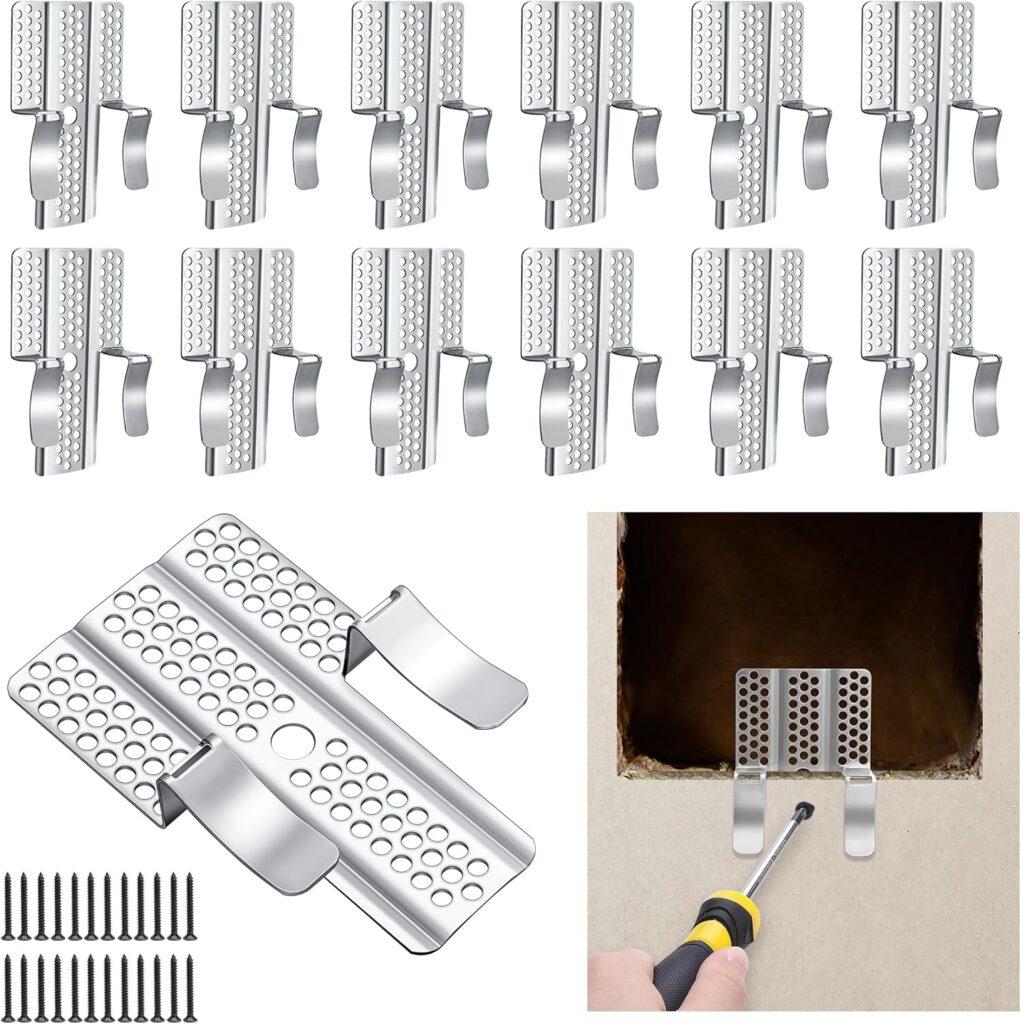
Drywall Repair Clips are a fast and easy way to fasten new drywall to a hole.
Here’s a quick video of me using drywall repair clips for a job:
California Patch
A California patch is a method that drywallers use that does not require the use of backing or drywall tape. It is creating a patch with drywall and utilizing the paper face of the drywall as the “tape”. It is very effective, cheap, and quick to do.
Patching A Drywall Hole with Fibatape Repair Patch
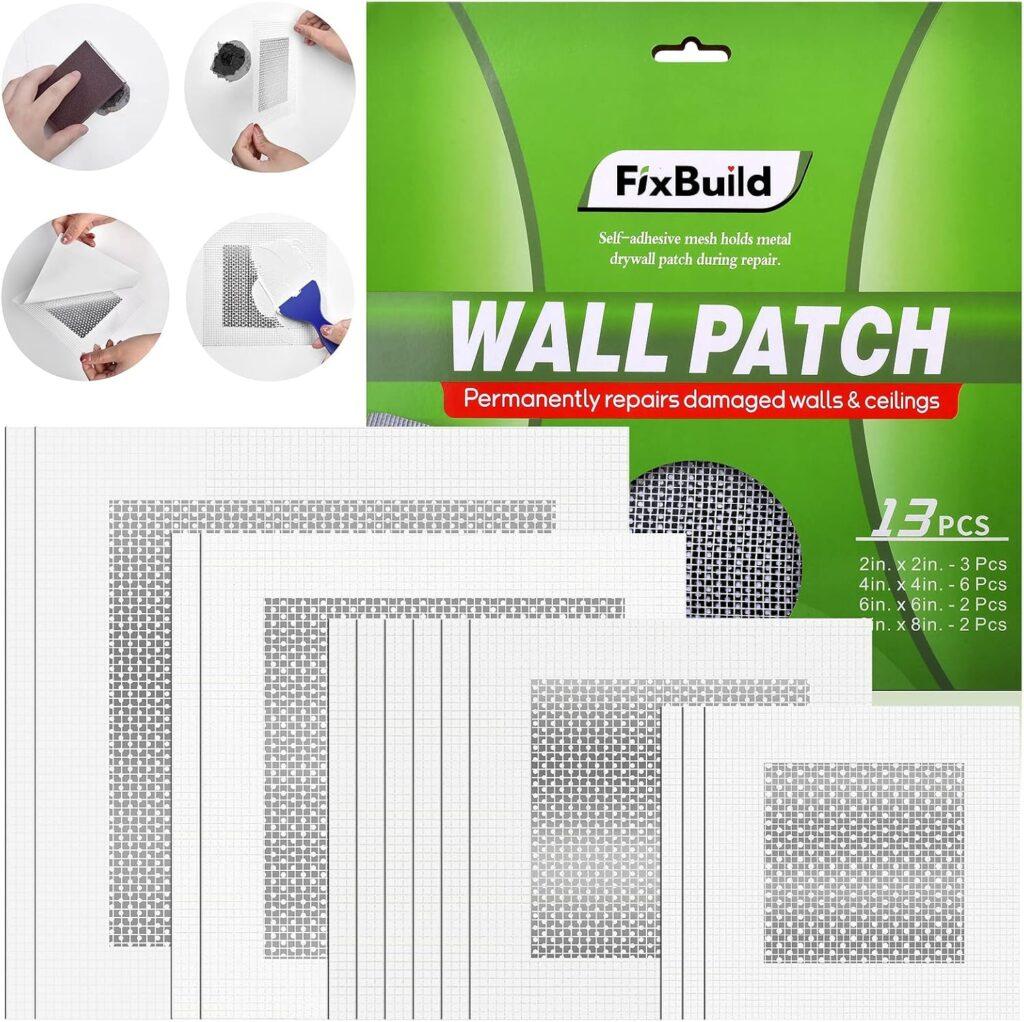
A fibatape repair patch removes the need for wood backing, drywall clips, or using a piece of drywall. This is a mesh product that contains perforated aluminum to make it a strong repair option.
Fibatape repair patches come in different sizes:
2”x2” (for 1” or less)
4”x4” (for 3” or less)
6”x6” (for holes 5”or less)
8”x8” (for holes 7” or less)
Grab this kit on Amazon for less than $15:
Note that you will need to use a patch larger than the size of the hole. This product has a sticky backing to attach to the wall where the hole is. You will need to apply multiple coats of joint compound in order to blend into the wall. Each coat should be very thin, and you should allow it to dry overnight before applying the next coat of joint compound. When it has been smoothed out and blended into the wall, you will want to sand the area for the proper finish.
How To Patch A Drywall Hole – Large Holes
Examples: Plumbing repairs, roof leaks saturated ceiling, accidental falls
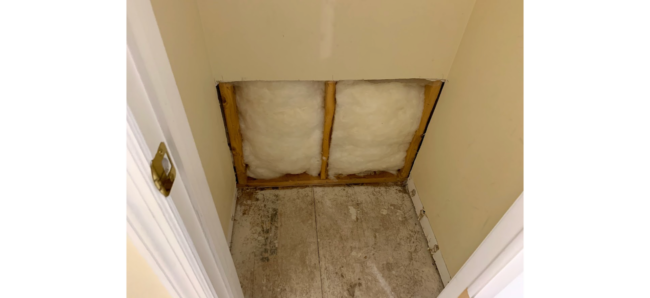
For patching large holes, there is no quick product on the market to patch it. So in this case you have to use a sheet of drywall to repair the drywall hole.
Products Needed:
Piece of Drywall – Large enough to fit in the hole
Drywall Screws
Drywall Tape or Mesh
All-Purpose Joint Compound
When you are patching a large drywall hole, you will want to first cut back the area to the studs in your wall. Be sure that the cut is close to square or rectangular. Do not cut past the stud. Depending on the age of your home, the stud will either be a total of 1.5” wide, or 2” wide. This means that when you do cut to the stud you will only want to cut ¾” past the stud. This will give you sufficient space to screw the new patch into.
You will next cut a new sheet of drywall to fit the area you have squared out. This can take a few tries to get the right fit. If it is a little too large, you can use a sheetrock knife or oscillating tool to lightly trim the edge of the drywall patch. They also have a tool called a drywall rasp, which is essentially like a cheese-cutter to shave the edge of the drywall.
Next, you will place your screws in, you do not need to overdo it with drywall screws. Generally, on a 2×2 patch, I would place 6 drywall screws in the same position as the dots on a 6 dice. The larger the patch is, the more you should use and separate the screws.
Taping Your Large Drywall Patch
If you’re using mesh tape (Best for DIY) – Apply the mesh tape to the surface and then coat the mesh with a joint compound. I usually use a 4” taping knife for this. Wait overnight for it to dry before coating again.
If you’re using paper tape – Using your joint compound, you will put a ¼” thick joint compound, evenly spread across the seams of the patch. Then you will apply the joint tape with a 4” taping knife. You should make sure the tape is lined in the center, then you will use a joint knife to smooth the surface while removing excess compound from behind the tape. Allow this to dry overnight.
Another option is to use Fibafuse, which is a fiberglass mesh tape. It’s best used with all purpose joint compound, or easy sand products.
How To Blend Drywall Patch
Once your joint compound is dry, you will next widen the seam with another coat of joint compound. I will usually use an 8” or a 10” taping knife for this so the compound is as wide as the knife. Allow this coat to dry overnight again.
To get the best finish possible I typically coat the area again with a 12” knife the next day. It’s by no means required in all situations, but as a professional in the field, I do not want any patches to be seen with the naked eye. This can be accomplished by widening out the area with a compound, essentially “blending” it into the wall.
At this point, a term I’d like to explain is “feathering edges”. Feathering the edges of your joint compound on the wall is a technique that requires the user to slightly bend the knife on the outside edge of the patch – to blend the wall and patch into one. This will save you from having to do it by sanding.
The final step on how to patch a drywall hole is sanding the patch. For sanding I typically use a fine-grit sanding block, usually 180 grit or more. It is very important to do this under good lighting. Having good lighting will bring out all of the imperfections from finishing so you can sand it smooth!
I hope reading this article helped you learn about how to patch a drywall hole. Not every hole is the same and will have a different approach depending on the situation. If you have any questions or comments for me, or if this article helped you – feel free to reach out in the comments below. I’ll always do my best to help if you need advice!

