5 Expert Tips for Repairing A Hole in Wall: A Comprehensive Guide
5 Expert Tips for Repairing A Hole in Wall: A Comprehensive Guide
Having a hole in wall can be a frustrating and unsightly problem for homeowners. Whether they’re caused by a stray baseball, an accidental bump, or something else entirely, holes in walls can be a real eyesore. But fear not! With the right tools and a little bit of know-how, you can repair a hole in your wall and have it looking good as new in no time. In this comprehensive guide, we’ll cover everything you need to know about repairing holes in walls, including the different types of holes, the tools and materials you’ll need, and step-by-step instructions for five different repair methods.
Types of Holes in Walls
Before we dive into the repair process, it’s important to understand the different types of holes that can occur in walls. Here are a few common types of holes you might encounter:
Small Holes
Small holes are typically less than 1/4 inch in diameter and can be caused by things like door handles, picture hangers, or other small objects coming into contact with the wall. These types of holes are generally easy to repair and can be filled with spackle or joint compound.
Medium-Sized Holes
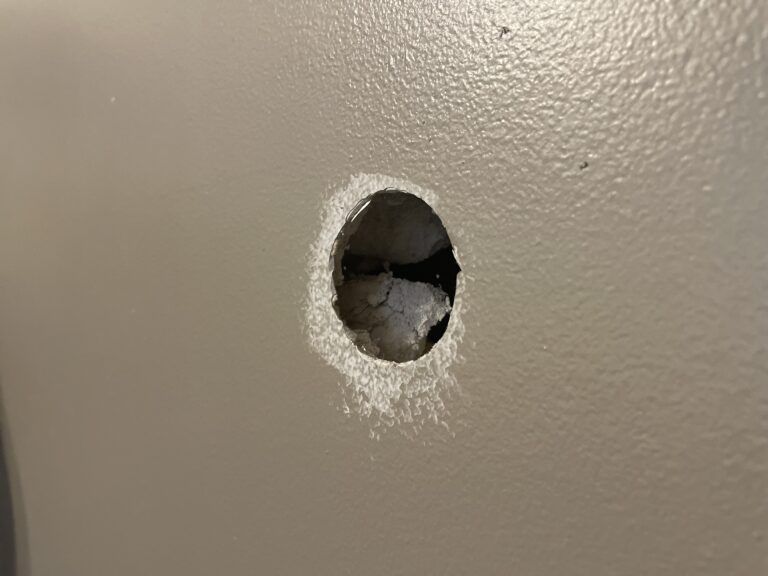
Medium-sized holes are typically between 1/4 inch and 2 inches in diameter and can be caused by things like fist-sized holes or larger objects coming into contact with the wall. These types of holes may require a patch to repair, in addition to spackle or joint compound.
Large Holes
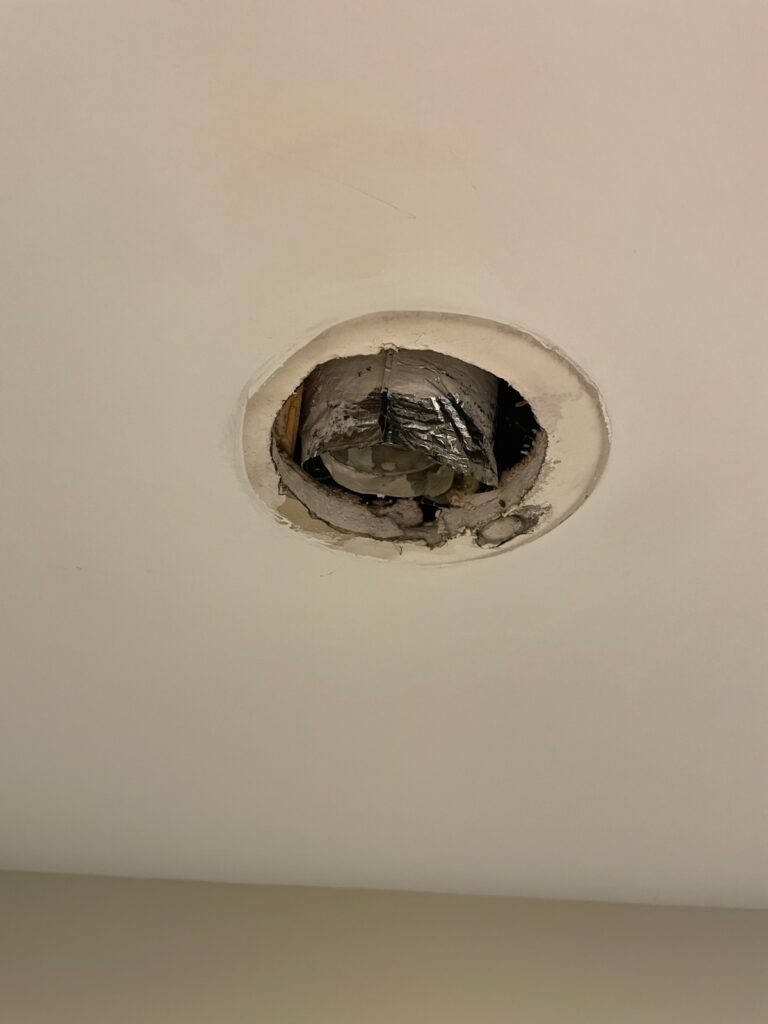
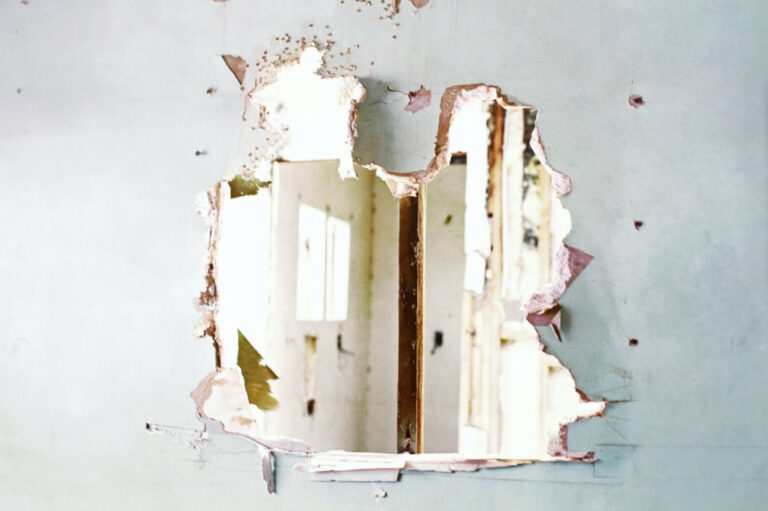
Large holes are typically greater than 2 inches in diameter and can be caused by things like furniture being dragged across the wall or large objects coming into contact with the wall. These types of holes will require a drywall patch and additional joint compound to repair.
Holes in Plaster Walls
If you have a hole in a plaster wall, the repair process is slightly different than it is for drywall. Plaster walls are typically thicker and more brittle than drywall, so you’ll need to take a bit more care when repairing a hole in a plaster wall.
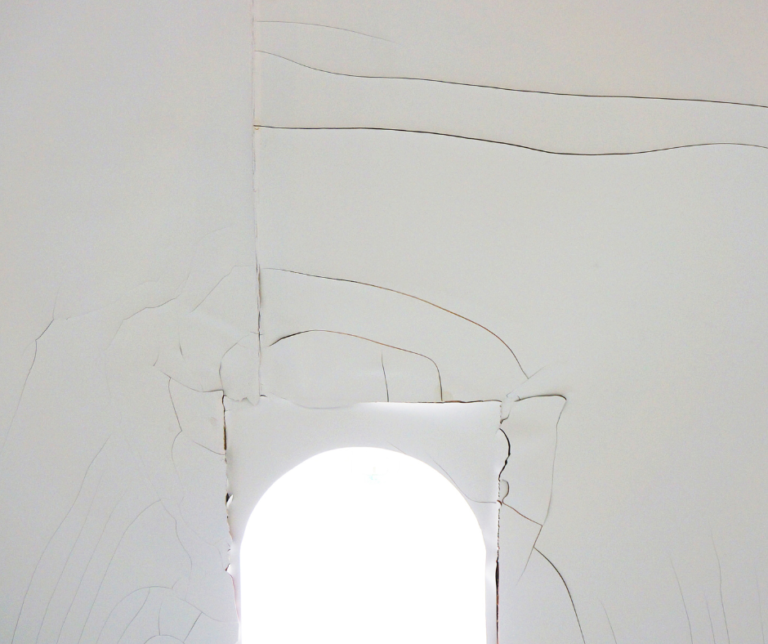
Holes in Textured Walls
If your wall has a texture to it, such as knockdown or orange peel, repairing a hole can be a bit trickier. You’ll need to match the texture of the surrounding wall when making your repair in order to create a seamless transition.
Tools and Materials You’ll Need
Before you begin, it’s important to gather the right tools and materials. Here’s a list of everything you’ll need to repair a hole in your wall:
Spackle or Joint Compound
Spackle or joint compound is a thick, paste-like substance that is used to fill in holes and imperfections in walls. It comes in a tub and can be applied with a putty knife or trowel.
Sandpaper
You’ll need sandpaper to smooth out the spackle or joint compound after it has dried.
Primer
A primer will help the paint adhere to the repaired area better and will also help to conceal any imperfections.
Paint
Choose a paint color that matches the rest of the wall.
Putty Knife or Trowel
You’ll use a putty knife or trowel to apply the spackle or joint compound.
Sanding Block
A sanding block is a foam pad with a rough surface that is used to sand down the repaired area.
Painter’s Tape
This is optional, but if you want to create a clean edge around the repaired area, you can use painter’s tape to mask off the surrounding area.
Drywall Patch
If you have a medium or large hole in your wall, you’ll need a drywall patch to repair it. You can purchase drywall patches at your local home improvement store.
Utility Knife
You’ll need a utility knife to score the back of the drywall patch and to cut the metal drywall tape to size.
Hammer and Chisel
If you have a hole in a plaster wall, you’ll need a hammer and chisel to remove any loose or broken plaster around the hole.
Texture Spray or Trowel
If you have a hole in a textured wall, you’ll need a texture spray or trowel to match the texture of the surrounding wall.33z
Method 1: Repairing Small Holes
For small holes (less than 1/4 inch in diameter), you can use spackle or joint compound to fill in the hole. Simply follow these steps:
Step 1: Apply the Spackle or Joint Compound
Use a putty knife or trowel to apply a small amount of spackle or joint compound to the hole.
Step 2: Smooth Out the Spackle or Joint Compound
Use the putty knife or trowel to smooth out the spackle or joint compound, making sure it is evenly distributed and covers the entire hole.
Step 3: Allow the Spackle or Joint Compound to Dry
Allow the spackle or joint compound to dry completely, according to the manufacturer’s instructions. This typically takes about an hour, but it can vary depending on the product you’re using.
Step 4: Sand the Repaired Area
Once the spackle or joint compound is dry, use a sanding block to sand down the repaired area until it is smooth and even with the rest of the wall.
Step 5: Wipe Down the Repaired Area
Wipe down the repaired area with a damp cloth to remove any dust or debris.
Step 6: Apply Primer to the Repaired Area
Apply a coat of primer to the repaired area, following the manufacturer’s instructions.
Step 7: Apply Paint to the Repaired Area
Once the primer is dry, apply a coat of paint to the repaired area, again following the manufacturer’s instructions.
Method 2: Repairing Medium-Sized Holes
For holes that are slightly larger (up to 2 inches in diameter), you’ll need to use a patch to repair the hole. Here’s how:
Step 1: Cut a Drywall Patch
Cut a piece of drywall that is slightly larger than the hole you need to repair.
Step 2: Score the Back of the Drywall Patch
Use a utility knife to score the back of the drywall patch. This will help the patch to adhere to the wall more effectively.
Step 3: Apply Joint Compound to the Back of the Patch
Apply a thin layer of joint compound to the back of the patch and press it firmly into the hole.
Step 4: Smooth Out the Joint Compound
Use a putty knife or trowel to smooth out the joint compound and create a seamless transition between the patch and the wall.
Step 5: Allow the Joint Compound to Dry
Allow the joint compound to dry completely, according to the manufacturer’s instructions.
Step 6: Sand the Repaired Area
Once the joint compound is dry, sand the repaired area until it is smooth and even with the rest of the wall.
Step 7: Wipe Down the Repaired Area
Wipe down the repaired area with a damp cloth to remove any dust or debris.
Step 8: Apply Primer to the Repaired Area
Apply a coat of primer to the repaired area, following the manufacturer’s instructions.
Step 9: Apply Paint to the Repaired Area
Once the primer is dry, apply a coat of paint to the repaired area, again following the manufacturer’s instructions.
Method 3: Repairing Large Holes
For holes that are larger than 2 inches in diameter, you’ll need to use a drywall patch and some additional joint compound to repair the hole. Here’s how:
Step 1: Cut a Drywall Patch
Cut a piece of drywall that is slightly larger than the hole you need to repair.
Step 2: Score the Back of the Drywall Patch
Use a utility knife to score the back of the drywall patch. This will help the patch to adhere to the wall more effectively.
Step 3: Cut a Piece of Metal Drywall Tape
Cut a piece of metal drywall tape that is slightly longer than the diameter of the hole.
Step 4: Apply Joint Compound to the Back of the Patch
Apply a thin layer of joint compound to the back of the patch and press it firmly into the hole.
Step 5: Place the Metal Drywall Tape Over the Patch
Place the metal drywall tape over the patch and smooth it down with a putty knife or trowel.
Step 6: Apply a Layer of Joint Compound Over the Patch
Apply a layer of joint compound over the patch and metal drywall tape, smoothing it out with a putty knife or trowel.
Step 7: Allow the Joint Compound to Dry
Allow the joint compound to dry completely, according to the manufacturer’s instructions.
Step 8: Sand the Repaired Area
Once the joint compound is dry, sand the repaired area until it is smooth and even with the rest of the wall.
Step 9: Wipe Down the Repaired Area
Wipe down the repaired area with a damp cloth to remove any dust or debris.
Step 10: Apply Primer to the Repaired Area
Apply a coat of primer to the repaired area, following the manufacturer’s instructions.
Step 11: Apply Paint to the Repaired Area
Once the primer is dry, apply a coat of paint to the repaired area, again following the manufacturer’s instructions.
Method 4: Repairing Holes in Plaster Walls
If you have a hole in a plaster wall, the repair process is slightly different than it is for drywall. Here’s what you’ll need to do:
Step 1: Remove Loose or Broken Plaster
Use a hammer and chisel to remove any loose or broken plaster around the hole. Try to get this in a uniform shape, such as a square or rectangle.
Step 2: Cut a Piece of Drywall
Cut a piece of drywall that fits snugly in the area you removed the plaster. Screw it in with drywall screws.
Step 3: Apply Joint Compound and Drywall Tape to the Seams
Apply a thin layer of joint compound to where the plaster and drywall meet, apply your drywall tape and wipe out excess compound from behind the tape.
Step 4: Smooth Out the Joint Compound
Use a putty knife or trowel to smooth out the joint compound and create a seamless transition between the tape and the wall.
Step 5: Allow the Joint Compound to Dry
Allow the joint compound to dry completely, according to the manufacturer’s instructions.
Step 6: Sand the Repaired Area
Once the joint compound is dry, sand the repaired area until it is smooth and even with the rest of the wall.
Step 7: Wipe Down the Repaired Area
Wipe down the repaired area with a damp cloth to remove any dust or debris.
Step 8: Apply Primer to the Repaired Area
Apply a coat of primer to the repaired area, following the manufacturer’s instructions.
Step 9: Apply Paint to the Repaired Area
Once the primer is dry, apply a coat of paint to the repaired area, again following the manufacturer’s instructions.
Method 5: Repairing Holes in Textured Walls
If your wall has a texture to it, such as knockdown or orange peel, repairing a hole can be a bit trickier. Here’s how to do it:
Step 1: Repair the Hole as Described in Method 2 or 3
Use either method 2 or 3 to repair the hole in the wall, depending on the size of the hole.
Step 2: Use a Texture Spray or Trowel to Match the Texture of the Wall
Once the joint compound has dried, use a texture spray or trowel to match the texture of the surrounding wall. Simply spray or apply the texture over the repaired area and blend it in with the rest of the wall.
Step 3: Allow the Texture to Dry
Allow the texture to dry completely, according to the manufacturer’s instructions.
Step 4: Apply Primer to the Repaired Area
Apply a coat of primer to the repaired area, following the manufacturer’s instructions.
Step 5: Apply Paint to the Repaired Area
Once the primer is dry, apply a coat of paint to the repaired area, again following the manufacturer’s instructions.
Conclusion
With the right tools and a little bit of know-how, repairing a hole in your wall is a fairly simple task. Whether you have a small, medium, or large hole, there is a repair method that will work for you. And with a little bit of patience and attention to detail, you’ll have your wall looking good as new in no time. So don’t let a hole in your wall get you down – grab your tools and get to work!