How to Repair Drywall
Drywall, also known as gypsum board, is a common material in many homes due to its versatility and affordability. However, it’s not invincible, and with even the slightest misstep, you might find yourself dealing with unsightly holes, cracks, or scratches. Fear not! This detailed guide on how to repair drywall will empower you with everything you need to know to restore the integrity and appearance of your walls.
Common Damages to Drywall
Understanding the types of damages you might encounter is the first step toward effective repairs. Here are a few common ones:
Holes
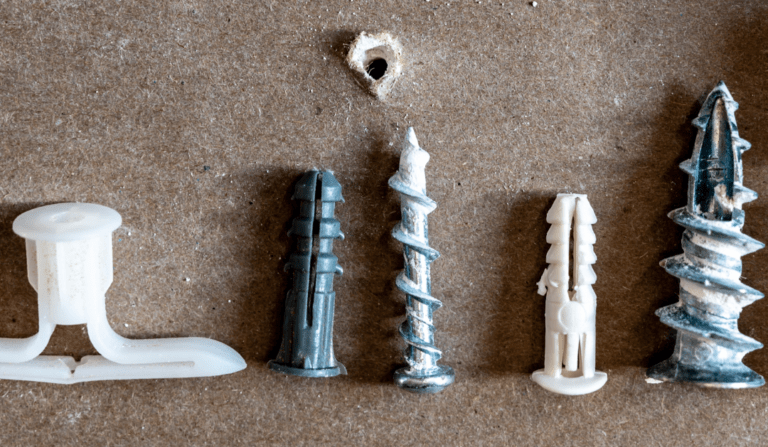
- Small Holes: Typically caused by nails or screws.
- Medium Holes: Usually the results of accidental impacts (like a doorknob hitting the wall).
- Large Holes: Often occur from plumbing repairs or furniture bumps.
Cracks
- Surface Cracks: These are hairline fractures usually due to settling.
- Structural Cracks: Wider cracks that may indicate issues in the foundation.
Dents and Dings
Minor impacts can lead to unsightly surface dents that may not require full repairs but can benefit from some attention.
Tools and Materials You’ll Need
Before starting your repair journey, it’s essential to gather the right tools and materials. Here’s a quick list:
- Drywall Compound: Such as 3.5 Qt All Purpose Compound.
- Drywall Tape: Either paper or mesh.
- Utility Knife: For cutting drywall and tape.
- Putty Knife: For applying drywall compound.
- Sandpaper or Sander: A WEN Drywall Sander can make the job easier.
- Drywall Repair Kit: For minor damage, consider using a Drywall Repair Kit.
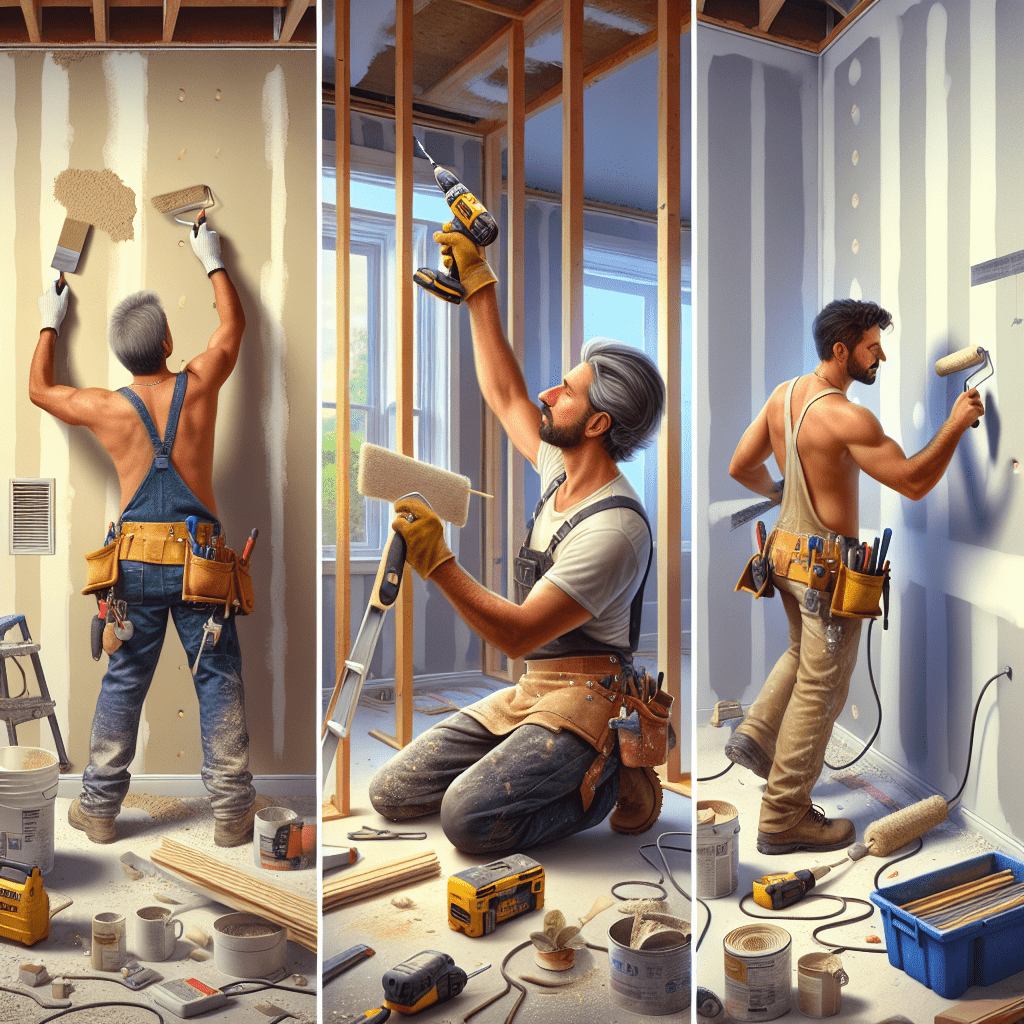
Step-by-Step Guide to Repairing Drywall
Step 1: Assess the Damage
Before beginning repairs, assess the damage. For smaller holes, you might only need a compound. Large holes might require a patch.
Step 2: Prepare the Area
- Clear the Space: Remove any furniture, wall hangings, or decor nearby.
- Protect Your Surroundings: Use a drop cloth to protect the floor and surrounding walls from dust and debris.
Step 3: Repair Holes in Drywall
Small Holes
- Clean the Area: Use a utility knife to remove any loose pieces around the hole.
- Apply Compound: Use a putty knife to fill the hole with compound. Smooth it out, allowing it to extend slightly beyond the hole.
- Sand Down: Once dry, sand lightly until smooth.
Medium to Large Holes
- Cut a Patch: Cut a piece of drywall to fit the hole. Ensure it’s slightly larger than the damaged area.
- Attach: Use 1 1/4" or 1 5/8" screws to attach the patch to the wall studs.
- Tape the Edges: Apply mesh tape around the seams of the patch.
- Compound: Fill with compound, making sure to feather the edges. Let it dry.
- Sand: Once the compound is dry, sand it down until smooth.
Step 4: Repair Cracks
- Clean the Crack: Use a utility knife to widen the crack slightly, removing any loose material.
- Tape: Apply mesh tape over the crack.
- Compound: Fill in the tape with compound and feather it out.
- Sand: Once dry, sand it smooth.
Step 5: Final Touches
- Prime and Paint: Once your repair is smooth and completely dry, prime the area to ensure paint adheres well. Use a primer specifically suited for drywall.
- Decorate: Once painted, you can restore any wall art or decor.
Common Mistakes to Avoid
- Rushing Repairs: Drywall compound needs adequate time to dry. Rushing through may lead to imperfections.
- Not Sanding Properly: Skipping sanding can result in an uneven surface.
- Using the Wrong Compound: Ensure that the compound matches your needs; some compounds are better for quick repairs, while others are ideal for smooth finishes.
Pro Tips for an Effective Repair
- Use a Damp Sponge: To smooth out the compound before it dries, use a damp sponge to create a flawless finish.
- Multiple Thin Coats: Instead of one thick application, use several thin coats of compound.
- Consider Temperature and Humidity: These factors can affect drying times. Work in a controlled environment if possible.
FAQs
Q: Can I use regular primer on drywall?
A: It’s recommended to use a drywall-specific primer, as it helps seal the gypsum board and ensures an even finish.
Q: What if the damage is severe?
A: For extensive damage, consider consulting a professional contractor to ensure the integrity of your wall is preserved. Check our guide on How to Repair Drywall Like a Pro for more tips.
Q: How can I efficiently tackle larger areas?
A: For extensive damages, consider using a Drywall Lift 11′ and pre-mixed compounds for quicker applications.
Share & Resources
If you found this guide helpful, please share it on Pinterest, Facebook, or Reddit! Your support helps others find useful drywall repair techniques.
Contractors, home improvement bloggers, and DIY forums: Feel free to link back to this article to help your audience with expert drywall repair tips.
Together, let’s empower our communities with the knowledge to improve our homes, one drywall project at a time!