How To Remove Wallpaper: From A Pro
Are you tired of the frustration when you try to take off wallpaper, especially when stubborn yellow glue residue is left behind on your walls? Trust me, I’ve been there too. After years of experience dealing with wallpaper, whether it’s removing or covering it up, I’ve developed a process that won’t break the bank. In this comprehensive guide, I’ll share my cost-effective techniques for taking off wallpaper without the need for expensive tools or solutions. By following these steps, you’ll be able to achieve a clean and smooth surface for your next home improvement project.
Take Off Wallpaper or Cover With Paint?
Before we delve into the removal process, let’s take a moment to compare the two options: covering wallpaper versus removing it. While covering wallpaper may initially seem like a quicker and cheaper solution, it involves priming the surface, skim coating the entire wall with joint compound, followed by sanding, priming, and painting. This approach can be time-consuming and requires additional materials. Instead, I’ll focus on the effective and budget-friendly method of removing wallpaper altogether, saving you both time and money.
Take Off Wallpaper Removal Process
To begin the wallpaper removal process, make sure you have the following materials on hand:
- 5-in-1 painter’s tool/scraper/taping knife
- Rag
- Bucket of water
- Plastic sheets
- Painter’s tape
Having these items readily available will help make the wallpaper removal process smoother and more efficient.
Prepare the Area
Before starting the removal process, it’s crucial to prepare the area properly. Begin by covering the floor with plastic sheets and securing them in place with painter’s tape. This will protect your floors from water damage and make the cleanup process easier once the wallpaper is removed.
Remove the Outer Layer
Start by peeling off the outer decorative layer of the wallpaper. In most cases, this layer should come off relatively easily. However, if it doesn’t peel off smoothly, use a scraper such as a 5-in-1 painter’s tool to gently scrape it away. Be careful not to damage the underlying wall surface during this step.
Dealing with Glue Residue without Wallpaper Glue Remover
If you find yourself facing stubborn glue residue after removing the outer layer of wallpaper, don’t despair. This is often the most challenging and frustrating part of wallpaper removal. Many people resort to purchasing steamers, special wallpaper solutions, or various wallpaper removal tools. However, with my method, you can avoid these additional expenses.
Begin by dampening the rag with water and saturating a small 3×3 area of the glue. Allow the water to penetrate the wallpaper glue for approximately 2-3 minutes. This will help soften the glue, making it easier to remove. Then, using the scraper, gently scrape off the softened glue. Repeat this process for the remaining areas until all the glue is removed. Be patient and take your time to ensure thorough removal.
To see a visual demonstration of this process, refer to the following video:
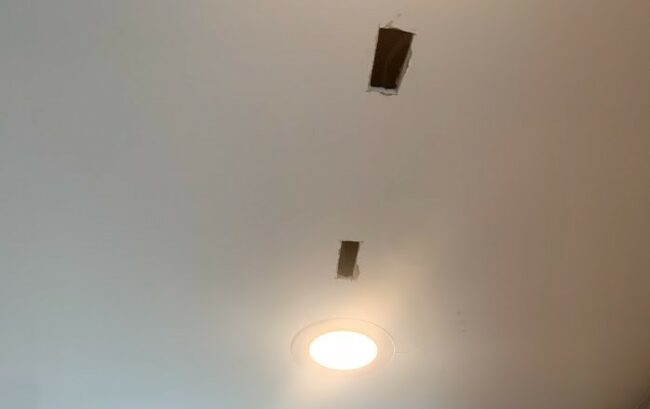
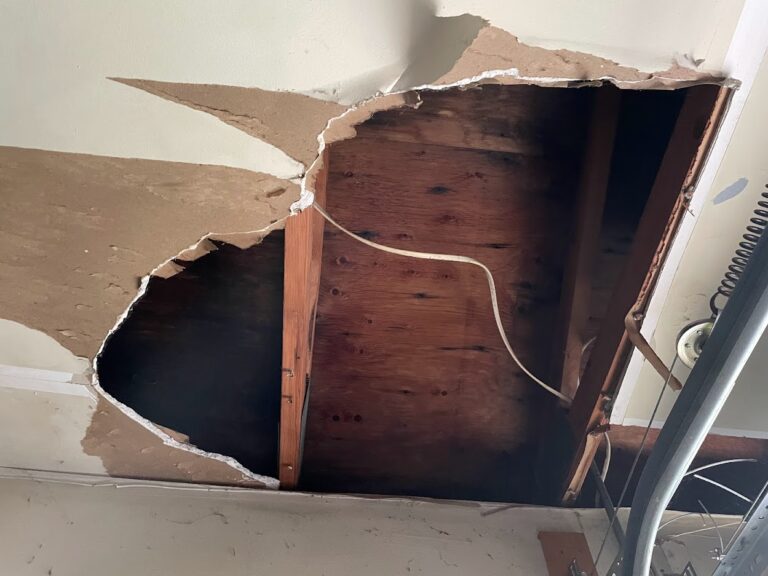
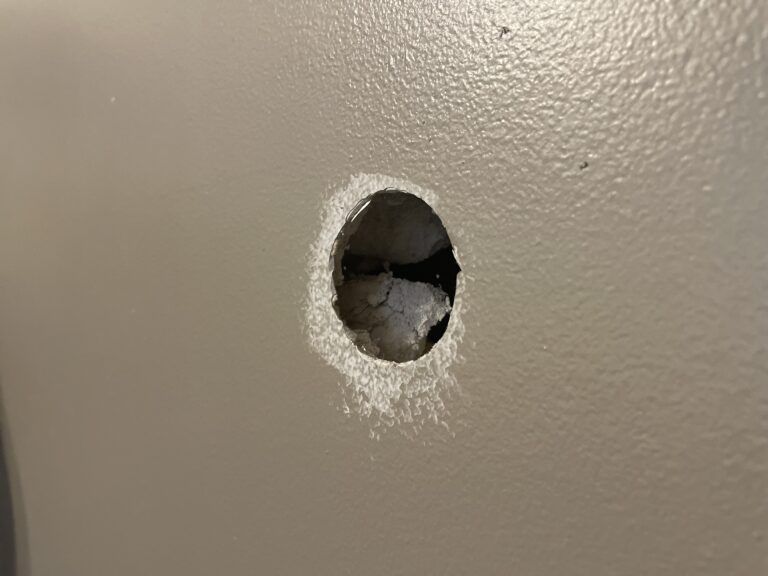
Removed Wallpaper But There’s Drywall Damage
It’s not uncommon to discover drywall damage after removing wallpaper. In fact, it’s often the case that wallpaper was used to cover up old holes or imperfections in the walls. Additionally, the process of wallpaper removal itself can sometimes cause minor damage to the underlying drywall. But fear not, because at DrywallCentral.com, we are dedicated to providing valuable information and resources on how to easily and effectively repair drywall.
If you’re facing drywall damage after removing wallpaper, we invite you to check out our collection of articles on drywall repairs. Learn the techniques and tips to restore your walls to their pristine condition and achieve a flawless finish.
Cost To Remove Wallpaper If You Hire A Contractor
The price of hiring a contractor for wallpaper removal can vary depending on several factors. Firstly, the size of the project and the number of rooms involved will play a significant role in determining the overall cost. Additionally, the complexity of the wallpaper removal, such as the condition of the walls, the type of wallpaper used, and any underlying issues that may need to be addressed, can also impact the price. On average, homeowners can expect to pay anywhere from $500 to $1500 for professional wallpaper removal services, depending on the scope of the project and the contractor’s rates.
Keep in mind that the cost quoted by the contractor may also include additional services such as wall preparation, patching, priming, or even painting after the wallpaper is removed. It’s important to discuss these details with the contractor and clarify what is included in the price. While hiring a contractor may come with a higher price tag compared to a DIY approach, it can provide peace of mind knowing that the job will be done efficiently and with professional expertise.
Conclusion
By following my tried and tested method, you can remove wallpaper without breaking the bank or relying on expensive tools and solutions. Whether you’re a seasoned DIYer or a first-time homeowner, these cost-effective techniques will save you time, money, and frustration. Remember to gather the necessary materials, prepare the area properly, and follow each step carefully. With perseverance and attention to detail, you’ll bid farewell to frustrating wallpaper and achieve a clean surface for your next home improvement project.