Drywall Repair Hacks Every Homeowner Should Know
Maintaining your home can be a rewarding yet challenging task, especially when it comes to drywall repair. Whether you’re a seasoned DIY enthusiast or a beginner looking to take on your first project, understanding some essential hacks can save you time, effort, and money. In this comprehensive guide, we’ll explore some innovative drywall repair hacks that every homeowner should know, ensuring your walls remain in perfect condition.
Why Repairing Drywall Is Important
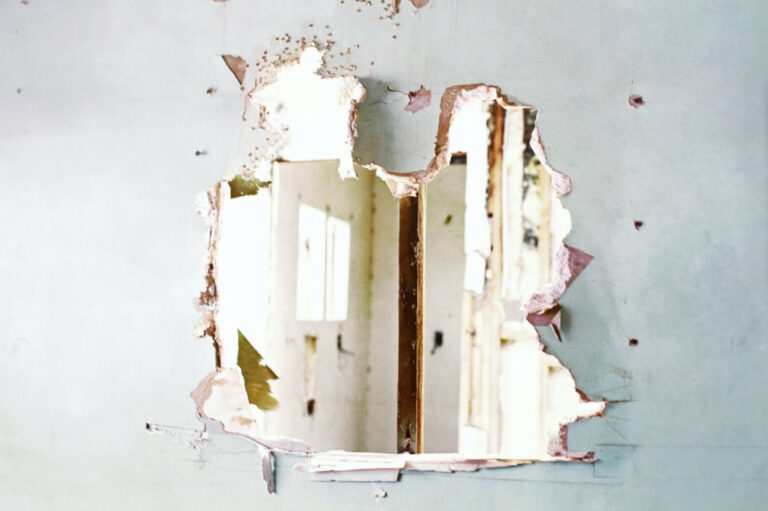
Before diving into the hacks, it’s crucial to understand why drywall repair is significant. Over time, your walls might suffer from various issues: holes, cracks, water damage, and more. Ignoring these problems can lead to bigger issues like mold growth or infestations as moisture becomes trapped.
So, let’s equip you with the knowledge and skills to perform these repairs seamlessly!
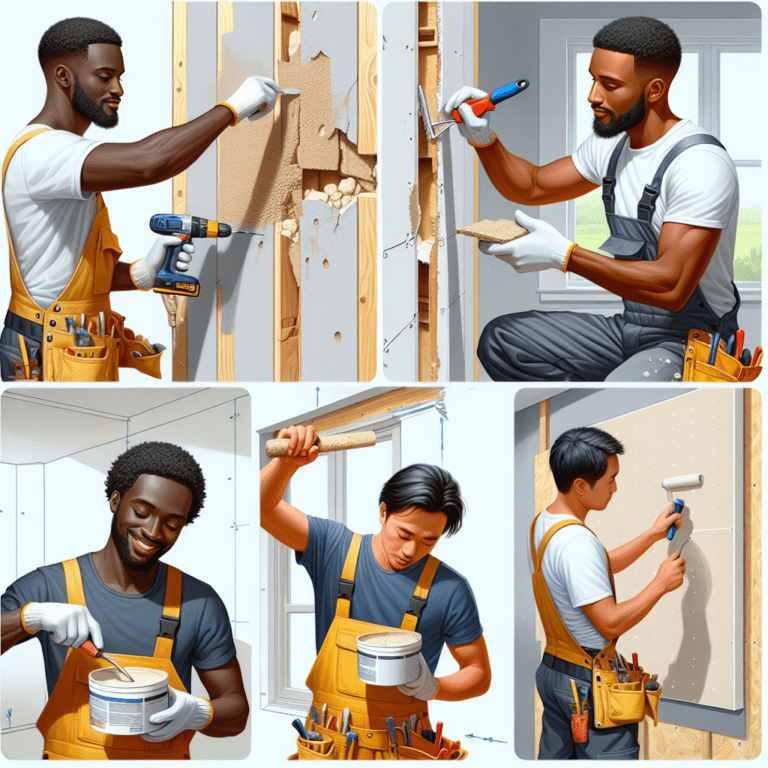
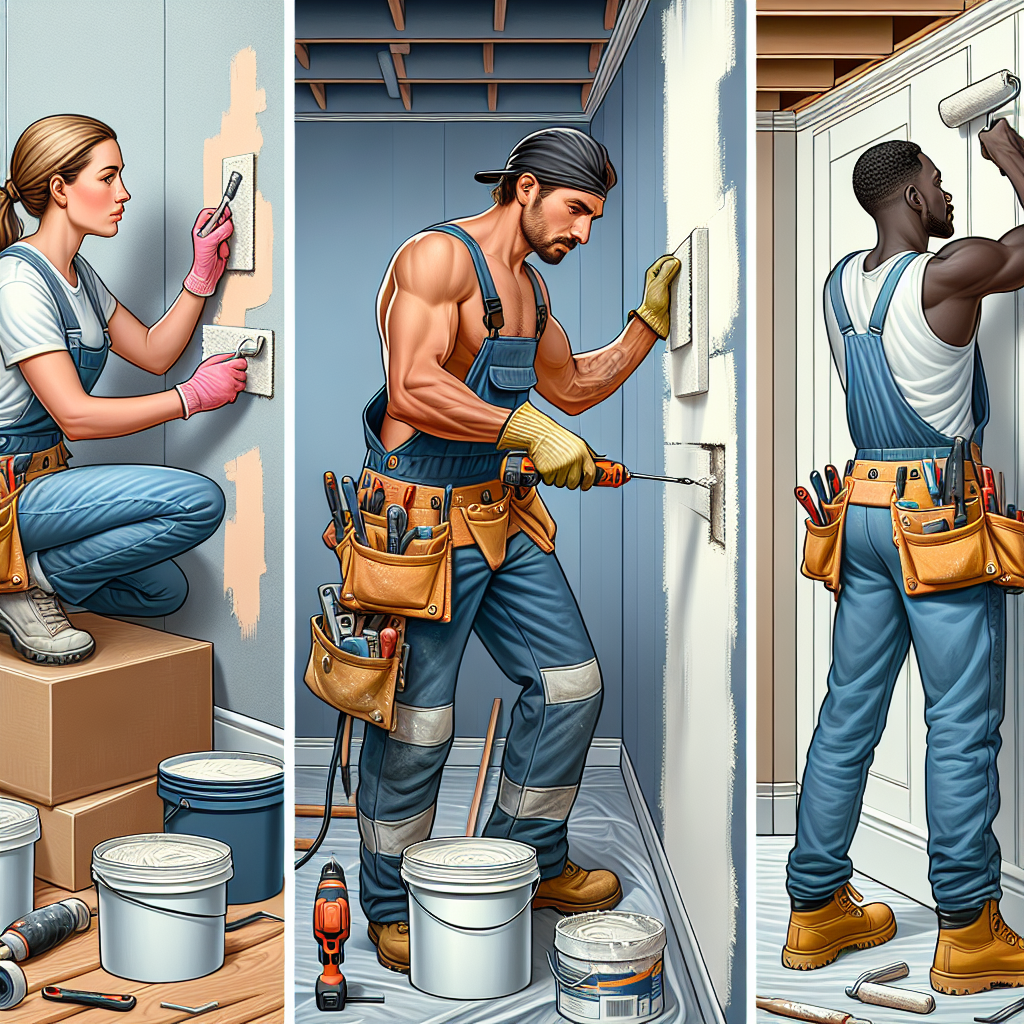
Essential Tools for Drywall Repair
Investing in the right tools is the first step to successful drywall repair. Here’s a quick overview of essential tools you’ll need:
- Utility Knife – Ideal for cutting drywall sheets and scoring paper.
- Drywall Saw – For cutting out larger pieces of drywall.
- Putty Knife – Used for applying joint compound smoothly.
- Tape Measure – To ensure accurate measurements.
- Mud Pan – To hold the compound while working.
- Sander – A drywall sander can help create a smooth finish. WEN Drywall Sander is a great choice.
Having the right equipment leads to easier and cleaner repairs.
Top Drywall Repair Hacks
1. The Quick Fix for Small Holes: Toothpaste Method
If you have small nail or screw holes, you can use plain white toothpaste as an easy quick-fix. Here’s how:
- Clean the hole to remove any loose debris.
- Squeeze a small amount of toothpaste into the hole.
- Smooth it out with a putty knife and let it dry.
This method is particularly useful in a pinch when you’re preparing your walls for a fresh coat of paint!
2. Use Baking Soda for Minor Cracks
For small cracks in your drywall, mix baking soda with a little water to create a paste. Apply it into the crack, smoothing it with your finger or a putty knife. Once dry, sand it down and paint over it. This not only seals the crack effectively but also helps reduce any potential mold growth!
3. Painting Over Repairs with Texture
When repairing a section of drywall, you may notice a slight difference in texture. To achieve a uniform look:
- After applying joint compound, use a brush or sponge to dab on a matching texture before the compound dries.
- Try imitating the existing wall pattern as closely as possible.
This will make your repair virtually invisible once painted.
4. Selecting the Right Compound: Plus 3 vs. All Purpose
When it comes to joint compound, choosing the right type is vital. A common dilemma homeowners face is whether to use Plus 3 or All Purpose Compound.
- Plus 3 Compound is lightweight, easy to sand, and suitable for smaller repairs and finishing coats.
- All Purpose Compound is a thicker, heavier compound used for taping, finishing, and repair, providing excellent durability.
For more extensive repairs or when speed is essential, Plus 3 is often recommended. However, for larger areas or sheets, go for the All Purpose Compound (3.5 Qt All Purpose Compound).
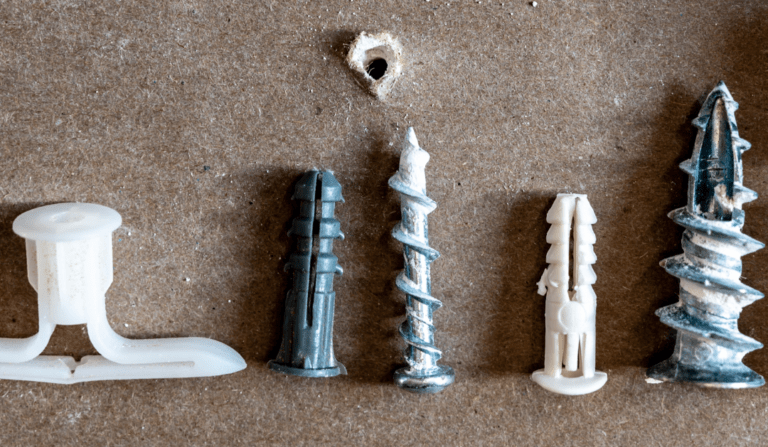
5. Mesh Tape for Holes and Cracks
Instead of traditional paper tape, mesh tape provides superior strength and flexibility. Its self-adhesive property simplifies application, especially for larger holes. Simply apply it over the problem area, followed by your joint compound. Mesh tape allows for better adhesion and reduces the risk of cracks reappearing.
6. Create a Perimeter with a Utility Knife
When replacing a damaged piece of drywall, your first step should be removing the bad part. To ensure a smooth fit:
- Cut a rectangle around the damaged area, making clean edges.
- Use your utility knife to score the wall gently before breaking it away.
This will save you time and ensure your new piece fits perfectly.
Common DIY Mistakes to Avoid
Even experienced DIYers can make mistakes. Here are some common pitfalls and how to avoid them:
Not Prepping the Surface
Always clean the area of dust, debris, and grease before applying compound. Failing to do this leads to poor adhesion and results in cracks.
Using Too Much Compound
Less is more when it comes to applying joint compound. Overloading can lead to issues with drying and sanding later on.
Skipping Primer After Repair
Once your drywall repair is complete, don’t forget to apply a primer before painting. This step ensures the paint adheres properly and maintains an even finish.
Professional Insights
Understanding When to Call a Pro
While these hacks are helpful for DIY repairs, knowing when to call a professional can save you from larger headaches. If you experience recurring issues, such as cracks appearing in the same spot, it may indicate underlying structural problems. Always consult with a professional to address these concerns, ensuring long-lasting solutions.
FAQs About Drywall Repair
1. How long does joint compound take to dry?
Typically, joint compound takes about 24-48 hours to dry completely. Factors like temperature and humidity can affect drying time, so be patient!
2. Can I use spackle instead of joint compound?
Yes, spackle is a viable option for small repairs! However, joint compound is generally recommended for larger areas or deeper holes.
3. Is it necessary to sand after applying joint compound?
Absolutely! Sanding helps create a smooth and even base for painting, ensuring the best finish.
Final Words of Encouragement
No matter your experience level, these hacks and tips will help you tackle drywall repair with confidence. Effective repairs not only enhance your home’s aesthetic appeal but also maintain its structural integrity.
For further reading, check out our articles on How to Repair Drywall Like a Pro and The Best Drywall Taping Techniques.
Share & Resources
If you found this guide helpful, please share it on Pinterest, Facebook, or Reddit! Your support helps others find useful drywall repair techniques. Contractors, home improvement bloggers, and DIY forums are welcome to link back to this article to help more homeowners perfect their drywall skills.
Together, let’s empower our communities with the knowledge to improve our homes, one drywall project at a time!