How To Conquer Brown Drywall And Restore Aged Walls
Are you staring at the unsightly brown drywall revealed after removing old wood paneling? Don’t despair! This comprehensive guide will walk you through the step-by-step process of transforming your brown, stained drywall into a pristine canvas, ready for your dream design. Whether you’re tackling a basement renovation, garage conversion, or any other room with aged drywall, this expert advice will ensure a flawless finish.
What Causes Brown Drywall?
Brown drywall is a common issue in older homes. Several factors can contribute to this discoloration, including:
- Age: Over time, drywall naturally darkens due to oxidation and exposure to the elements.
- Moisture: Water damage, leaks, or high humidity can cause brown stains or discoloration.
- Smoke: Years of exposure to cigarette smoke can leave a yellowish-brown residue on drywall.
- Poor Ventilation: Inadequate airflow can exacerbate the effects of moisture and smoke, accelerating drywall discoloration.
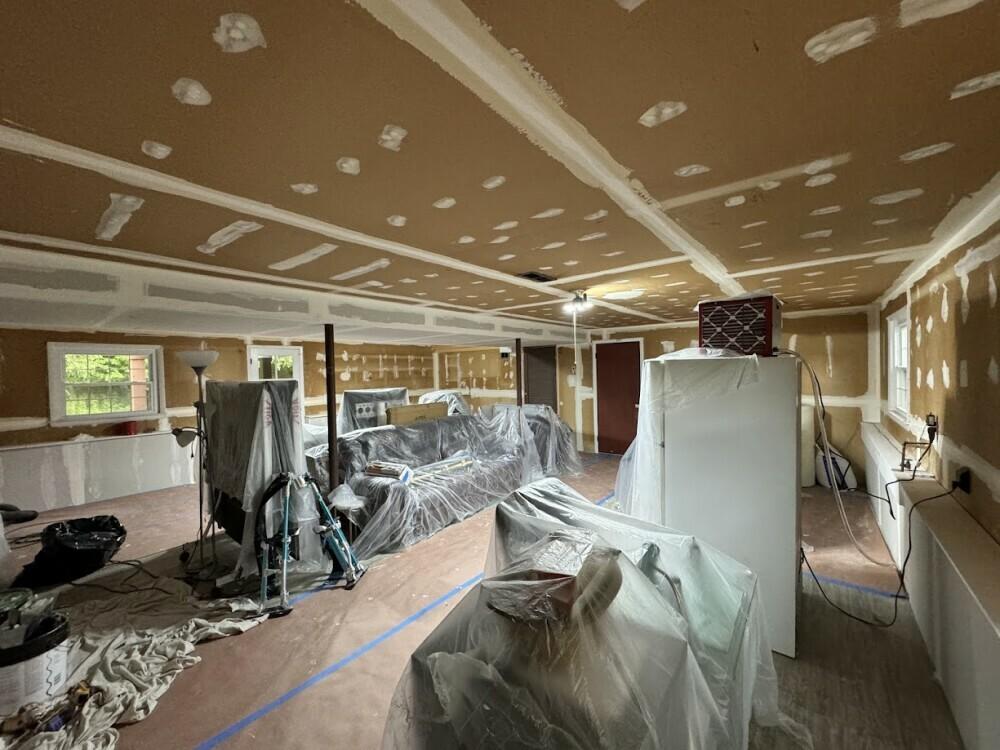
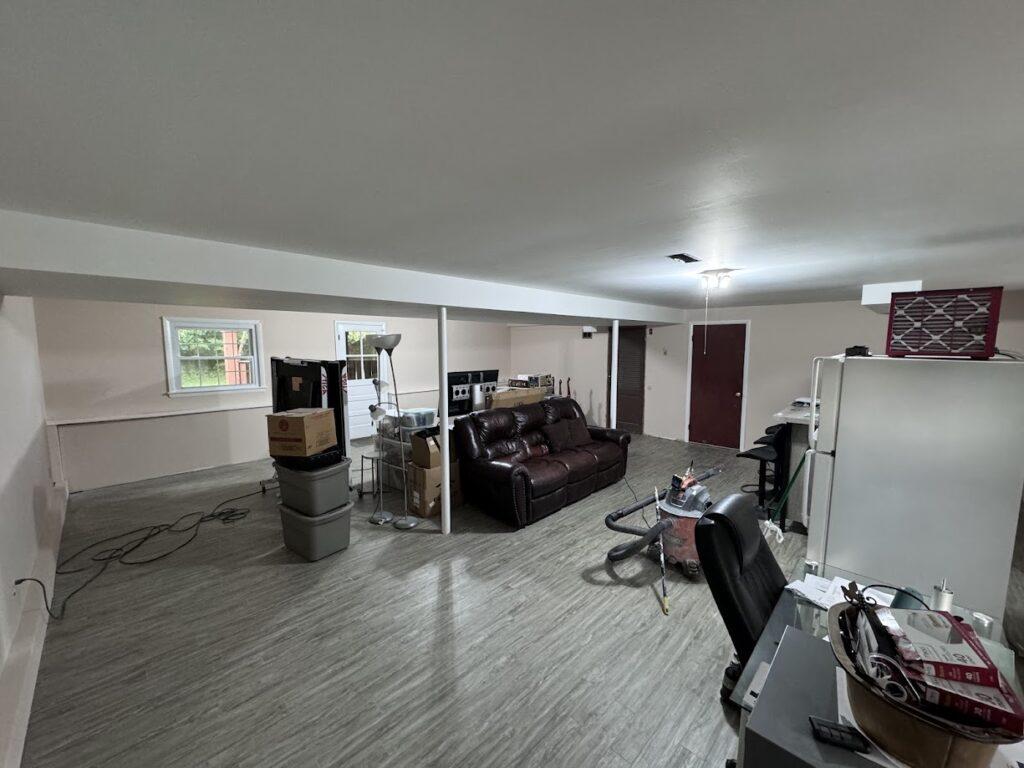
In my recent project, the brown drywall was a result of both age and moisture. The house was built in 1969, and the room was originally a two-car garage, exposing the drywall to decades of moisture and environmental factors.
The Challenges of Brown Drywall
Brown drywall presents a unique set of challenges when finishing a room:
- Staining: The brown color can easily bleed through paint or wallpaper, ruining the aesthetic appeal of your finished walls.
- Absorption: The aged drywall tends to absorb more joint compound, requiring additional coats to achieve a smooth surface.
- Adhesion: The surface of the brown drywall might be less receptive to paint, leading to poor adhesion and an uneven finish.
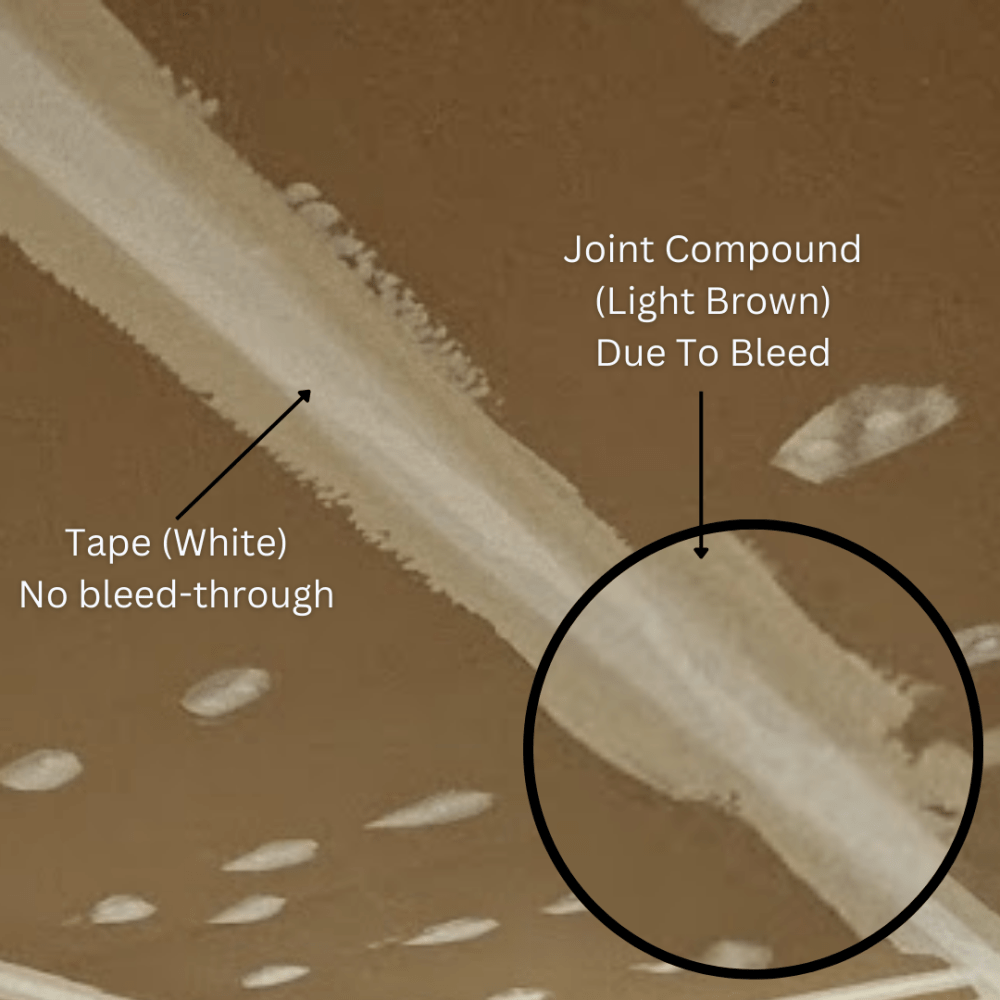
Ignoring these challenges can result in a less-than-ideal outcome, with stains, uneven textures, and a lackluster appearance. However, with the right techniques and materials, you can overcome these obstacles and achieve a professional-grade result.
Step-by-Step Guide to Fixing Brown Drywall
Follow this comprehensive guide to successfully restore your brown drywall:
- Prepare the Drywall:
- Remove any nails, screws, or other debris from the drywall surface.
- Inspect the drywall for any cracks, holes, or other damage. Repair any imperfections with joint compound and drywall tape, following standard drywall finishing techniques.
- Prime with Kilz Premium Primer:
- Choose a high-quality stain-blocking primer like Kilz Premium Primer. This primer is specifically formulated to seal porous surfaces, block stains, and prevent bleed-through. *You’ll want 2 gallons per 350 square ft of wall because you will be priming the area(s) twice, so assume 1 gallon will get you 175 square ft to be safe!*
- Apply a generous first coat of Kilz Premium Primer to the entire drywall surface. Use a roller for large areas and a brush for corners and edges.
- Allow the first coat to dry for 1 hour.
- Apply a second coat of Kilz Premium Primer, ensuring even coverage. This double-coat method provides maximum protection against stains and ensures a uniform base for your final paint color.
- Choose Your Paint:
- Select a high-quality interior paint in your desired color and finish. Latex paints are generally recommended for drywall, as they offer good adhesion, durability, and a range of finishes.
- Consider using a paint with a higher pigment concentration for better coverage and hiding power, especially if the brown discoloration is particularly dark.
- Apply Two Coats of Paint:
- Using a roller or brush, apply the first coat of paint evenly to the entire surface.
- Allow the first coat to dry completely according to the manufacturer’s instructions.
- Apply the second coat of paint, ensuring even coverage and a smooth finish.
- Admire Your Transformed Walls:
- Once the second coat of paint is dry, step back and admire your beautifully restored drywall. The brown discoloration is now a thing of the past, replaced with a fresh, vibrant surface.
Tips for a Flawless Finish
- Ventilation: Ensure adequate ventilation during the priming and painting process to speed up drying time and reduce fumes.
- Lighting: Use bright lighting to ensure even coverage and identify any missed spots.
- Patience: Allow ample drying time between coats of primer and paint for optimal results.
- Professional Help: If you’re unsure about any step of the process, don’t hesitate to consult a professional painter for assistance.
Conclusion
Fixing brown drywall doesn’t have to be a daunting task. By following this step-by-step guide, utilizing the power of Kilz Premium Primer, and exercising patience and care, you can restore your aged walls to their former glory.
With a fresh coat of paint, your newly transformed space will be ready for you to enjoy for years to come. Whether you’re creating a cozy living room, a functional home office, or a stylish bedroom, your rejuvenated drywall will provide a clean and welcoming backdrop for your personal touch.
Remember, the key to success lies in preparation, proper priming, and meticulous painting. By following these guidelines and investing in high-quality materials, you can achieve a professional-grade finish that will leave you feeling proud of your accomplishment.

