The Drywall Finishing Steps To A Professional Finish
Drywall finishing is a crucial process that transforms raw gypsum board into a seamless and visually appealing surface. Whether you’re a DIY enthusiast or a professional contractor, understanding the essential steps involved in drywall finishing is essential to achieve a smooth and professional result. In this comprehensive guide, we will walk you through the key drywall finishing steps, from taping and mudding to sanding and texturing. We will also explore the different levels of drywall finishing, providing valuable insights and tips along the way.
Step 1: Taping
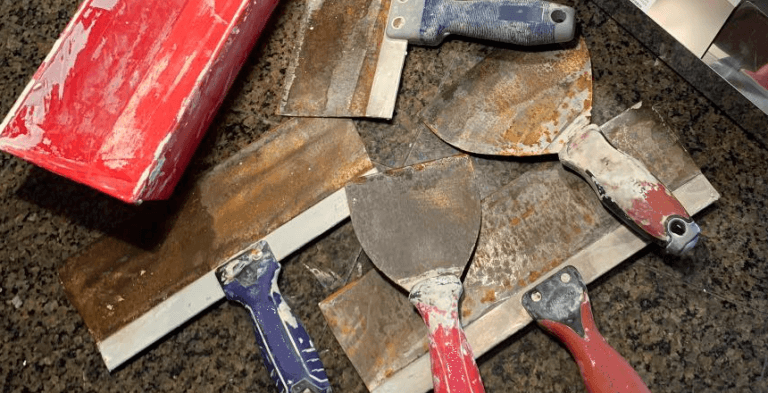
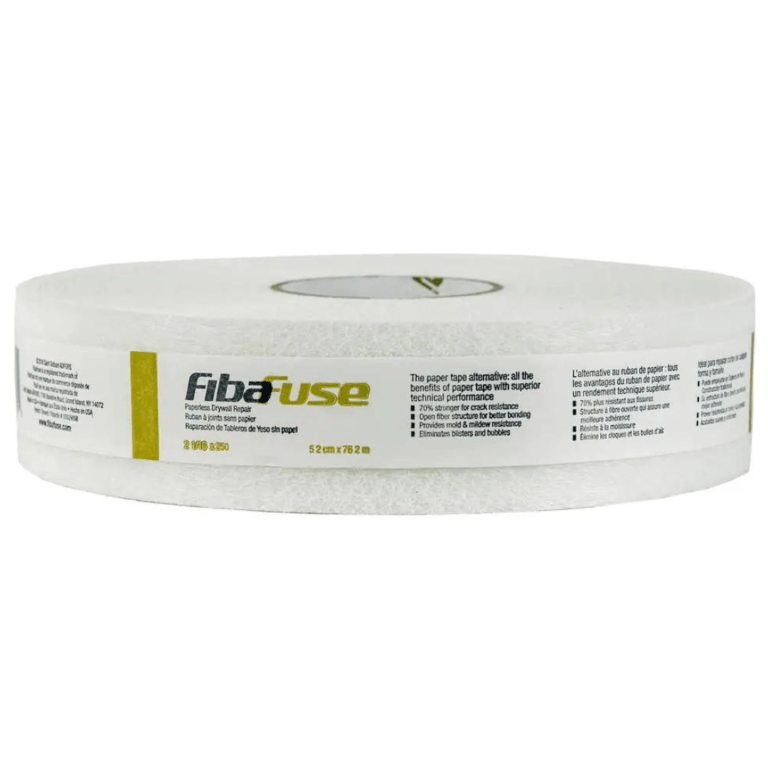
The first step in drywall finishing is taping. Taping involves applying a special paper or fiberglass mesh tape over the joints between drywall panels to create a seamless appearance. To begin, ensure the joints are clean and free of debris. Apply a thin layer of joint compound over the joint, then firmly press the tape into the compound, centering it over the joint. Use a taping knife to smooth out any wrinkles or bubbles, ensuring the tape adheres properly. Repeat this process for all joints, including corners.
Step 2: Mudding
Once the tape is in place, it’s time to apply multiple coats of joint compound, also known as mud, over the taped joints. [Full Guide Here] Start with a thin layer of compound, using a taping knife to spread it over the taped area, extending beyond the edges of the tape to create a feathered edge. Allow the first coat to dry completely, then proceed with subsequent coats. Each coat should be wider than the previous one, with the final coat covering the entire taped area. Feather the edges of each coat to create a smooth transition. It’s essential to let each coat dry before applying the next one, typically overnight.
Understanding the Different Levels of Drywall Finishing
In addition to the steps involved in drywall finishing, it’s important to be familiar with the different levels of drywall finishing. These levels, designated as Level 0 to Level 5, describe the degree of smoothness and preparation required for the final finish.
Level 0: Level 0 refers to an unfinished state where no taping, mudding, or sanding has been done. This level is typically used for temporary construction or areas that will be concealed and not visible in the final project.
Level 1: Level 1 involves the application of joint tape and compound over the joints, with no further finishing or smoothing. This level is common in areas where the drywall will be covered by other materials, such as tile or paneling.
A Level 1 drywall finish is typically used for areas which need to be up to fire-code. Usually, newly built garages will have a level 1 finish. This is why most older garages have visible/peeling tape from the walls and ceilings!
Level 2: Level 2 includes the taping and mudding steps, followed by the application of a thin coat of joint compound over the entire surface. The compound is not sanded, resulting in a slightly textured finish.
Tape has been bedded, now apply another coat of joint compound to conceal the tape for a level 2 finish.
Level 3: Level 3 builds upon Level 2 by adding an additional coat of joint compound, which is then sanded to create a smooth surface. This level is suitable for areas where a medium to heavy texture or a light wall covering will be applied.

A Level 3 is the most common type of finish. This includes taping joints, and applying 2 addtional coats of joint compound. For the best finished product, use a 8″-10″ knife for coat #2, and a 12″ taping knife for coat #3. Allow each coat to dry before adding additional coats.
Level 4: Level 4 involves an additional coat of joint compound, similar to Level 3, but with more thorough sanding to achieve a smoother surface.
Level 5: Level 5 drywall finish is the highest level of drywall finishing and is often used in areas where gloss, semi-gloss, or high-quality paint will be applied. In addition to the steps of Level 4, Level 5 includes a skim coat of joint compound over the entire surface to ensure an ultra-smooth finish.
A company called LEVEL5 Tools has adopted this term as their company name. They specialize in drywall tools for DIYers and professional contractors. Their skimming blades are most relevant to the level 5 finish, since skimming blades are much larger than your average taping knife!

Step 3: Sanding
Sanding is a critical step in achieving a smooth and polished finish. Once the final coat of mud is dry, use sandpaper or a sanding screen to carefully smooth out any imperfections, ridges, or high spots. Start with a coarser grit sandpaper and gradually move to a finer grit (180 grit or more) for a smoother finish. Be cautious not to sand too aggressively, as it can damage the drywall or create uneven surfaces. After sanding, wipe the walls with a damp cloth to remove dust and ensure a clean surface for further finishing.
It’s also important to note that sanding is one of the least favorite steps of drywall finishing. Use protective gear to prevent the inhalation of dust, or use a dustless drywall sander.
Step 4: Priming Drywall
Before applying paint or other finishes, it is essential to prime the drywall. Priming helps seal the surface, enhances paint adhesion, and provides an even base for the final finish. Choose a high-quality primer suitable for drywall surfaces and apply it evenly using a roller or brush. Follow the manufacturer’s instructions for drying time and apply additional coats if necessary. Priming also helps to reveal any remaining imperfections that may require further attention before proceeding to the final finish.
Step 5: Applying Texture or Final Finish
The final step in drywall finishing involves applying texture or the desired final finish. Texture options include smooth, orange peel, knockdown, or custom textures. If you opt for a smooth finish, skip the texturing step and proceed with applying paint. To apply texture, use a texture sprayer or specialized tools to create the desired pattern or texture on the drywall surface. Allow the texture to dry thoroughly before moving on to the final step.
Step 6: Painting Drywall
The last stage in drywall finishing is painting. Choose a high-quality paint suitable for drywall surfaces and apply it evenly using a roller or brush. Start from the top and work your way down, ensuring even coverage and smooth strokes. Apply multiple coats if needed, allowing proper drying time between each coat. Consider using a paint with a sheen level appropriate for the desired look and durability.
Conclusion
Mastering the drywall finishing process is essential for achieving a professional and polished look in any construction or remodeling project. By following the key steps of taping, mudding, sanding, priming, applying texture or the final finish, and painting, you can transform raw gypsum board into a seamless and visually appealing surface. Understanding the different levels of drywall finishing allows you to choose the appropriate level based on the intended use and desired aesthetic of the space. With this comprehensive guide, you are well-equipped to tackle your next drywall finishing project with confidence.