How to Cut Drywall Perfectly Every Time
When it comes to home improvement projects, cutting drywall can be one of the most daunting tasks. Whether you’re building a new wall, repairing a damaged surface, or creating custom shapes, understanding how to cut drywall perfectly can make a significant difference in the quality of your work. With the right techniques and tools, you can ensure a clean, crisp cut every time. In this comprehensive guide, we’ll break down everything you need to know about cutting drywall expertly.
Essential Tools for Cutting Drywall
Before diving into the cutting process, it’s crucial to gather the necessary tools. Below is a list of essential items you’ll need to achieve flawless cuts:
- Drywall Knife: A utility knife with a sharp blade is essential for making precise cuts.
- T-Square: This tool helps ensure your cuts are straight and accurate.
- Measuring Tape: Accurate measurements are key to achieving the right fit.
- Drywall Saw: Ideal for cutting out the sections of drywall, especially when curves or outlets are involved.
- Dust Mask and Goggles: Protect yourself from dust and debris while cutting.
For optimal results, consider using high-quality tools like the WEN Drywall Sander to achieve a smooth finish on your drywall.
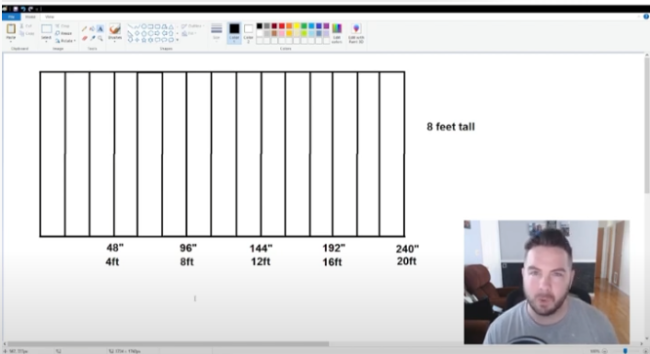
How to Measure and Mark for Accurate Cuts
Getting accurate cuts begins with precise measurements. Here’s a step-by-step guide to measuring and marking your drywall:
1. Determine Your Dimensions
- Measure the space where the drywall will be installed. Use your measuring tape to get both the height and width.
- If necessary, account for any openings for doors, windows, or electrical outlets.
2. Transfer Measurements
- Using your measuring tape, mark the dimensions directly onto the drywall. Be sure to mark from the back of the sheet so that the face of the drywall remains clean.
- Use a pencil for easy removal after cutting.
3. Draw Straight Lines
- Use a T-square to connect the dots and create straight lines. Ensure the lines are clear and precise, as they will guide your cuts.
Cutting Drywall: Step-by-Step Instructions
Now that you have your measurements prepared, it’s time to cut! Follow these steps for perfect results:
Step 1: Make a Score Cut
- Place the drywall on a flat surface. Score along the marked line using a utility knife.
- Apply even pressure but don’t press too hard, enough to cut through the top paper but not to damage the backing.
Step 2: Snap the Drywall
- Bend the drywall along the scored line. Applying gentle pressure will cause it to snap cleanly at the score.
- Use your other hand to hold down the rest of the sheet to ensure it snaps evenly.
Step 3: Cut the Backing
- Flip the drywall over and use the utility knife to cut through the paper backing along the line you’ve made.
- This will sever any remaining connections, ensuring a clean cut.
Step 4: Clean Up the Edges
- If necessary, use a drywall saw to trim corners or make intricate cuts like outlets.
- Smooth out any rough edges with sandpaper or a drywall sander for a refined finish.
Pro Tip:
Always keep an extra piece of drywall on hand for practice or if a cut doesn’t go as planned. This will save you from making unnecessary trips to the store.
Common Mistakes to Avoid
Cutting drywall may seem straightforward, but there are common pitfalls to be aware of:
- Not Measuring Twice: Always double-check your measurements before cutting.
- Forgetting Safety Gear: Dust can irritate your lungs and eyes; don’t skip on safety gear like goggles and masks.
- Using a Dull Blade: A dull blade can cause jagged edges and uneven cuts, leading to additional sanding and refinishing.
FAQs About Cutting Drywall
Q: What type of drywall should I use?
A: The type of drywall depends on your project. Standard sheets are used for most interior walls, while moisture-resistant drywall (green board) is ideal for bathrooms. For fire-rated applications, use Type X drywall.
Q: Can I reuse drywall scraps?
A: Absolutely! If your leftover pieces are large enough, they can be used for smaller patches or projects.
Q: What should I do if I make a mistake while cutting?
A: Mistakes happen. If you’ve cut too much, you can either fill the gaps with joint compound or adjust the surrounding drywall to fit.
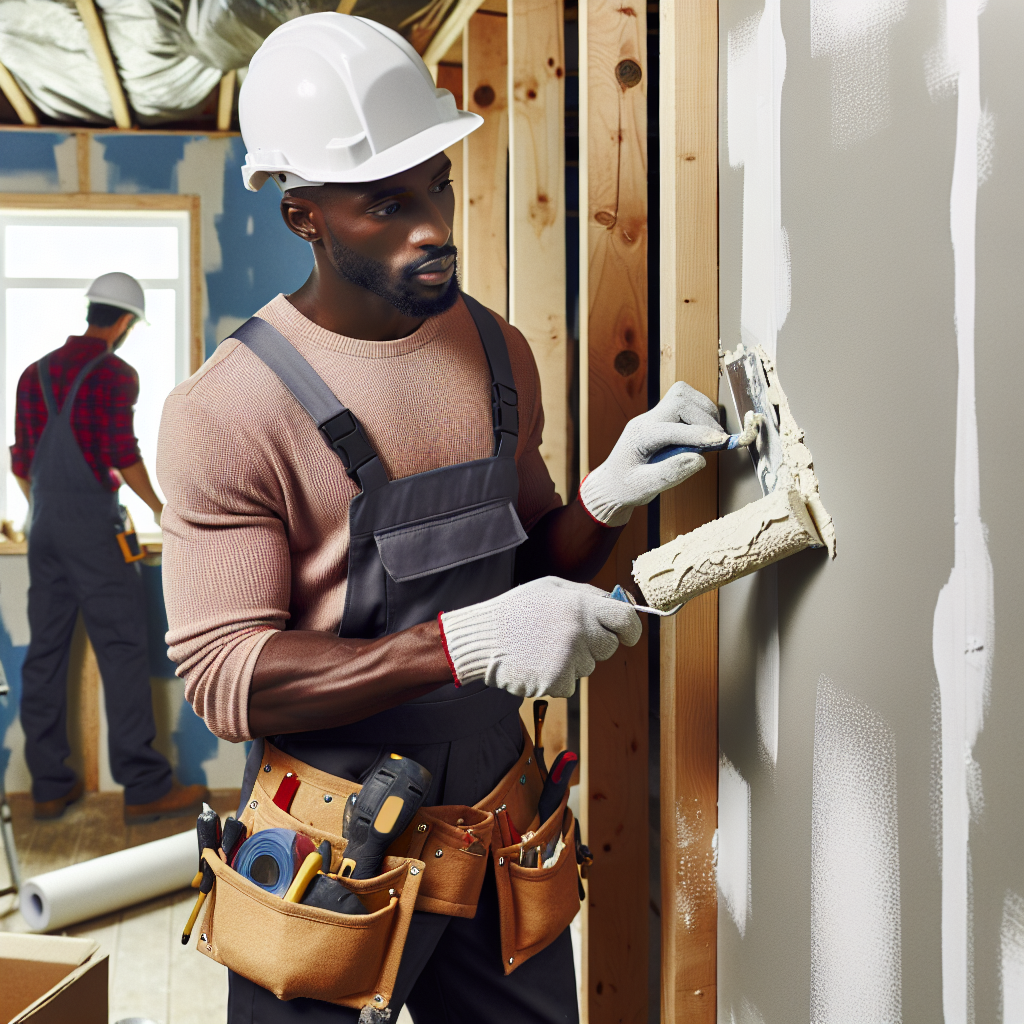
The Final Touch: Finishing Your Drywall
After cutting your drywall piece accurately, the next steps involve hanging and finishing. This typically includes taping, mudding, and sanding. For detailed techniques on this process, check out our guide on the Best Drywall Taping Techniques.
A smooth finish is vital, and products like the 3.5 Qt All Purpose Compound can help achieve a flawless surface.
Encouraging Backlinks & Sharing
If you found this guide helpful, please share it on Pinterest, Facebook, or Reddit! Your support helps others find useful drywall cutting techniques.
Contractors, home improvement bloggers, and DIY forums: Feel free to link back to this article to help your audience with expert drywall cutting tips.
Together, let’s empower our communities with the knowledge to improve our homes, one drywall project at a time!
Let’s make your next drywall project a success with these tips. Happy cutting!