How To Skim Coat Drywall In 8 Easy Steps
Skim coating drywall is a crucial step in achieving smooth and flawless walls or ceilings in your home. Whether you’re renovating a room or working on new construction, mastering the art of skim coating can make a significant difference in the final appearance of your interior surfaces. In this SEO-optimized article, we will provide you with a step-by-step guide on how to skim coat drywall, along with essential tips and tricks to ensure a professional finish. Plus, we’ll introduce you to some handy tools, including large skimming blades from companies like LEVEL5 Tools, to make the process even more efficient.
1. Preparing Your Workspace
Before you start skim coating your drywall, it’s essential to prepare your workspace properly. Remove any furniture, cover the floor with drop cloths, and protect trim and baseboards with painter’s tape to prevent splatter.
2. Gathering the Necessary Tools and Materials
Here’s a list of tools and materials you’ll need for this project:
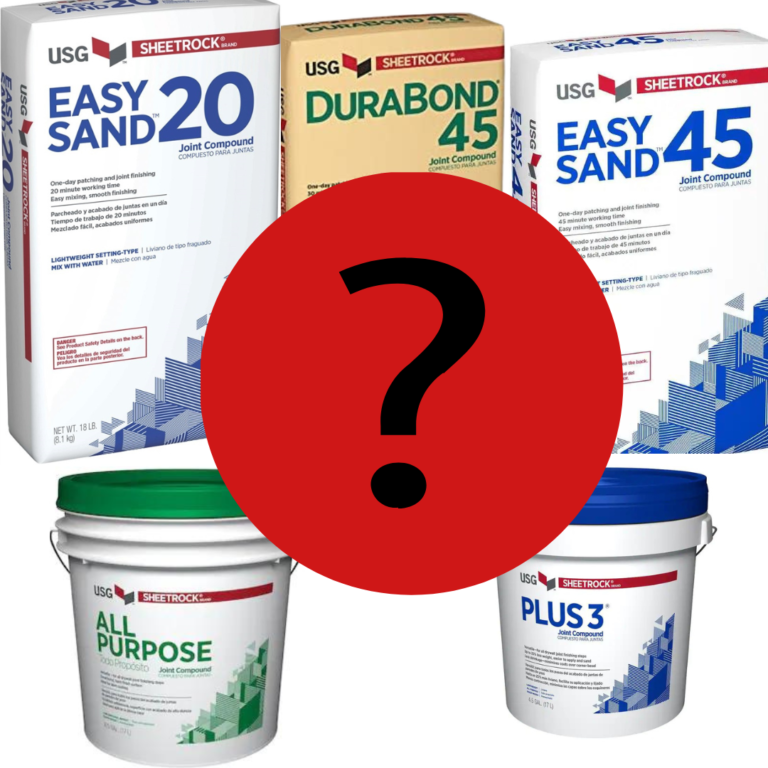
- Drywall mud (joint compound)
- Paint roller
- Roller cover with a smooth nap
- Large skimming blade (e.g., 24″ to 48″ from LEVEL5 Tools)
- Taping knives (4″ to 12″)
- Sandpaper (150-grit)
- Bucket for mixing
- Mixing paddle
- Drop cloths
- Painter’s tape
- Safety goggles
- Dust mask
3. Mixing and Thinning Drywall Mud
In a clean bucket, mix the drywall mud thoroughly with water until it reaches a creamy consistency. If the mud is too thick, add a small amount of water and mix until it’s easier to spread. The goal is to achieve a consistency similar to pancake batter.
4. Applying the First Coat
Use a paint roller with a smooth nap to apply a thin and even coat of thinned drywall mud to the wall or ceiling. Start in a corner and work your way outward in manageable sections. Ensure that the layer is as smooth as possible.
If you don’t want to use this process to apply the drywall mud, I recommend using a 12″ knife to lay the mud on the wall or ceiling instead.
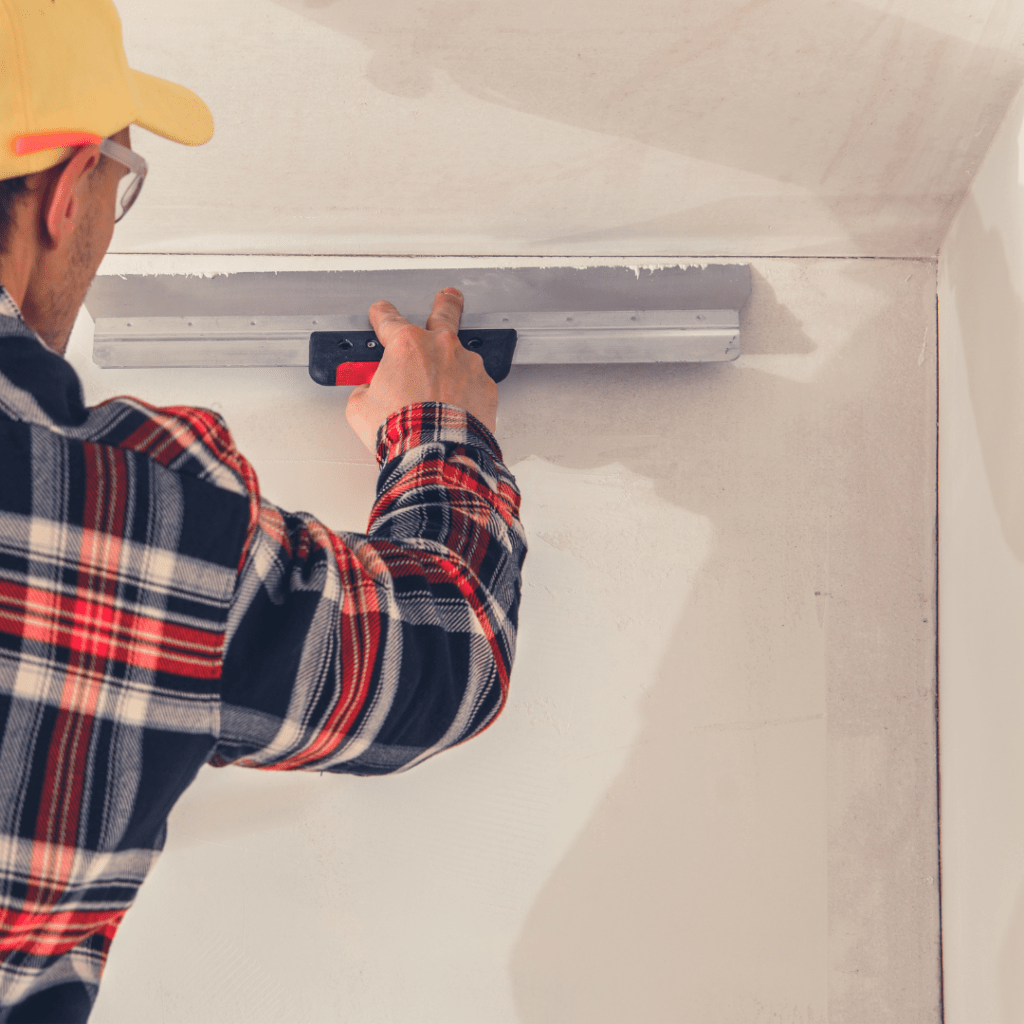
5. Smoothing with a Large Skimming Blade
Once the first coat is applied, take your large skimming blade and hold it at a slight angle to the surface. Gently glide it over the coated area, applying even pressure to remove excess mud and create a smooth finish. Work in long, continuous strokes, overlapping each pass slightly.
6. Drying and Sanding
Allow the first coat to dry completely, which usually takes about 24 hours. Once dry, you’ll need to sand either by hand, or my preference is a dustless drywall sander. Use a minimum 150-grit sandpaper to remove any imperfections or rough spots. As an easy tip that I typically do on jobs, use a portable LED light and cast it at an angle on the wall or ceiling. This will make all imperfections pop out. Make sure you sand before you prime!
7. Applying the Second Coat (if needed)
Inspect the surface for any remaining imperfections. If necessary, apply a second coat of thinned drywall mud and repeat the smoothing process with the large skimming blade. Let it dry and sand again.
8. Final Sanding and Cleanup
After the final coat has dried and been sanded, remove any dust and debris from the area. Carefully remove painter’s tape, and your surface is ready for priming and painting.
Conclusion
Skim coating drywall may seem like a daunting task, but with the right tools, materials, and techniques, you can achieve a smooth and professional finish. Companies like LEVEL5 Tools offer large skimming blades that make the job more efficient and effective. Follow these steps, and you’ll be on your way to transforming your walls and ceilings into a flawless canvas for your interior design projects. Happy renovating!