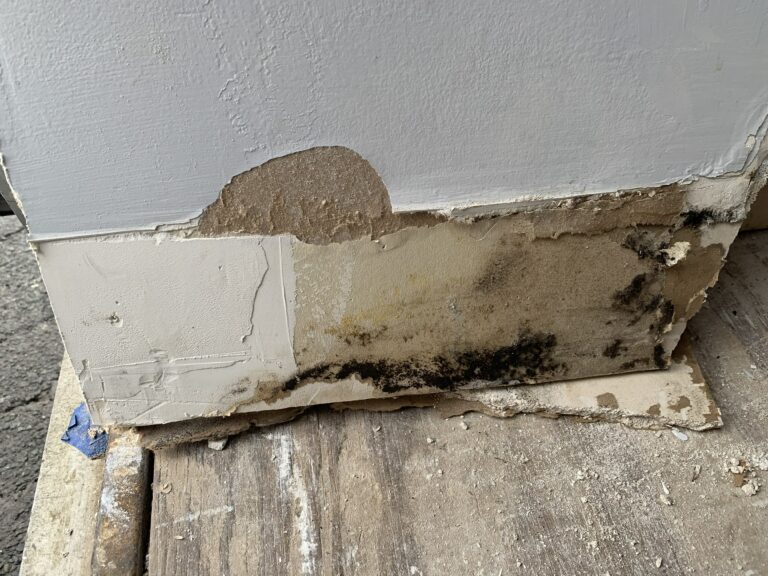
Helpful Advice for Drywall Repair On A Flooded Basement
How Do You Conduct Drywall Repair On A Flooded Basement?
So, when your basement floods, causing damage to your drywall, what do you do? When water floods your home, it is likely to cause extensive damage. Mold, mildew, and other issues will be more likely, but the most noticeable will be the water damage to your drywall walls and even into the studs on occasion. Drywall repair is a tough job that needs to be well thought out. You could spend hours or days looking for the right information to assist you in your drywall repair. Hopefully, this post has reached the level of informing you about this important topic.
Should Drywall Be Replaced If It Gets Wet?
Whether or not you should replace drywall that gets wet depends on the amount of damage and how long it went untreated. If the water is just on the surface, you can often get away with cleaning it off and letting it dry. However, if there’s water between the sheets of drywall, you should call in a contractor to rip out the affected area, even if the damage seems minimal.
The most important thing to remember is that wet drywall is a breeding ground for mold, so if there’s standing water, you’ll want to call a plumber too. The longer moisture stays in contact with your walls, the more likely it is to cause problems later.
If all else fails and mold does start growing inside your walls, having them replaced may be your only option. This will likely involve removing everything from your home and renting an apartment while the work is being done, which could easily cost thousands of dollars.
Top Tips To Conduct Drywall Repair On A Flooded Basement
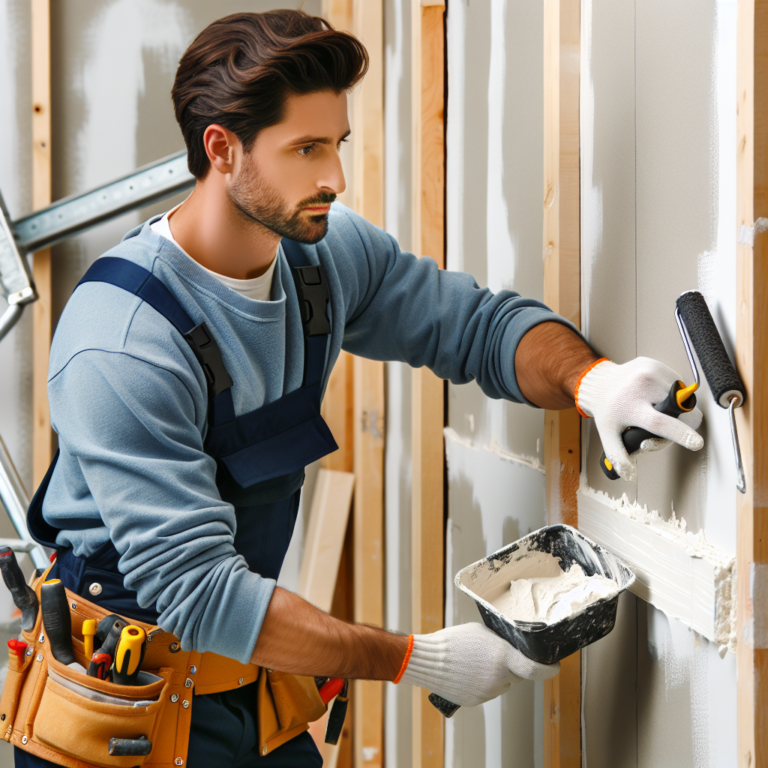
If you have a flooded basement, it’s essential to take action quickly. You’ll need to remove the damaged drywall parts, clean the area, patch or repair the hole or crack, and repaint or seal the repaired area. Some of the most effective tips to conduct drywall repair on a flooded basement include:
Safety first
Before you begin any drywall repair on a flooded basement, ensure that all electrical outlets have been shut off and that there is no standing water in your home. The last thing you want is for an exposed wire or water pipe to come into contact with an electrical current. Turn off the breaker at the main panel and check with your local utility company about any power lines near where you plan to work.
Call in the Professionals
The next step is to call in a professional contractor specializing in water damage restoration and mold remediation. These companies will have experience with this type of situation and know exactly what steps need to be taken to ensure that suitable materials are used during the cleanup process. They will also have access to specialized equipment that can help get rid of excess moisture before it causes more damage than what already exists.
Eliminate the Source of the Flood
Suppose your home has suffered from a plumbing leak or another type of flooding. In that case, you will want to ensure that the problem’s source has been eliminated before you begin any drywall repair work in your basement or other affected area. This way, there won’t be any chance of another flood damaging your home if repairs aren’t done properly.
Remove the Damaged Drywall
Before you begin removing any damaged drywall parts, make sure that all electrical outlets have been turned off, and all power has been shut off at least six inches away from where you will be working so as not to cause any sparks or shocks while working with tools that are plugged into an outlet. If pipes are exposed in your basements, such as pipes leading to a washing machine or toilet, these should also be covered with cardboard and plastic wrap before beginning work on the drywall.
Use a hammer and pry bar to remove all damaged sections of drywall from around the hole or crack. Remove as much of it as possible without compromising other walls in your home. This will help reduce noise and dust during your repairs.
Cut the damaged parts
If your wall has been damaged due to flooding, cut it with a utility knife or hammer and chisel, which will make it easier for you to repair and paint over it. After cutting out the damaged parts, fill in the gaps with the new drywall compound or joint compound before painting over them; this will prevent moisture from entering through these cracks and causing more damage to the drywall.
Dry the damaged walls
After removing all the wet material from your basement walls, it’s time to dry them. The best thing you can do for the moisture is to invest in a dehumidifier. The dehumidifier will remove any humidity in the air, allowing the area to dry quicker. You should also look for any wet spots on the floor and clean them up properly before letting them dry entirely by themselves.
Apply Chemical Sanitizer
One of the most important steps you’ll take is treating the drywall for mold and mildew. The longer you leave it untreated, the higher the chance you’ll have to replace it later. While this might sound expensive, it’s quite affordable if you use chemical sanitizer instead of bleach or other cleaning agents.
Replace the damaged drywall before the drywall repair
If any part of your basement has been damaged by water damage and mold growth, then you’ll need to replace that section of drywall. This is only necessary if you want your basement to look as good as new and eliminate any risk of future moisture accumulation or mold growth problems.
Paint the restored drywall
It’s a good idea to paint the restored drywall, even if the basement has been sealed. Drywall is porous, meaning it can absorb moisture from the air, and painting helps protect your drywall from future damage caused by water damage or mold growth.
If you’re painting over old paint, ensure it’s completely dry before applying new paint.
Essential Products For Drywall Repair On A Flooded Basement
If you have a flooded basement, it is necessary to clean up the mess as soon as possible. The longer you wait to clean up, the more likely mold will grow and cause health problems for your family. Here are some essential items for cleaning drywall on a flooded basement:
Waterproof Boots
If you’re going to be cleaning up a flooded basement, you’ll want to ensure you have the right equipment. Waterproof boots are a must and should be at the top of your list. Not only will they keep water out, but they will also provide support and comfort as you walk through your flooded basement.
Buckets
You’ll also want to ensure that you have plenty of buckets on hand so that you can easily transport water out of your basement. This is important because if there is too much water in one area, it may overflow into another area. You don’t want to risk having this happen because it will only cause more damage to your home and make cleaning much more difficult!
Pry Bar
A pry bar is a long-handled tool used for prying open doors or windows when they get stuck or jammed shut. For flooded basements, you’ll want one with a flat head so you can use it as a chisel to break loose molding and trim around doors and windows.
Gloves
Gloves are another essential product for cleaning up after a flood in your basement. Drywall dust is toxic, so gloves should be worn when handling drywall material. Gloves will also protect your hands from sharp edges and other hazards and germs that may be present in floodwater.
Shop Vac
Using a shop vac to clean a flooded basement is very helpful. A majority of them are wet/dry vacs, which means you can suck up water or dust. Don’t forget to remove the inside filter if you do decide to use a shop vac to suck water from your basement.
Contractor Bags
Contractor bags are sizeable plastic garbage bags that come in rolls or boxes. They’re designed for contractors who haul away construction debris in their trucks. These bags are ideal for dumping out wet insulation that has been soaked with floodwater, so you don’t have to touch it after handling it with your hands or gloves covered in mud and grime from cleaning up soggy carpeting or drywall panels.
Conclusion
It is possible to repair the drywall that has been damaged by water, but it’s a tedious process. It involves removing all damaged drywall and disposing of it properly. Any electrical connections will have to be repaired, and the electrical box will likely have to be replaced. The new drywall can be installed after taking care to tape and mud the joints.


